Samsung Galaxy A20 I O Board Replacement Guide
Duration: 45 minutes
Steps: 4 Steps
Ready to tackle that pesky board that houses your charging and headphone ports? This guide has got you covered with step-by-step instructions! If your device has taken a hit and the board is feeling a bit worse for wear, you’re in the right place. Plus, if both your charging and headphone ports are playing hard to get, this guide will help you get back on track. If you need help, you can always schedule a repair.
Step 1


Kick back and make sure to unplug and power down that device before diving in!
– Let’s kick things off by gently removing the SIM card along with its tray. Easy peasy!
– Next up, grab your trusty iOpener or heat gun to warm up that sticky adhesive holding the back cover in place. A little heat goes a long way!
– Now, while that adhesive is feeling nice and toasty, slide an opening pick into the seam between the back cover and the chassis. You’ve got this!
– Carefully slide that pick all the way around the perimeter. It’s like giving your device a little massage!
– Finally, it’s time to take off the back cover. Voila! You’re making great progress!


Step 2


– Time to tackle those thirteen 3.6 mm Phillips screws holding the midframe in place—let’s get them out of there!
– Grab your trusty opening pick and gently pry up to lift out the midframe. You’ve got this!
Step 3

– Grab your trusty opening tool and gently lift the press connectors on both ends of those two ribbon cables. You’ve got this!
– With that same opening tool, carefully pry up the press connectors on both ends of the two ribbon cables. You’re doing great!
Step 4
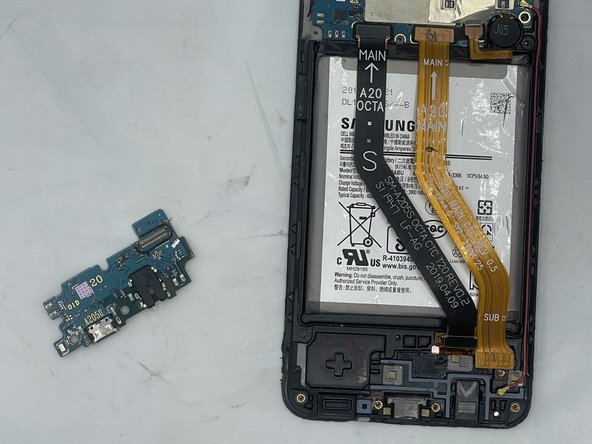

– Unplug that cheeky red antenna cable from the I/O board, and give it a little wave goodbye!
– Grab an opening pick and gently nudge the I/O board up and out. You’re almost there!