DIY Samsung Galaxy vibration motor replacement guide
Duration: 45 minutes
Steps: 10 Steps


Step 2


If you can, grab a few picks to keep that back cover from snapping shut on you.
– Carefully lift the back cover near the SIM tray with your trusty iFixit opening pick. You’ve got this!
– Slide that pick along the seam and gently pop open the clips that are holding everything snugly together.
Step 3


If it’s necessary, gently pop off the button from the bottom of your device. You’ve got this!
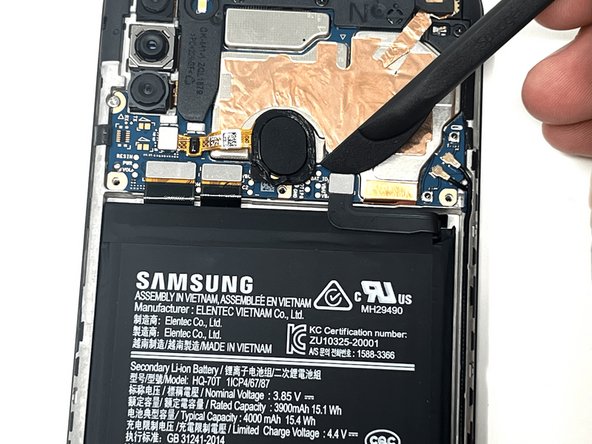
– Grab your trusty hair dryer and set it to low heat! Give that fingerprint sensor a warm hug for about 30 seconds at a time to help loosen up the adhesive that’s holding it in place.
– Once it’s feeling nice and cozy, gently nudge the fingerprint sensor until it pops off the back cover. You’ve got this!
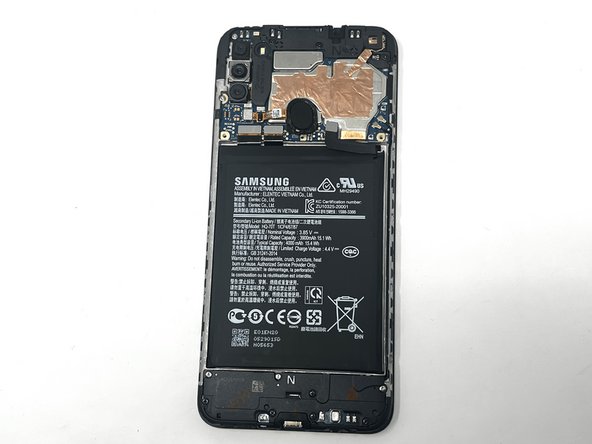
Step 4


– Grab your trusty Phillips #000 screwdriver and take out those three 3 mm screws from the shield. You’ve got this!
– Now, gently lift the shield off the phone and set it aside. Easy peasy!
Tools Used


Step 7

– Time to get those eight shiny silver and black 3 mm screws off the speaker cover! Grab your trusty Phillips #000 screwdriver and twist them out.
– Now, gently lift that speaker cover off the device and reveal the magic inside!
Tools Used
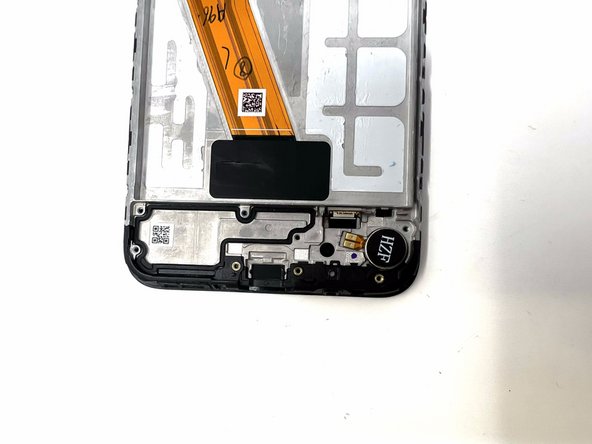
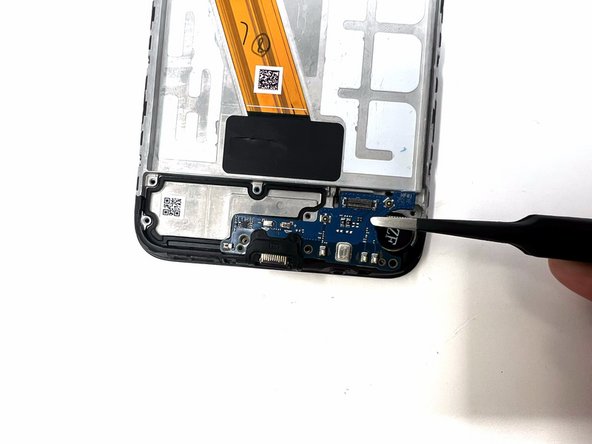
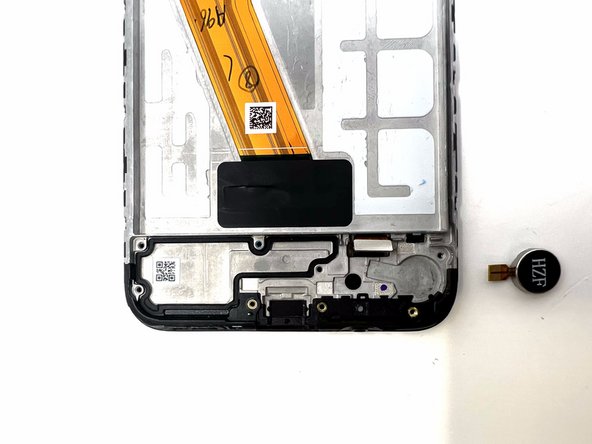
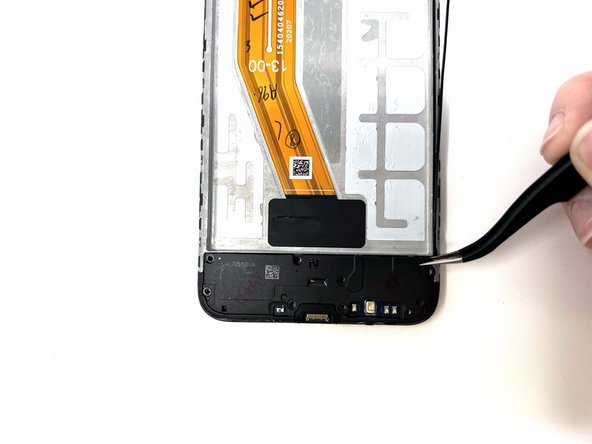
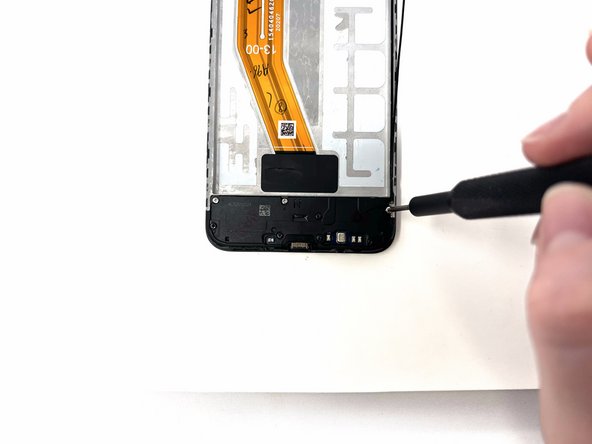
Step 8
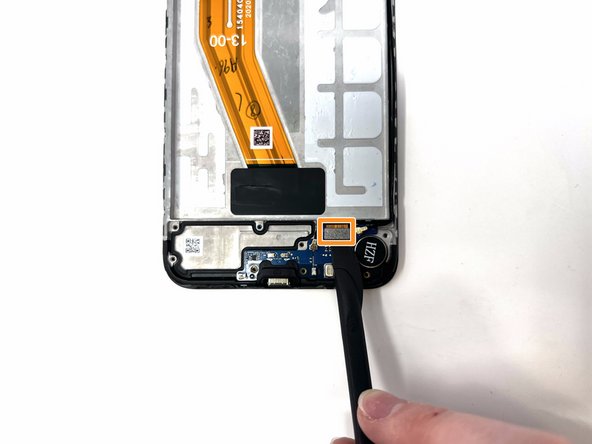

– Grab your trusty spudger and gently pry away the antenna heads from the daughterboard. You’ve got this!
– Next up, carefully disconnect the ribbon cable from the daughterboard. Easy peasy!
Tools Used