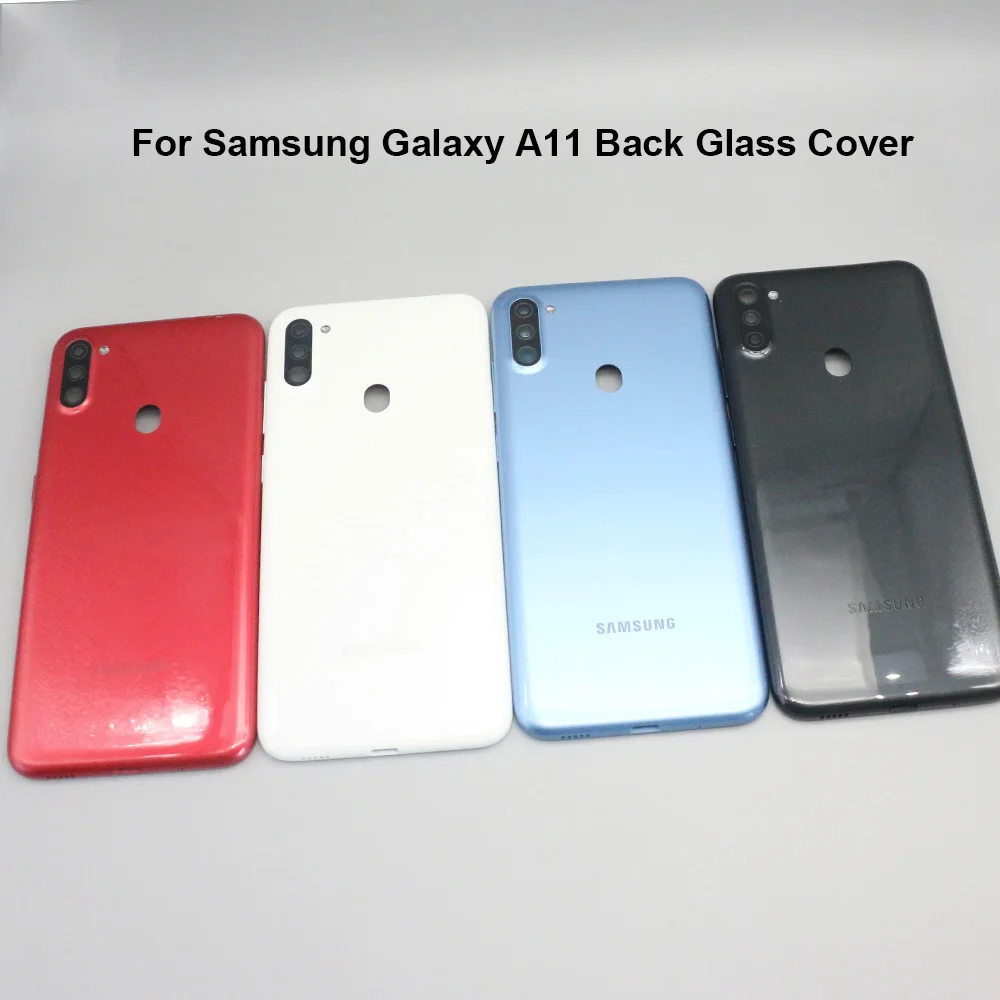
DIY Samsung Galaxy A11 Earpiece Speaker Replacement Guide
Duration: 45 minutes
Steps: 9 Steps
The earpiece speaker is your trusty sidekick for chatting away without a care for the outside noise. If your earpiece speaker has decided to take a break—no sound, just static, or it’s playing hide and seek with the audio—don’t sweat it! This guide will walk you through safely removing and replacing the earpiece speaker in your Samsung Galaxy A11. To kick things off safely, we’ll show you how to remove the battery before diving into the earpiece speaker swap. We’ve got tips to check if your battery is swollen, how to remove it, and the eco-friendly way to recycle it, all while avoiding future battery bloating. And if you’re swapping out your old earpiece speaker, we’ve got the instructions for that too! If you need help, you can always schedule a repair.


Step 2


If you can, grab a few picks to keep that back cover from snapping shut on you.
– Carefully slide an iFixit opening pick into the back cover near the SIM tray and give it a gentle nudge to pop it open.
– Keep that pick moving along the seam and gently pry apart the clips that are holding everything snugly together.
Step 3


If necessary, gently pop the button off from the bottom of your device. You’ve got this!
– Grab your trusty hair dryer and set it to low heat. Give that fingerprint sensor a warm hug for 30 seconds at a time to help loosen up the adhesive that’s holding it tight.
– Once it’s feeling cozy, gently nudge the fingerprint sensor until it pops off the back cover. You’ve got this!
Step 4


– Grab your trusty Phillips #000 screwdriver and take out those three 3 mm screws from the shield. You’ve got this!
– Now, gently lift the shield off the phone and set it aside. You’re making great progress!
Tools Used


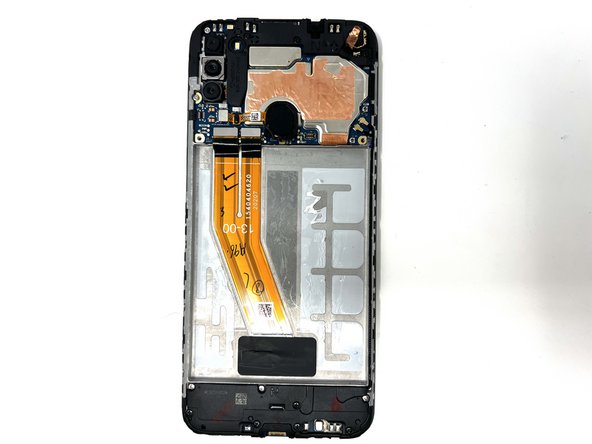
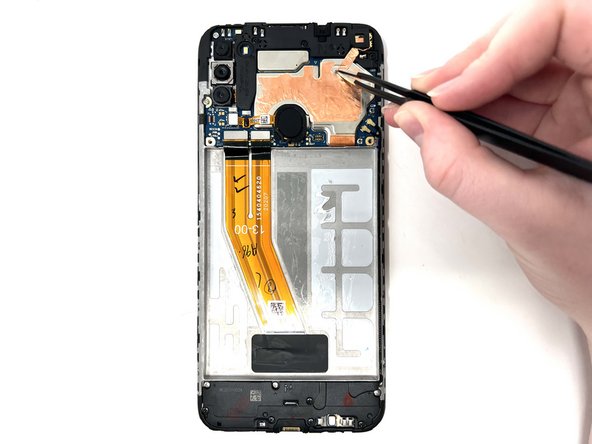

Step 8
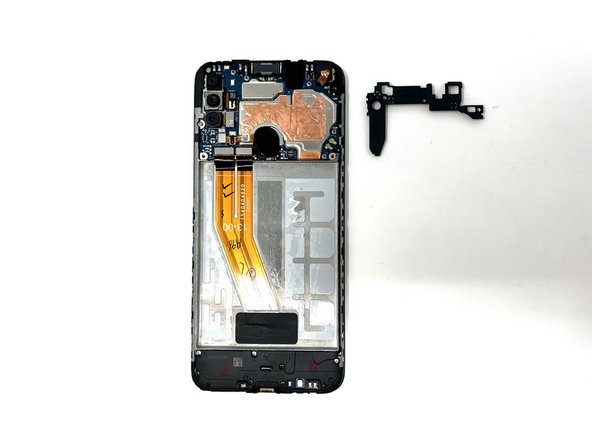

– Start by unscrewing those three black 3 mm screws from the speaker cover with your trusty Phillips #000 screwdriver. You’ve got this!
– Now, gently lift off the cover from your phone and reveal the magic inside.
Tools Used
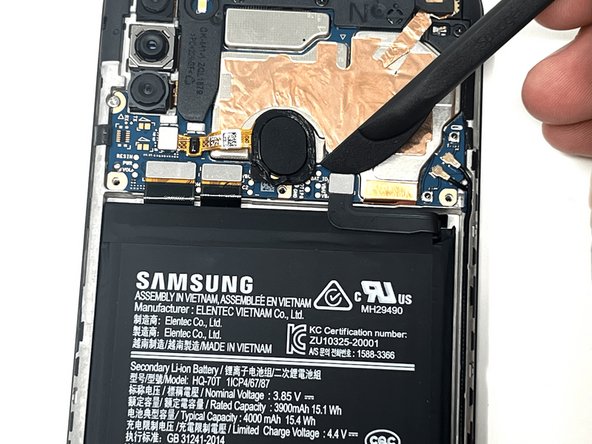
Step 9
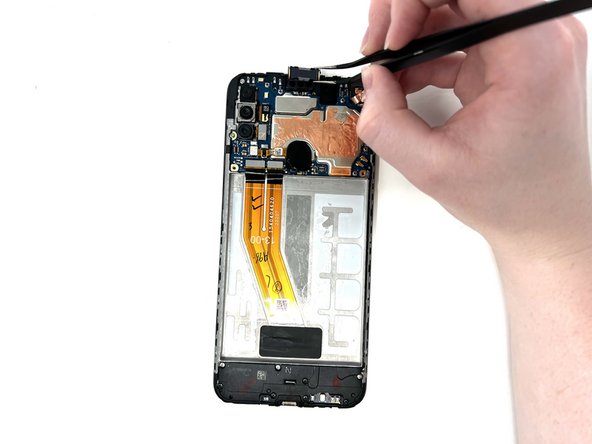

When working with metal tools, remember to be gentle to keep your device safe and sound!
If you’re feeling a bit stuck, grab a hair dryer and give that speaker a gentle blast of warmth to help loosen up the adhesive. It’s like a cozy spa day for your device!
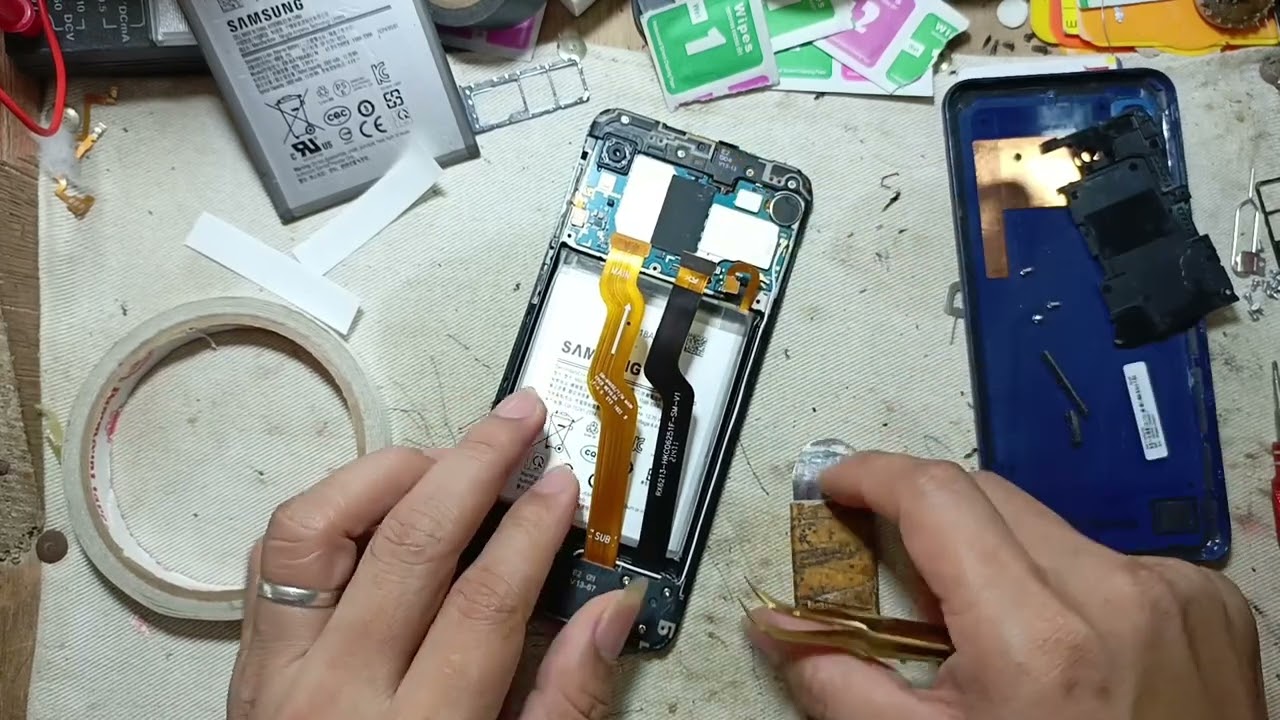
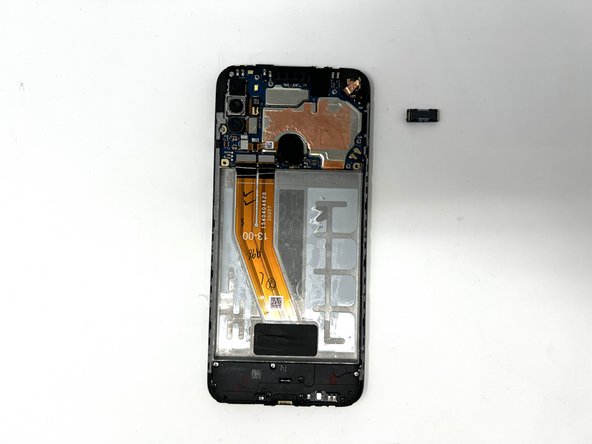
When it’s time to remove the earpiece, feel free to hold those tweezers however you like—whether that’s horizontally or vertically. Just make sure you’re comfortable as you work your magic!
– With a steady hand and a dash of finesse, use your trusty tweezers to gently lift out the earpiece speaker from the top of your phone. You’ve got this!
Tools Used