Samsung Galaxy A11 Battery Replacement Guide: Step-by-Step DIY
Duration: 45 minutes
Steps: 6 Steps
Ready to give your Samsung Galaxy A11 a little TLC? This handy guide will walk you through the steps to safely remove or replace your battery. Remember, your smartphone battery is like a tiny power plant, storing and releasing electricity to keep your device running. For safety’s sake, make sure the battery is charged to 25% or less and turn off your device before diving in. We’ll help you spot a swollen battery, show you how to remove and recycle it, and give you tips to avoid future battery bulges. If you’re swapping out your old battery, don’t worry—we’ve got the steps for that too! And if you need help, you can always schedule a repair.
Step 1


– Grab your trusty SIM eject tool and slide it into the little hole on the SIM tray.
– Give it a gentle push until you see part of the SIM tray pop out.
– Now, just pull out the rest of the SIM tray like a pro!
Step 2


If you can, grab a few picks to keep that back cover from snapping shut on you.
– Carefully ease open the back cover close to the SIM tray with your trusty iFixit opening pick. You’ve got this!
– Slide that pick along the seam and gently pop open those clips that are keeping everything snug. You’re making progress!
Step 3


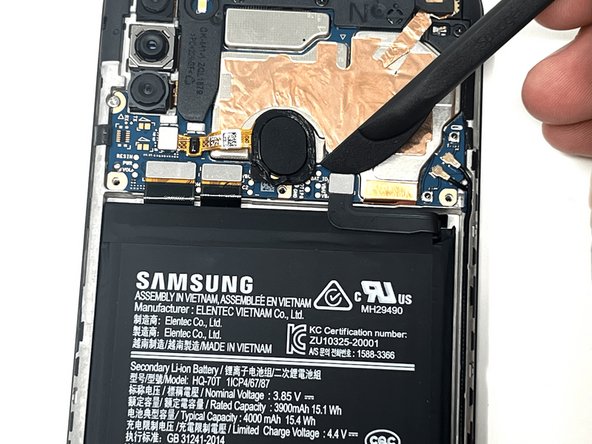
If you need to, gently lift the button off from the bottom of your device. Remember, you’ve got this!
– Grab your trusty hair dryer and set it to low heat. Give that fingerprint sensor a warm hug for 30 seconds at a time to help loosen up the adhesive that’s holding it tight.
– Once it’s feeling cozy, gently nudge the fingerprint sensor until it pops off the back cover. You’ve got this!
Step 4


– Let’s get those three 3 mm screws out from the shield using your trusty Phillips #000 screwdriver!
– Now, gently lift the shield off the phone and set it aside.
Tools Used


Step 6


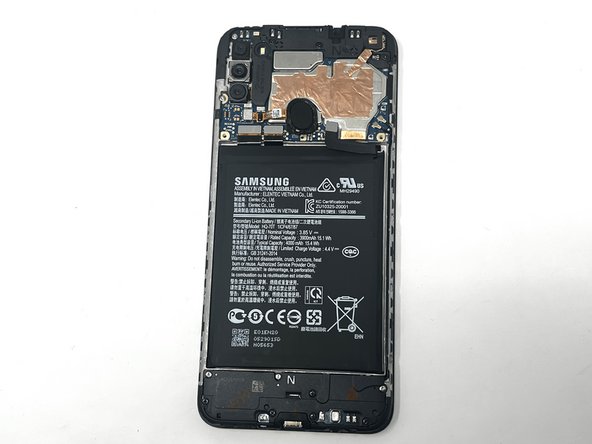
If you’re feeling a bit stuck, grab a hairdryer and set it to low heat to gently warm up that stubborn adhesive under the battery.
And if the battery is playing hard to get, don’t hesitate to use a few pry tools to keep it steady while you work your magic.
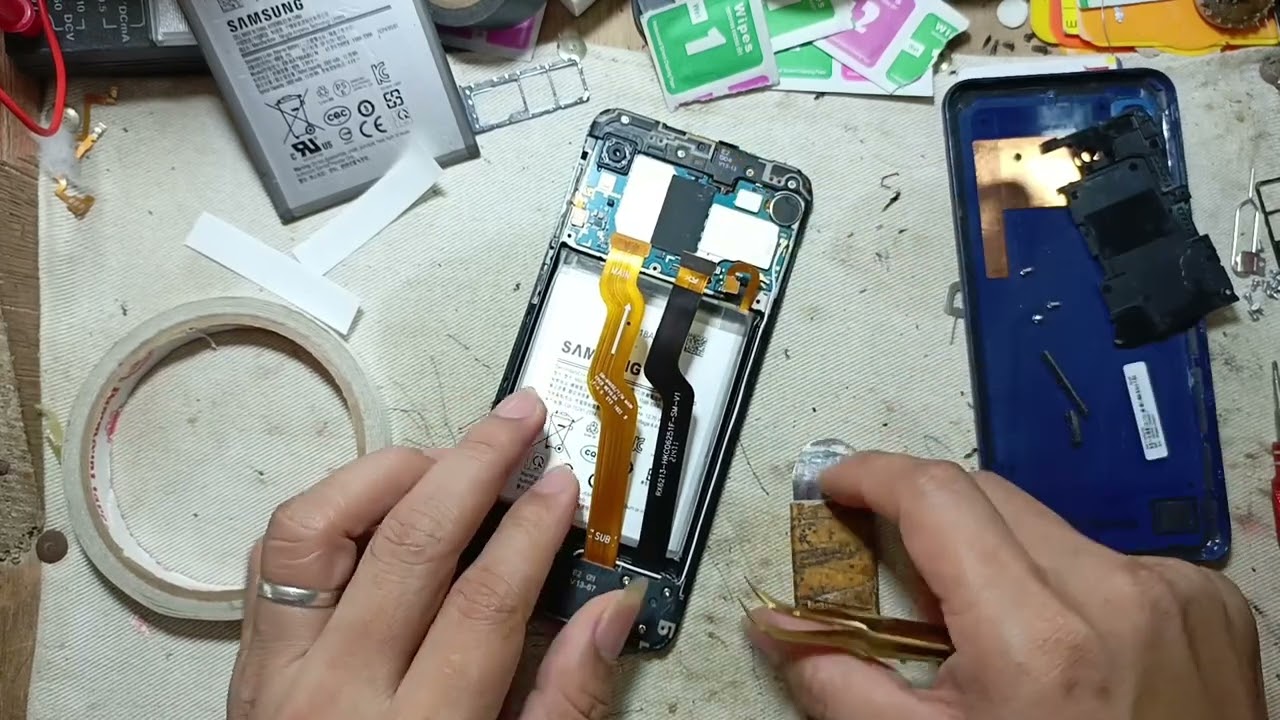
– Grab your trusty iFixit pry tool and gently slide it under the edge of the battery.
– Keep on slicing through that adhesive until you can easily lift the battery away from the phone.
– Carefully take the battery out of the phone and give yourself a pat on the back!