DIY Microsoft Lumia 435 Touch Screen Replacement Guide
Duration: 45 minutes
Steps: 7 Steps
Step 1
– Power down your device.
– Take out the battery, SIM card, and any memory cards you have.
– Grab a Torx T6 screwdriver and unscrew those 4 black screws.
Step 2
– You’ll find a few sneaky plastic locking clips keeping the back cover snug on the frame. Time to give them a little nudge!
– Grab a tool with a sharp edge to pop them free, and then use a plastic tool to gently lift off that back cover. You’ve got this!
Step 3
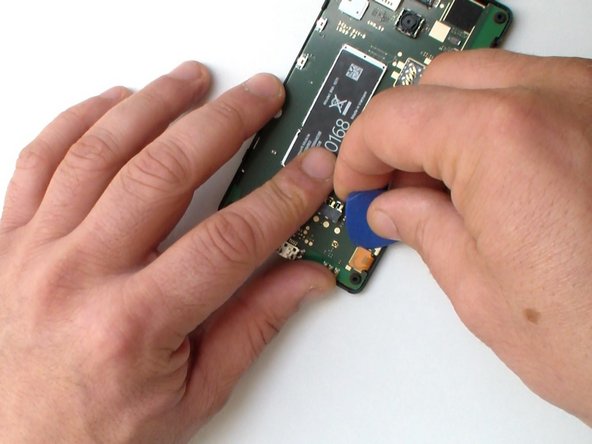
– Unhook:
– Grab a handy plastic tool and gently lift out the Logic board. You’re doing great!
– Carefully disconnect the touch screen flex cable.
– Now, let’s remove the LCD Display flex cable with a steady hand.
Step 4
– Here’s your trusty logic board / main board – front and back in all its glory.
Step 5
– The display metal shield is held in place by 4 locking clips.
– Grab a tool with a sharp tip, carefully unlock those clips, and lift off the shield. If you need help, you can always schedule a repair.
Step 6
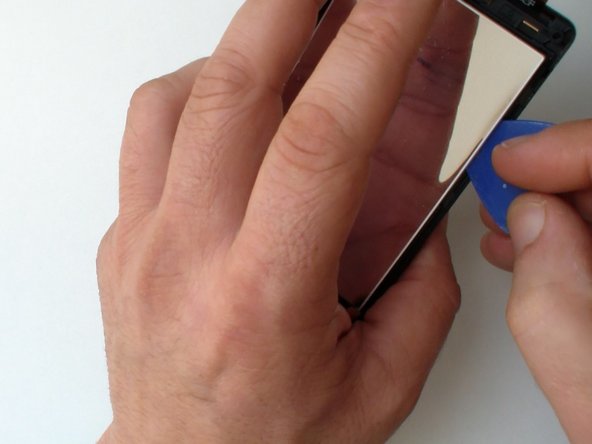
Give the frame a little wiggle and use a slim plastic tool to gently separate the display from the frame.
– Looks like the display has decided to stick to the touch screen glass like it’s best friends with double-sided adhesive tape. No worries!
– Grab a hair dryer or a hot air gun and gently warm up the glass. This will help the adhesive loosen up and say goodbye!
Step 7
– The display is super delicate, so take your time and handle it with extra care.


