How to Replace Macintosh PowerBook 165c Trackball Guide
Duration: 45 minutes
Steps: 12 Steps
Time to jazz up your device by swapping out that tired track ball assembly. Get ready to give your gadget a fresh new look!


Step 3

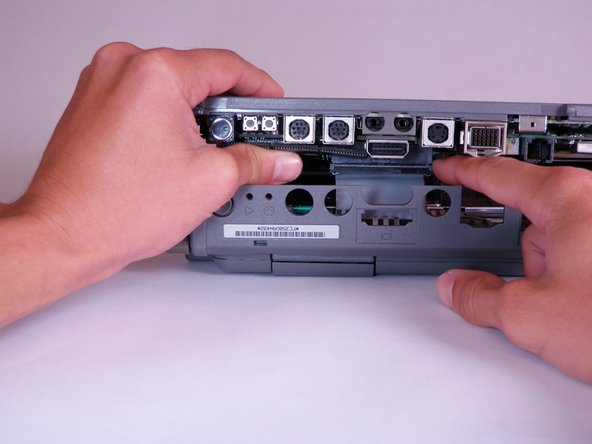
– Flip your computer so it’s right side up, with the back facing you. You’re doing great!
– Go ahead and pop open the Input/Output (I/O) door. Easy peasy!
Step 4

– Gently flex that door into a lovely arch until one of the pins decides to let go of its cozy spot.
– Once you’ve freed a pin, smoothly lift the I/O door away from the computer.
Step 5

– Position your computer with its bottom side up and the rear facing you. At this angle, you should be able to easily spot the Macintosh label. Let’s get started the right way!
Step 6

– Grab your trusty T8 torx screwdriver and locate the 6.8mm long screw hanging out above and to the right of the modem jack. Give it a gentle counter clockwise twist to bid it farewell.
Step 7

– Grab a T10 torx screwdriver and get ready to tackle those four screws measuring 18mm in length on the lower case. You’ve got this!
Step 8

Heads up: The lowercase won’t budge till you release those sneaky plastic clips in the front corners. Check out the next step for the juicy details!
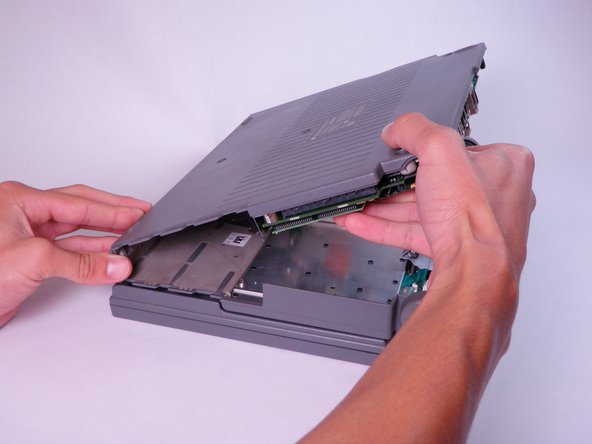
– Get ready to lift! Position your hands on the lower case, right above that I/O panel, and gently raise the lower case a few inches above the main body of your device. You’ve got this!
– Now, let’s set that interconnect ribbon cable free! Carefully detach the large, gray cable located just behind the I/O panel. Easy peasy!
Step 9

– Alright, let’s get down to business. Place your thumb on the upper case, right inside that empty battery slot, and then slide your index finger right next to your thumb on the left side of the lower case.
– Now, here comes the fun part! Pinch your thumb and index finger together, give it a little squeeze to release the clip. Keep that grip tight! With that pinch grip intact, use your index finger to give the lower case a gentle nudge upwards.
– Time to show that lower case who’s boss. Lift it up and watch it come off like a champ. You got this!
Step 10
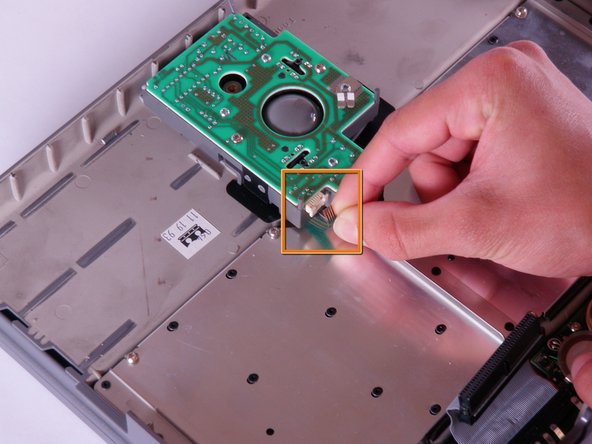

– Hey there! First off, let’s track down the amazing trackball assembly. It’s chilling in the upper case and you can spot it by its cool green circuit board.
– Next up, get ready to party by opening up the white tab fastener. Just give it a little tug on each side and watch that green and silver ribbon cable make its grand exit.
– Now, it’s time to bid farewell to the green and silver ribbon cable. Simply show it some love by gently pulling it away from the opened tab fastener. Way to go!
Step 11

– Grab your trusty T8 torx screwdriver and gently loosen the six, 6.8mm long screws from the top of the shiny green circuit board.
Step 12

– Start by giving a gentle lift to all four parts of the trackball assembly. They should pop right off!
– The four parts you’ll be handling include: the lively green circuit board, a sturdy metal support, the track ball that’s ready to roll, and the casing that holds it all together.