How To Replace ASUS K50IJ Charging Port Tutorial
Duration: 45 minutes
Steps: 38 Steps
Sometimes, the little pieces inside your laptop’s charging port can get a bit wonky, leaving it unable to charge. But don’t worry! This guide will walk you through replacing the charging port on your ASUS K50IJ with ease. If you need help, you can always schedule a repair.
Step 1

– Give that tab a little slide to the side and pop open the battery cover nestled in the bottom-left corner of your laptop. You’re almost there!


Step 4


– Grab your trusty PH1 screwdriver and let’s get to work! Carefully unscrew those four 4.75 mm screws hanging out on the vent panel. You’ve got this!
Step 5

– Let’s get started! First, grab your trusty screwdriver and remove the tiny 0.5 mm screw nestled in the top right corner of the battery compartment. You’ve got this!
Step 6


– Gently slide the bottom panel towards the hinges and then lift it up to remove the back panel. Easy peasy!
Step 7

– Gently unplug the fan’s cable by giving it a little tug to disconnect it. No need to be rough—let’s keep it chill!
Step 8


– Grab your trusty PH1 screwdriver and let’s tackle those 3 .75mm screws marked as 1, 2, and 3 on the fan. Just a heads up, those labels are right next to the screws, so you can’t miss them!
– Now, gently lift the fan up with your fingers and give yourself a pat on the back for being awesome!
Step 9

– Grab your trusty PH1 screwdriver and get ready to work some magic! Carefully unscrew those two .75 mm screws on the hinge side of the laptop and let’s keep this repair train rolling!
Step 10


– Grab your trusty PH1 screwdriver and let’s tackle those four .75 mm screws on the copper heat sink. They’re numbered 1-4, so you won’t get lost!
– Now, gently pull the copper heat sink out of the laptop like a pro. You’ve got this!
Step 11

– Grab your trusty PH1 screwdriver and dance your way to the bottom-right corner of the laptop. Time to unscrew those four .75 mm screws like a pro!
Step 12


– Give that black tab on the driver a gentle tug to slide it back, then lift the driver out of the laptop with ease!
Step 13


– Grab your trusty PH1 screwdriver and let’s tackle those five tiny 0.5 mm screws holding the SD card reader in place, snugly nestled in the bottom-middle corner of your laptop.
– Once those screws are out, gently slide the SD card reader away and give it a little pull to set it free.
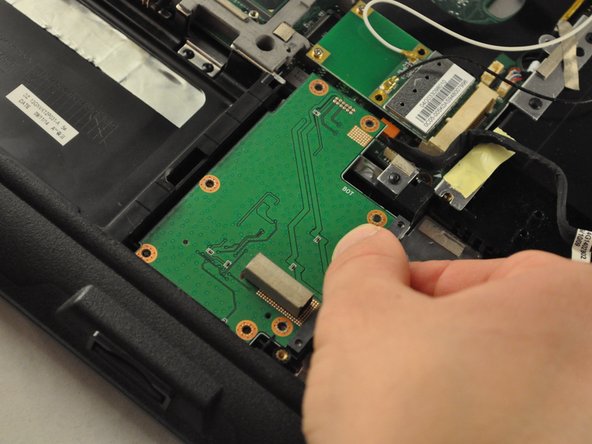
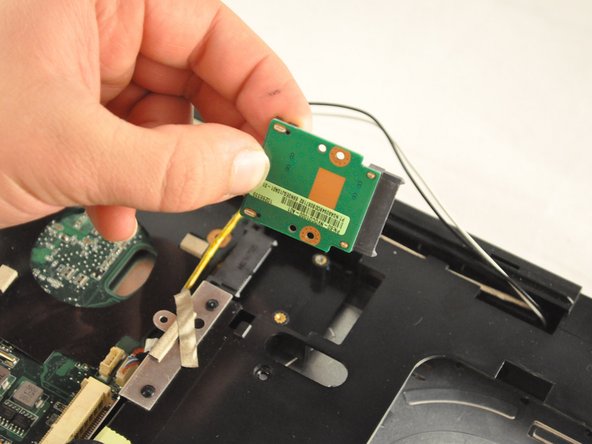
Step 14

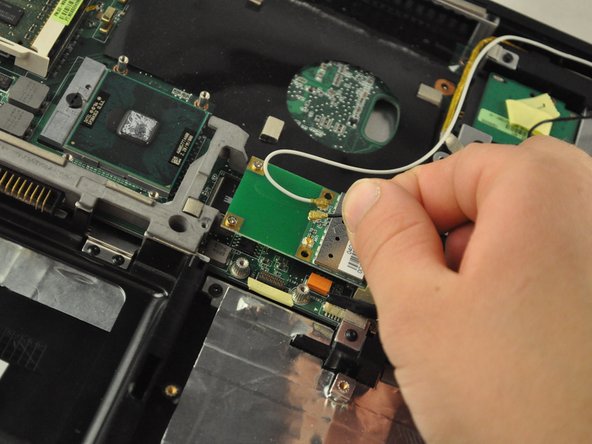

– Unplug the white and black wires from the Wi-Fi card, which is hanging out in the middle of your laptop. You’ve got this!
Step 15


– Grab your trusty PH 1 screwdriver and gently unscrew those two .25 mm screws holding the Wi-Fi card in place. You’ve got this!
Step 16

– Gently slide that Wi-Fi card right out of its cozy little slot to set it free.
Step 17

– Grab your trusty PH1mm screwdriver and let’s get to work! Carefully remove the tiny 0.5 mm screw from the disk drive, which is hanging out in the top-right corner of the laptop. You’ve got this!
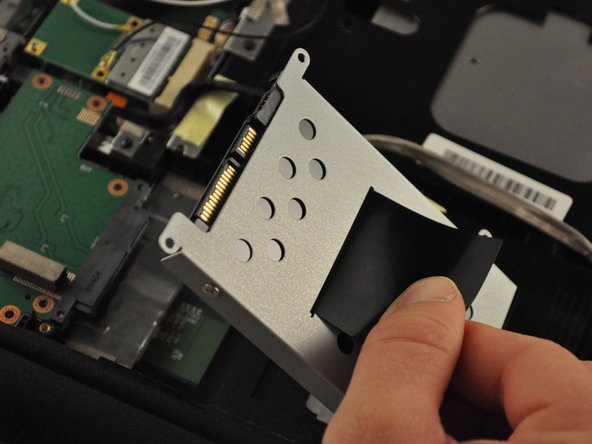
Step 18
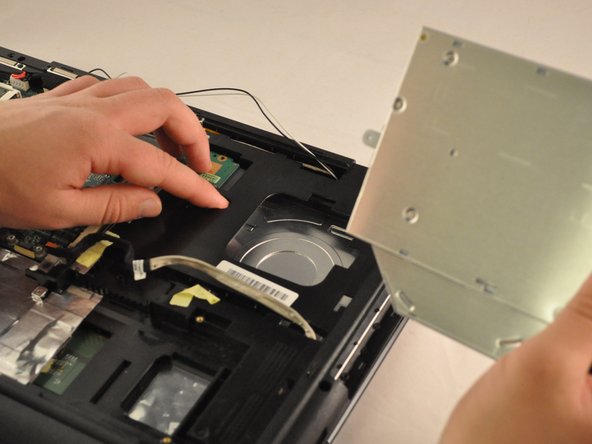


– Gently pull the disc drive out from its cozy little slot.
Step 19

– Grab your PH 1 screwdriver and gently unscrew those two tiny .5 mm screws holding the RAM drive in place. You’ve got this!
Step 20


– Gently slide the RAMdrive out of its cozy little port and lift it away.
Step 21

– Grab your trusty PH1 screwdriver and gently unscrew the .75 mm screw nestled in the bottom-right corner of the laptop’s plastic housing. Easy peasy!
Step 22


– Gently disconnect the black cable from the main hub of your laptop. You’ve got this!
Step 23


– Disconnect the cable from the center of your laptop like a pro!
Step 24


– Gently disconnect the wires and black cables from the motherboard, which you’ll find hanging out in the upper-left corner of your laptop. Easy peasy!
Step 25

– Grab your trusty PH1 screwdriver and gently unscrew those two .75 mm screws nestled in the top-left corner of the motherboard. You’re doing great!
Step 26

– Grab your trusty PH 1 screwdriver and get ready to take on that .75 cm screw sitting pretty in the top-middle section of the motherboard. You’ve got this!
Step 27

– Grab your trusty PH1 screwdriver and carefully take out the .75 mm screw nestled in the top-middle corner of the motherboard. You’ve got this!
Step 28

– Grab your trusty PH1 screwdriver and let’s get to work! Carefully unscrew those three .75 mm screws nestled in the bottom corner of the motherboard. You’ve got this!
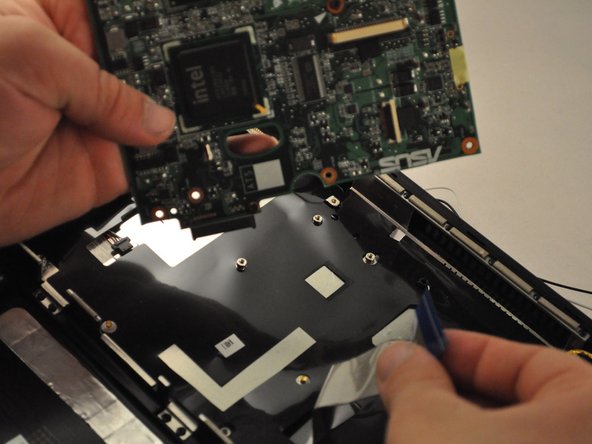
Step 29


Watch out for that ribbon cable attached to the back of the motherboard! It’s a delicate little thing, so handle it with care and avoid any accidental breakage.
– Gently nudge the motherboard to the right and lift it up a bit, but hold your horses—don’t yank it all the way out!
Step 30
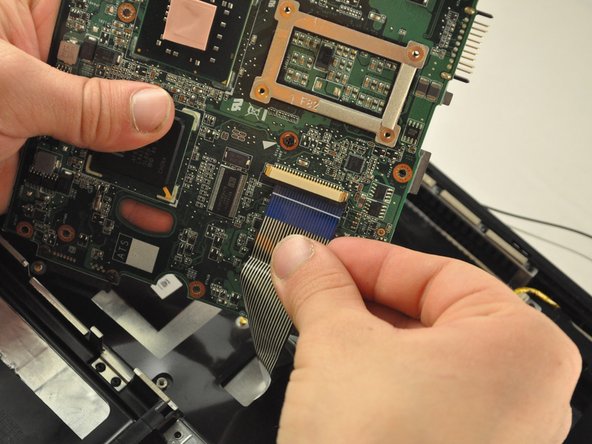

– Carefully detach the ribbon cable from the bottom side of the motherboard, like you’re gently unwrapping a gift. You’ve got this!
Step 31
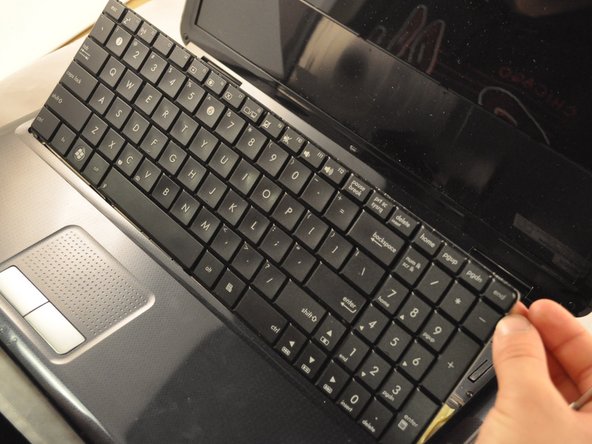


Hey there! Just a friendly reminder that the ribbon cable connecting the motherboard to the keyboard is a delicate little thing. Handle it with care to keep everything in tip-top shape!
– Gently glide the metal spudger or opening tool along the top edge of the keyboard to give it a little pop and set it free!
Tools Used

Step 32
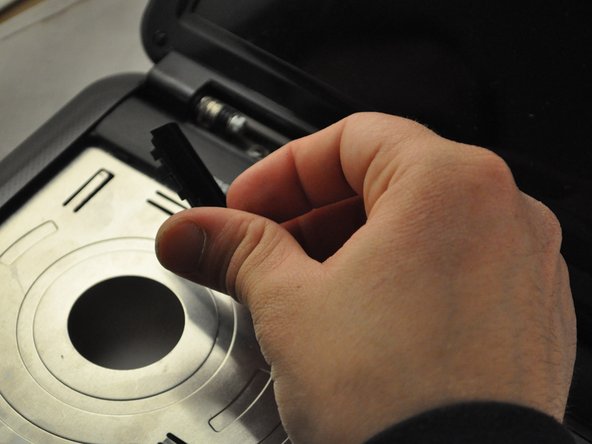

– Grab your trusty metal spudger or opening tool and gently pry out those plastic hinge covers like a pro!
Tools Used
Step 33

– Grab your trusty PH1 screwdriver and let’s tackle those .75 mm screws holding the hinges in place. Each hinge is secured with one screw, so let’s get them out and keep moving forward!

Step 35

– Grab your trusty PH1 screwdriver and gently unscrew the .75 mm screw nestled in the bottom-middle section. It’s just a little twist away from being free!
Step 36

– Grab your trusty PH 1 screwdriver and carefully take out the .75 cm screw from the bottom-middle area where the keyboard used to hang out. You’re doing great!
Step 37

– Gently pop the front cover off the laptop. It’s like opening a gift, but way more useful!
Step 38

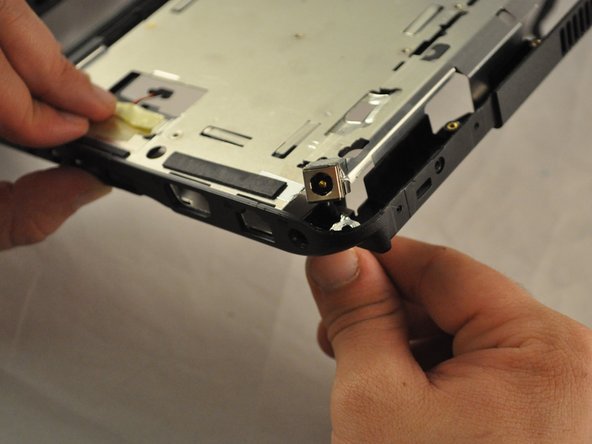
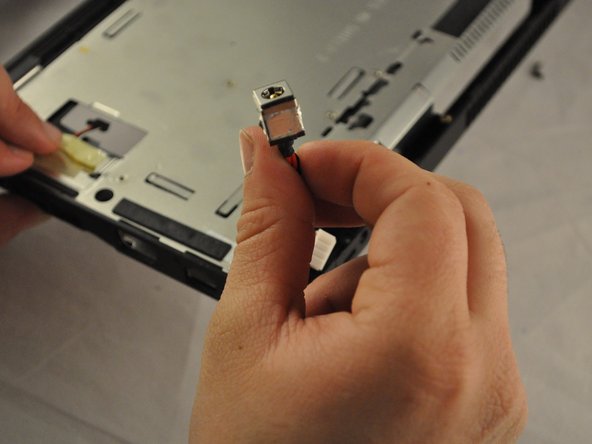
– Turn the laptop right side up again. You’ll find the charging port hanging out in the top-right corner, just waiting for some love.