DIY Guide for Asus K200MA-DS01T Trackpad Replacement
Duration: 45 minutes
Steps: 12 Steps
Hey there! Just a friendly reminder to take your time and double-check everything as you go. If you hit a snag or need a hand, don’t hesitate to schedule a repair. You’ve got this!
Ready to give your Asus K200MA laptop a little TLC? This guide will walk you through the fun process of replacing the track pad. Let’s get that device feeling fresh and responsive again! If you need help, you can always schedule a repair.
Step 1


– Alright, let’s get started! With the opening facing you, gently flip the laptop over to reveal the back panel. Now, it’s time to remove some screws to get things moving:
– First up, there are six 4mm Phillips screws that need to be tackled using a Phillips #0 screwdriver. Let’s make those twists count!
– And don’t forget the one 12mm Phillips screw right in the center, also using that trusty Phillips #0 screwdriver. You’re doing great!
Tools Used

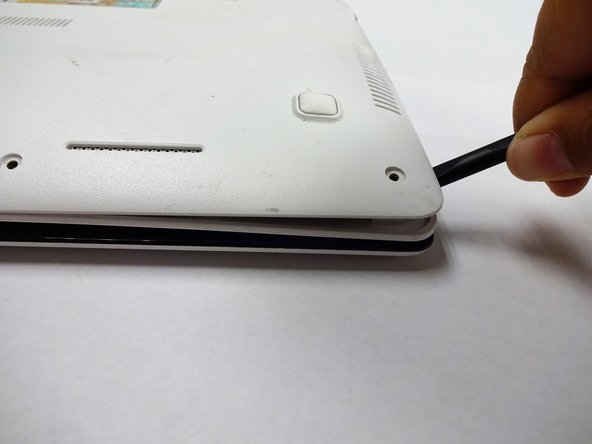
Step 2


– Grab your trusty plastic spudger and gently pop off the two rubber stoppers near the hinge. This will unveil the screws just waiting to be discovered underneath!
Tools Used

Step 3

– Let’s get started by taking out some screws:
– You’ll need to grab a Phillips #0 screwdriver to remove two 4mm Phillips screws.
Tools Used
Step 4

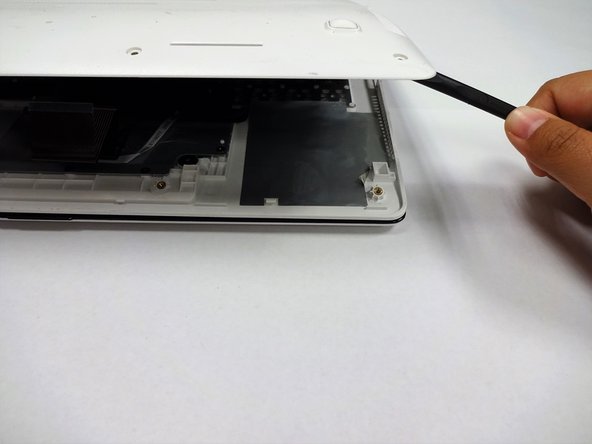
You might want to grab one spudger to slide between the back panel and keyboard while using another to gently pry it open from a different angle. If you need help, you can always schedule a repair.
– With a trusty plastic spudger in hand and a little bit of elbow grease, gently lift the back panel away from the keyboard to set it free.
Tools Used

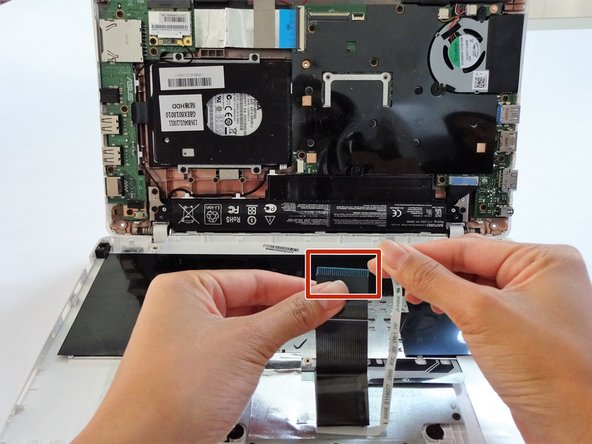
Step 6

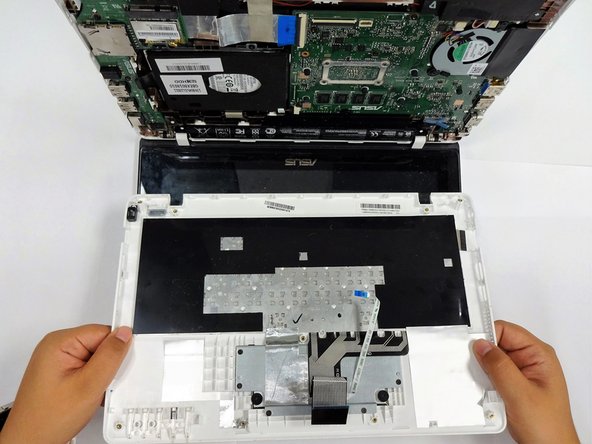
– With the keyboard connectors all disconnected, gently lift the keyboard away from the back panel hinges. You’ve got this!
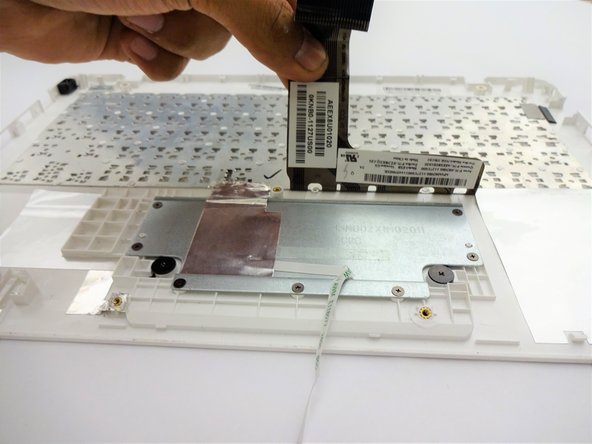

Step 8

– Gently lift the foil sheet up and away.
Step 9
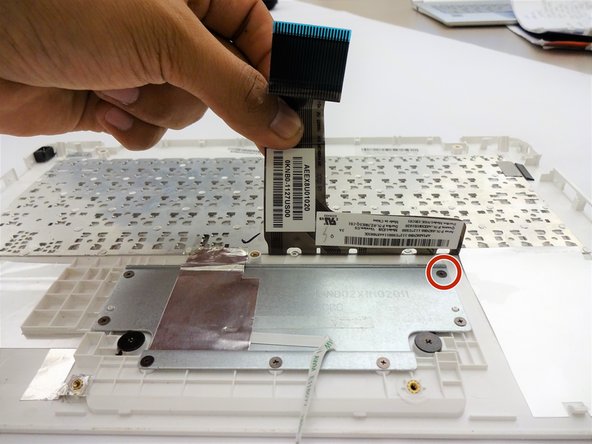

Don’t forget to take out the screw hiding just below the keyboard connector!
– Let’s get started by taking out those pesky screws!
– You’ll need to unscrew eight 3 mm screws with a Phillips screwdriver.
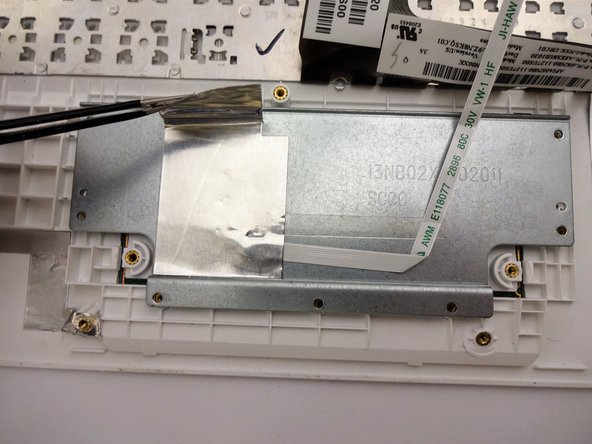
Step 10

– Time to get those screws out! Grab your Phillips #00 screwdriver and let’s tackle these two 2 mm screws.
Step 11
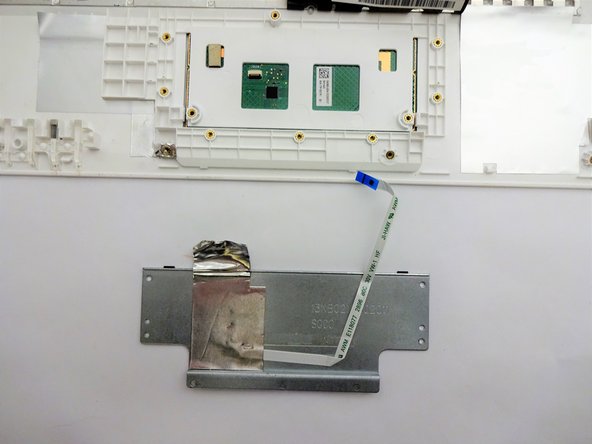

– Grab your trusty plastic spudger and gently pry off that metal plate. You’ve got this!
Tools Used
Step 12


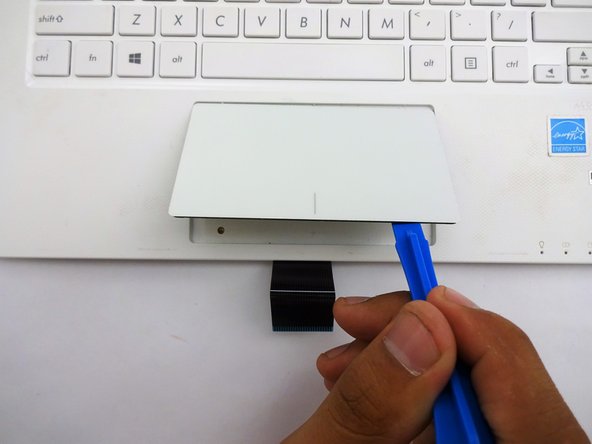
– Turn that keyboard upside down, my friend!
– Grab a plastic spudger and gently work it under the track pad to pop it off the plastic base. Easy does it!
Tools Used