How to Replace Asus K200MA-DS01T Keyboard Step-by-Step Guide
Duration: 45 minutes
Steps: 6 Steps
Replacing the keyboard on an Asus K200MA 11.6″ is a breeze with this clear and concise guide! This island-style keyboard works perfectly with 1.5mm keys in a 1.5-2mm range. If you find yourself in need of assistance, you can always schedule a repair.
Step 1


– Alright, let’s get that laptop ready for some TLC! Start by flipping it over so the opening is facing you, and let’s tackle those screws on the back panel.
– First up, grab your trusty Phillips #0 screwdriver and remove six 4mm Phillips screws. They’re just waiting to be freed!
– Now, don’t forget the grand finale: one 12mm Phillips screw in the center. Give it a gentle twist with your Phillips #0 screwdriver, and you’re all set!
Tools Used

Step 2


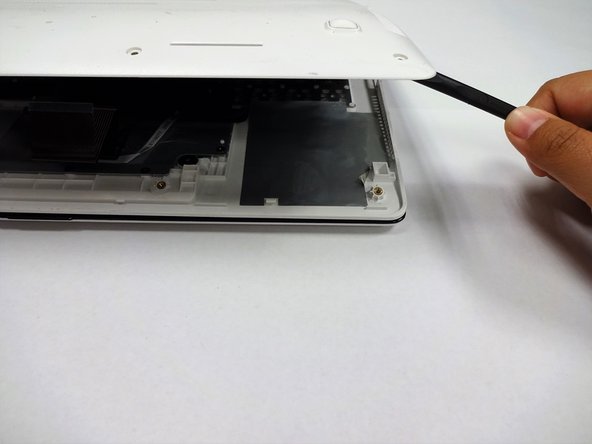
– Grab a trusty plastic spudger and gently pop off the two rubber stoppers near the hinge. This will unveil the hidden screws just waiting to be accessed.
Tools Used

Step 3

– Let’s get this party started by unscrewing these little guys:
– Grab your trusty Phillips #0 screwdriver and go for those two 4mm Phillips screws!
Tools Used
Step 4

You might want to grab one spudger to slide between the back panel and keyboard while using another to gently pry it open from a different angle. Keep it cool and take your time!
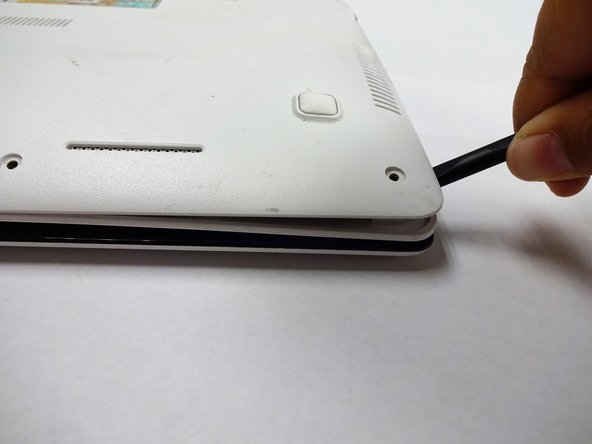
– Grab a plastic spudger and channel your inner superhero! With a bit of determination, gently pry the back panel away from the keyboard to set it free.
Tools Used
Step 5

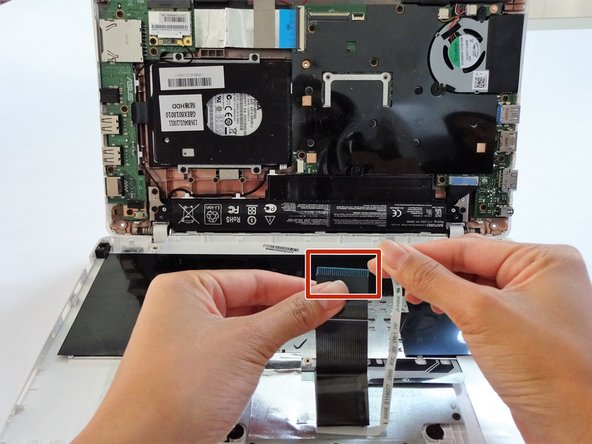
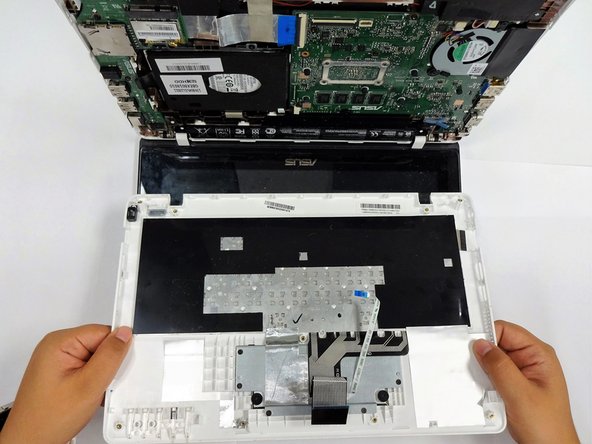
– Time to say goodbye to those keyboard connectors! Carefully wiggle out the wide connector from the keyboard and back panel. It’s like giving it a little hug goodbye.
– Now, gently coax the narrow connector away from the keyboard. Think of it as a smooth dance move; just keep it light and breezy!
Step 6

– With the keyboard connectors unplugged, gently lift the keyboard away from the back panel hinges. You’ve got this!