How to Replace Asus K200MA-DS01T Battery Guide
Duration: 45 minutes
Steps: 8 Steps
Hey there! Just a friendly reminder to take your time and double-check everything as you go. If you hit a snag or need a hand, don’t hesitate to schedule a repair. You’ve got this!
Replacing the battery in your Asus K200MA 11.6″ laptop is a breeze with this easy-to-follow guide! You’ll be back up and running in no time. Just a heads up, this guide is compatible with the A31N1302 laptop battery. If you need help, you can always schedule a repair.
Step 1
– Alright, let’s get to work! With the opening facing you, give that laptop a flip and get ready to tackle those screws on the back panel:
– Start with six 4mm Phillips screws using your trusty Phillips #0 screwdriver.
– Then, find the lone 12mm Phillips screw sitting proudly in the center and give it a twist with the same Phillips #0 screwdriver.
Tools Used
Step 2
– Grab a trusty plastic spudger and gently pop off the two rubber stoppers right by the hinge. This will unveil the hidden screws beneath, ready for action!
Tools Used
Step 3
– Let’s tackle the screws together! First up, you’ll want to locate and remove these two little guys:
– Two 4mm Phillips screws using a Phillips #0 screwdriver.
Tools Used
Step 4
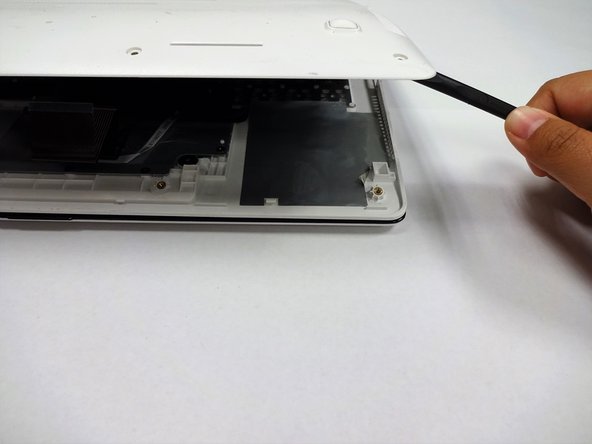
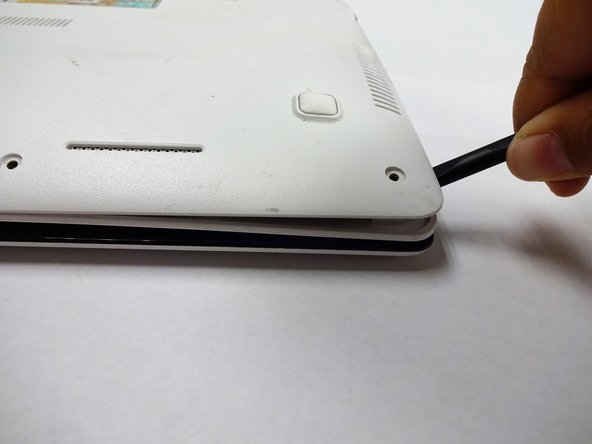
You might want to grab one spudger to slide between the back panel and keyboard while using another to gently pry it open from a different angle. If you need help, you can always schedule a repair.
– Grab your trusty plastic spudger and channel your inner strength! With a bit of determination, gently pry the back panel away from the keyboard to set it free.
Tools Used
Step 6
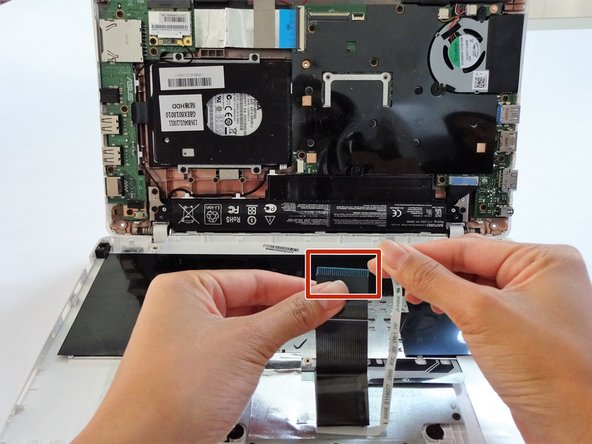
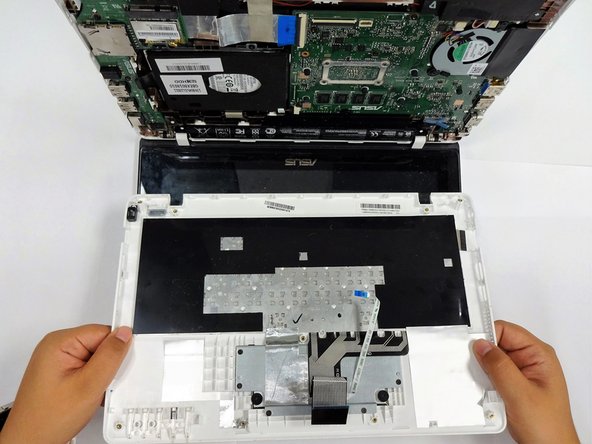
– With the keyboard connectors now unplugged, gently lift the keyboard away from the back panel hinges. You’ve got this!
Step 7
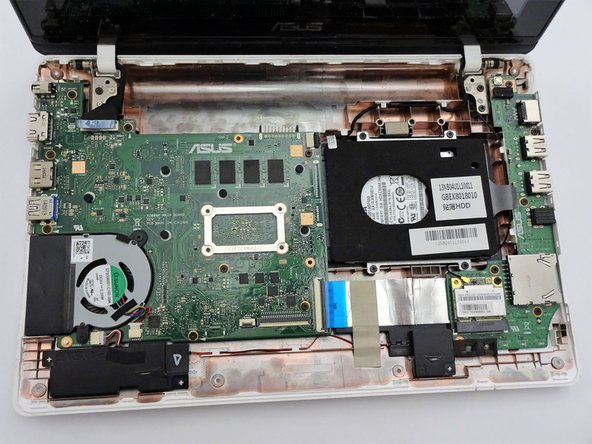
– Alright, let’s get this show on the road! Start by flipping your computer over so the motherboard, that big green beauty, is facing up.
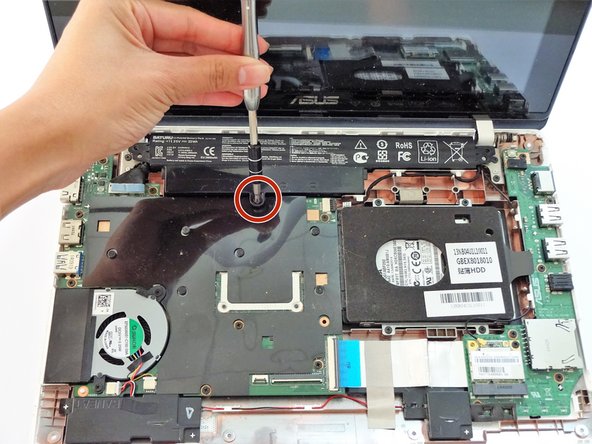
– Next up, it’s time to tackle those screws! Remove the following screws from both the middle and the far ends of the battery:
– You’ll need to take out three 4mm Phillips screws using a Phillips #0 screwdriver. You’ve got this!
Tools Used
Step 8
– With a firm grip on the larger left section, gently lift the battery upward and away from the computer.


