Step-by-Step DIY Asus F Series Keyboard Replacement Guide
Duration: 45 minutes
Steps: 3 Steps
Ready to give your device a little TLC? Let’s dive into this step-by-step guide that’ll have your phone, laptop, or tablet back in shape in no time! Just follow along, and remember, if you hit a snag, you can always schedule a repair for a helping hand!
Step 1


Give your device a little power nap! After removing the battery, try to boot it up just to make sure there’s no leftover juice hanging around.
– Let’s kick things off by gently popping out the battery with those handy release clips.
– Next, grab your trusty screwdriver and remove either 2 or 4 of those 12mm Phillips screws, depending on if you’re going for a full teardown. Once they’re out, lift the bottom cover off to reveal the HDD and RAM underneath.
– Now, take off the cover for the HDD and RAM to get to the good stuff!
Step 2

– Unscrew those 7 little 5mm Phillips screws like a pro!
Step 3


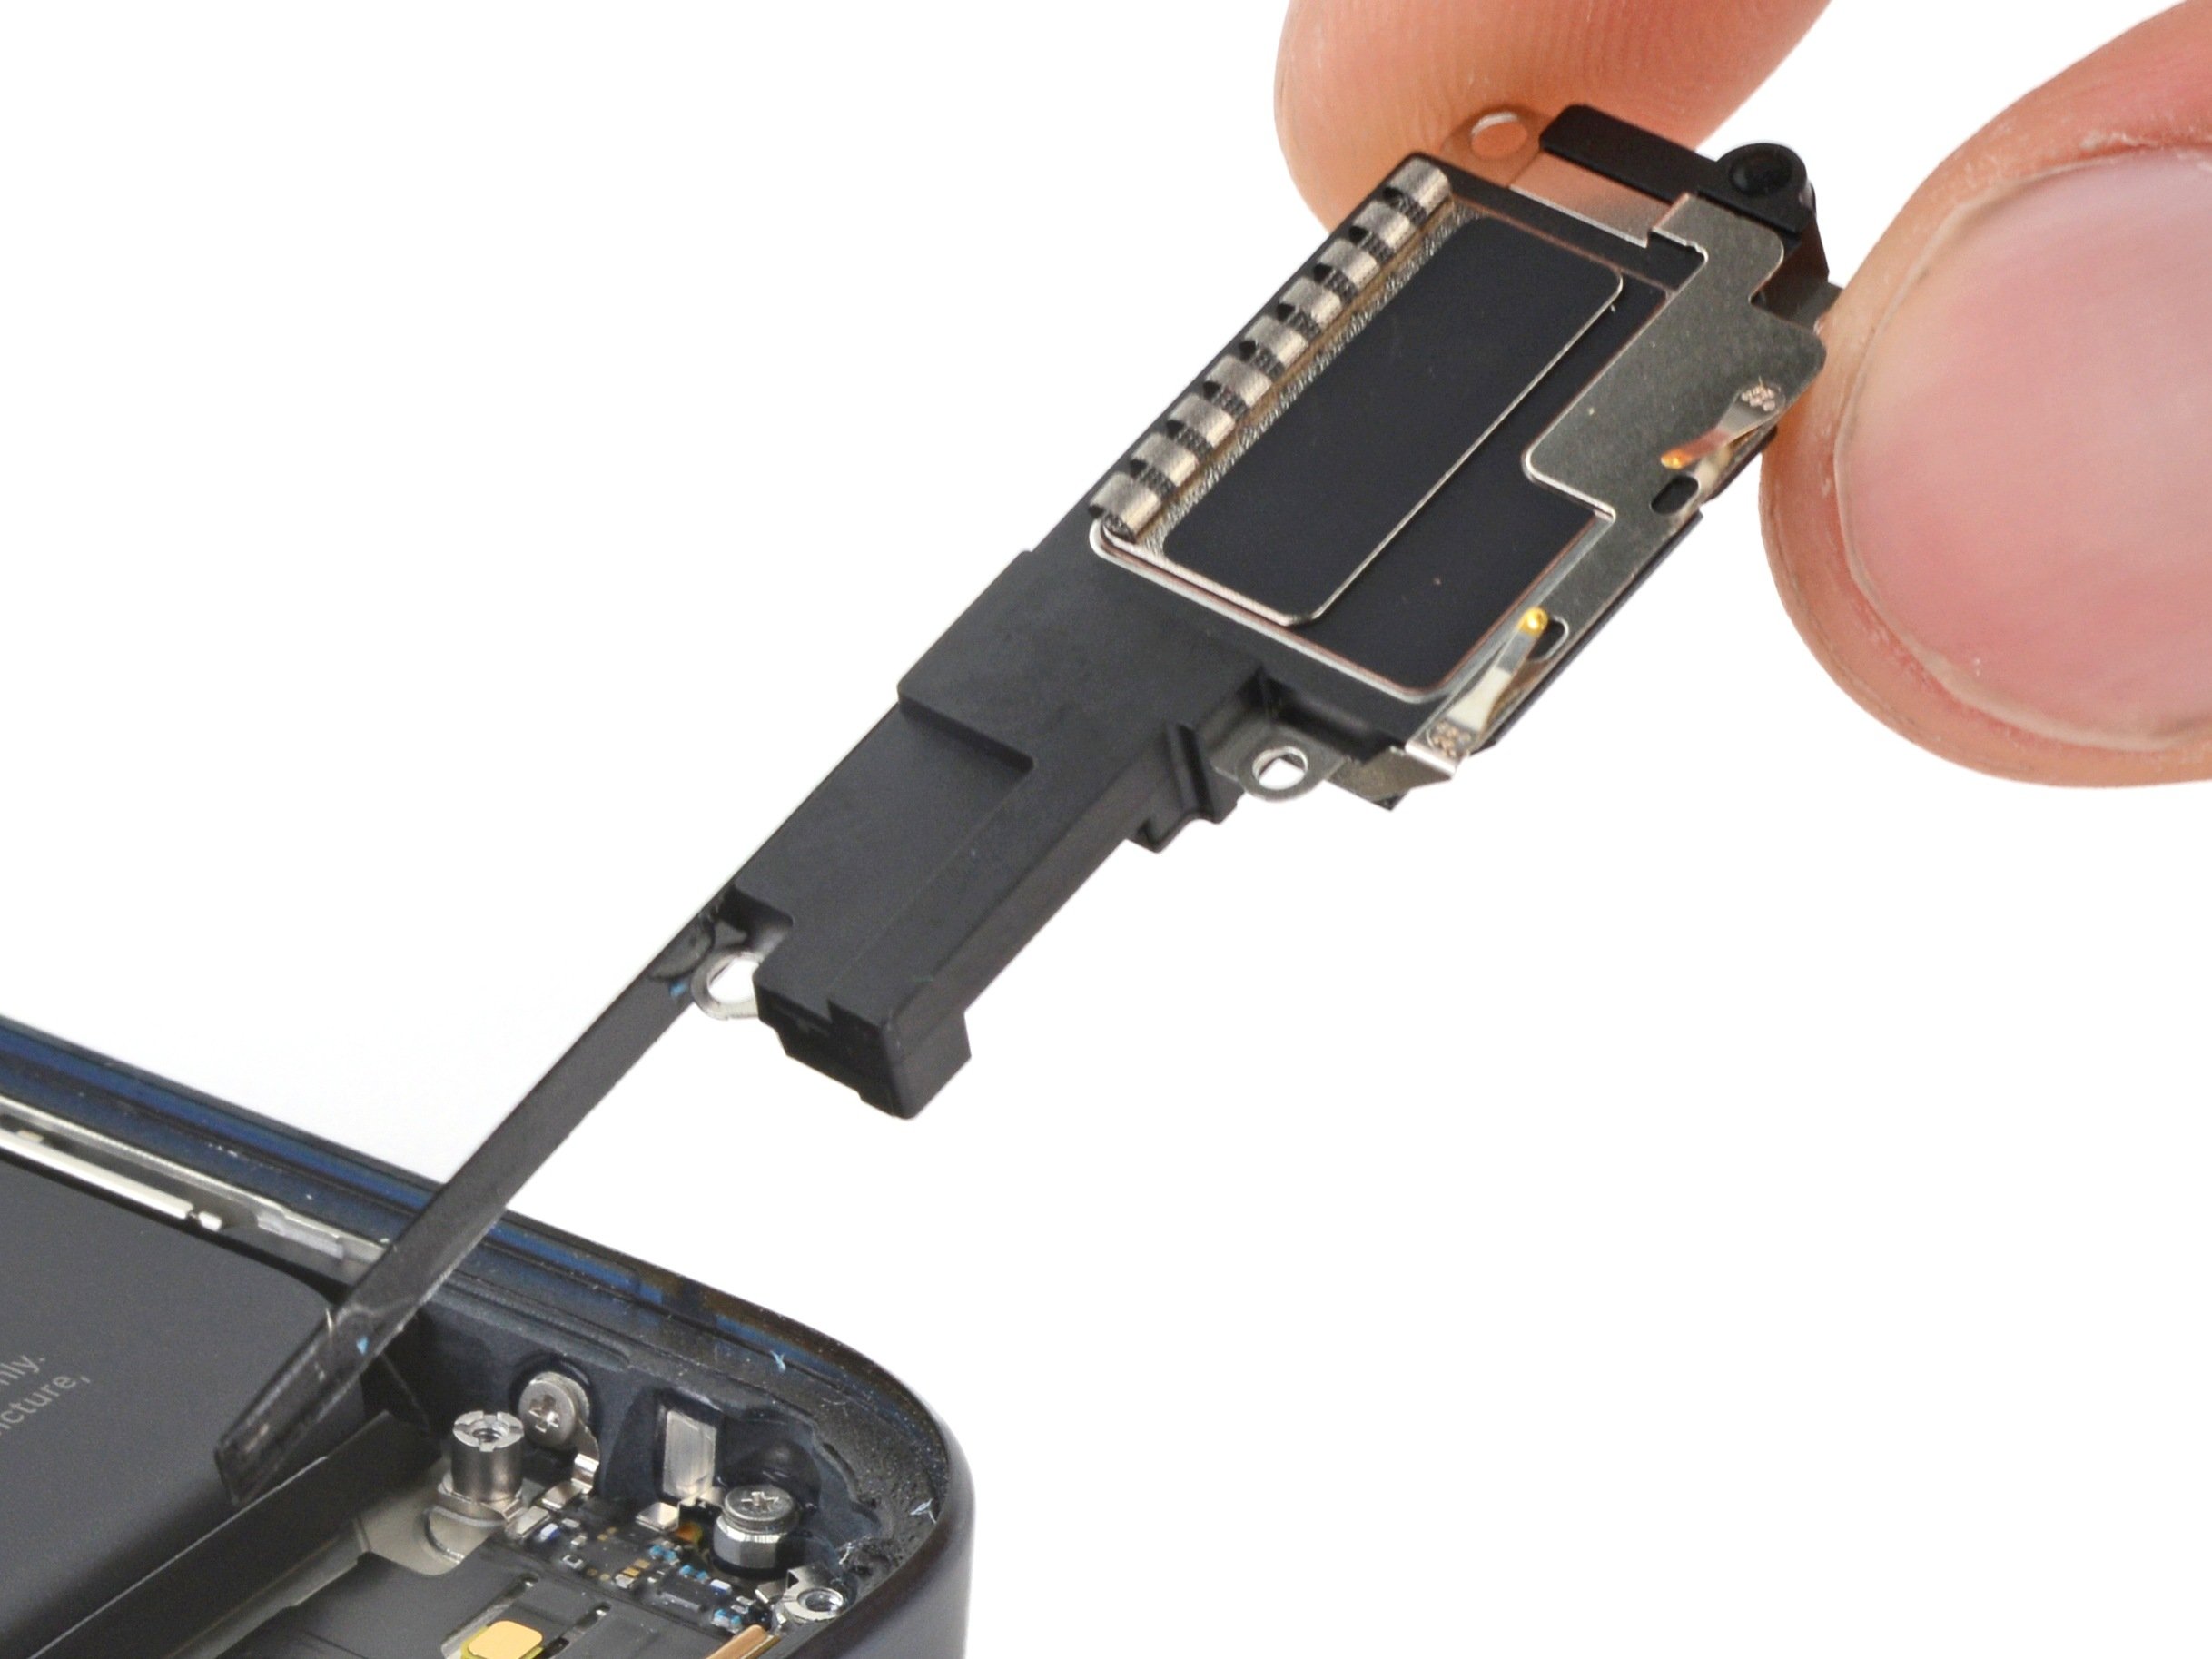
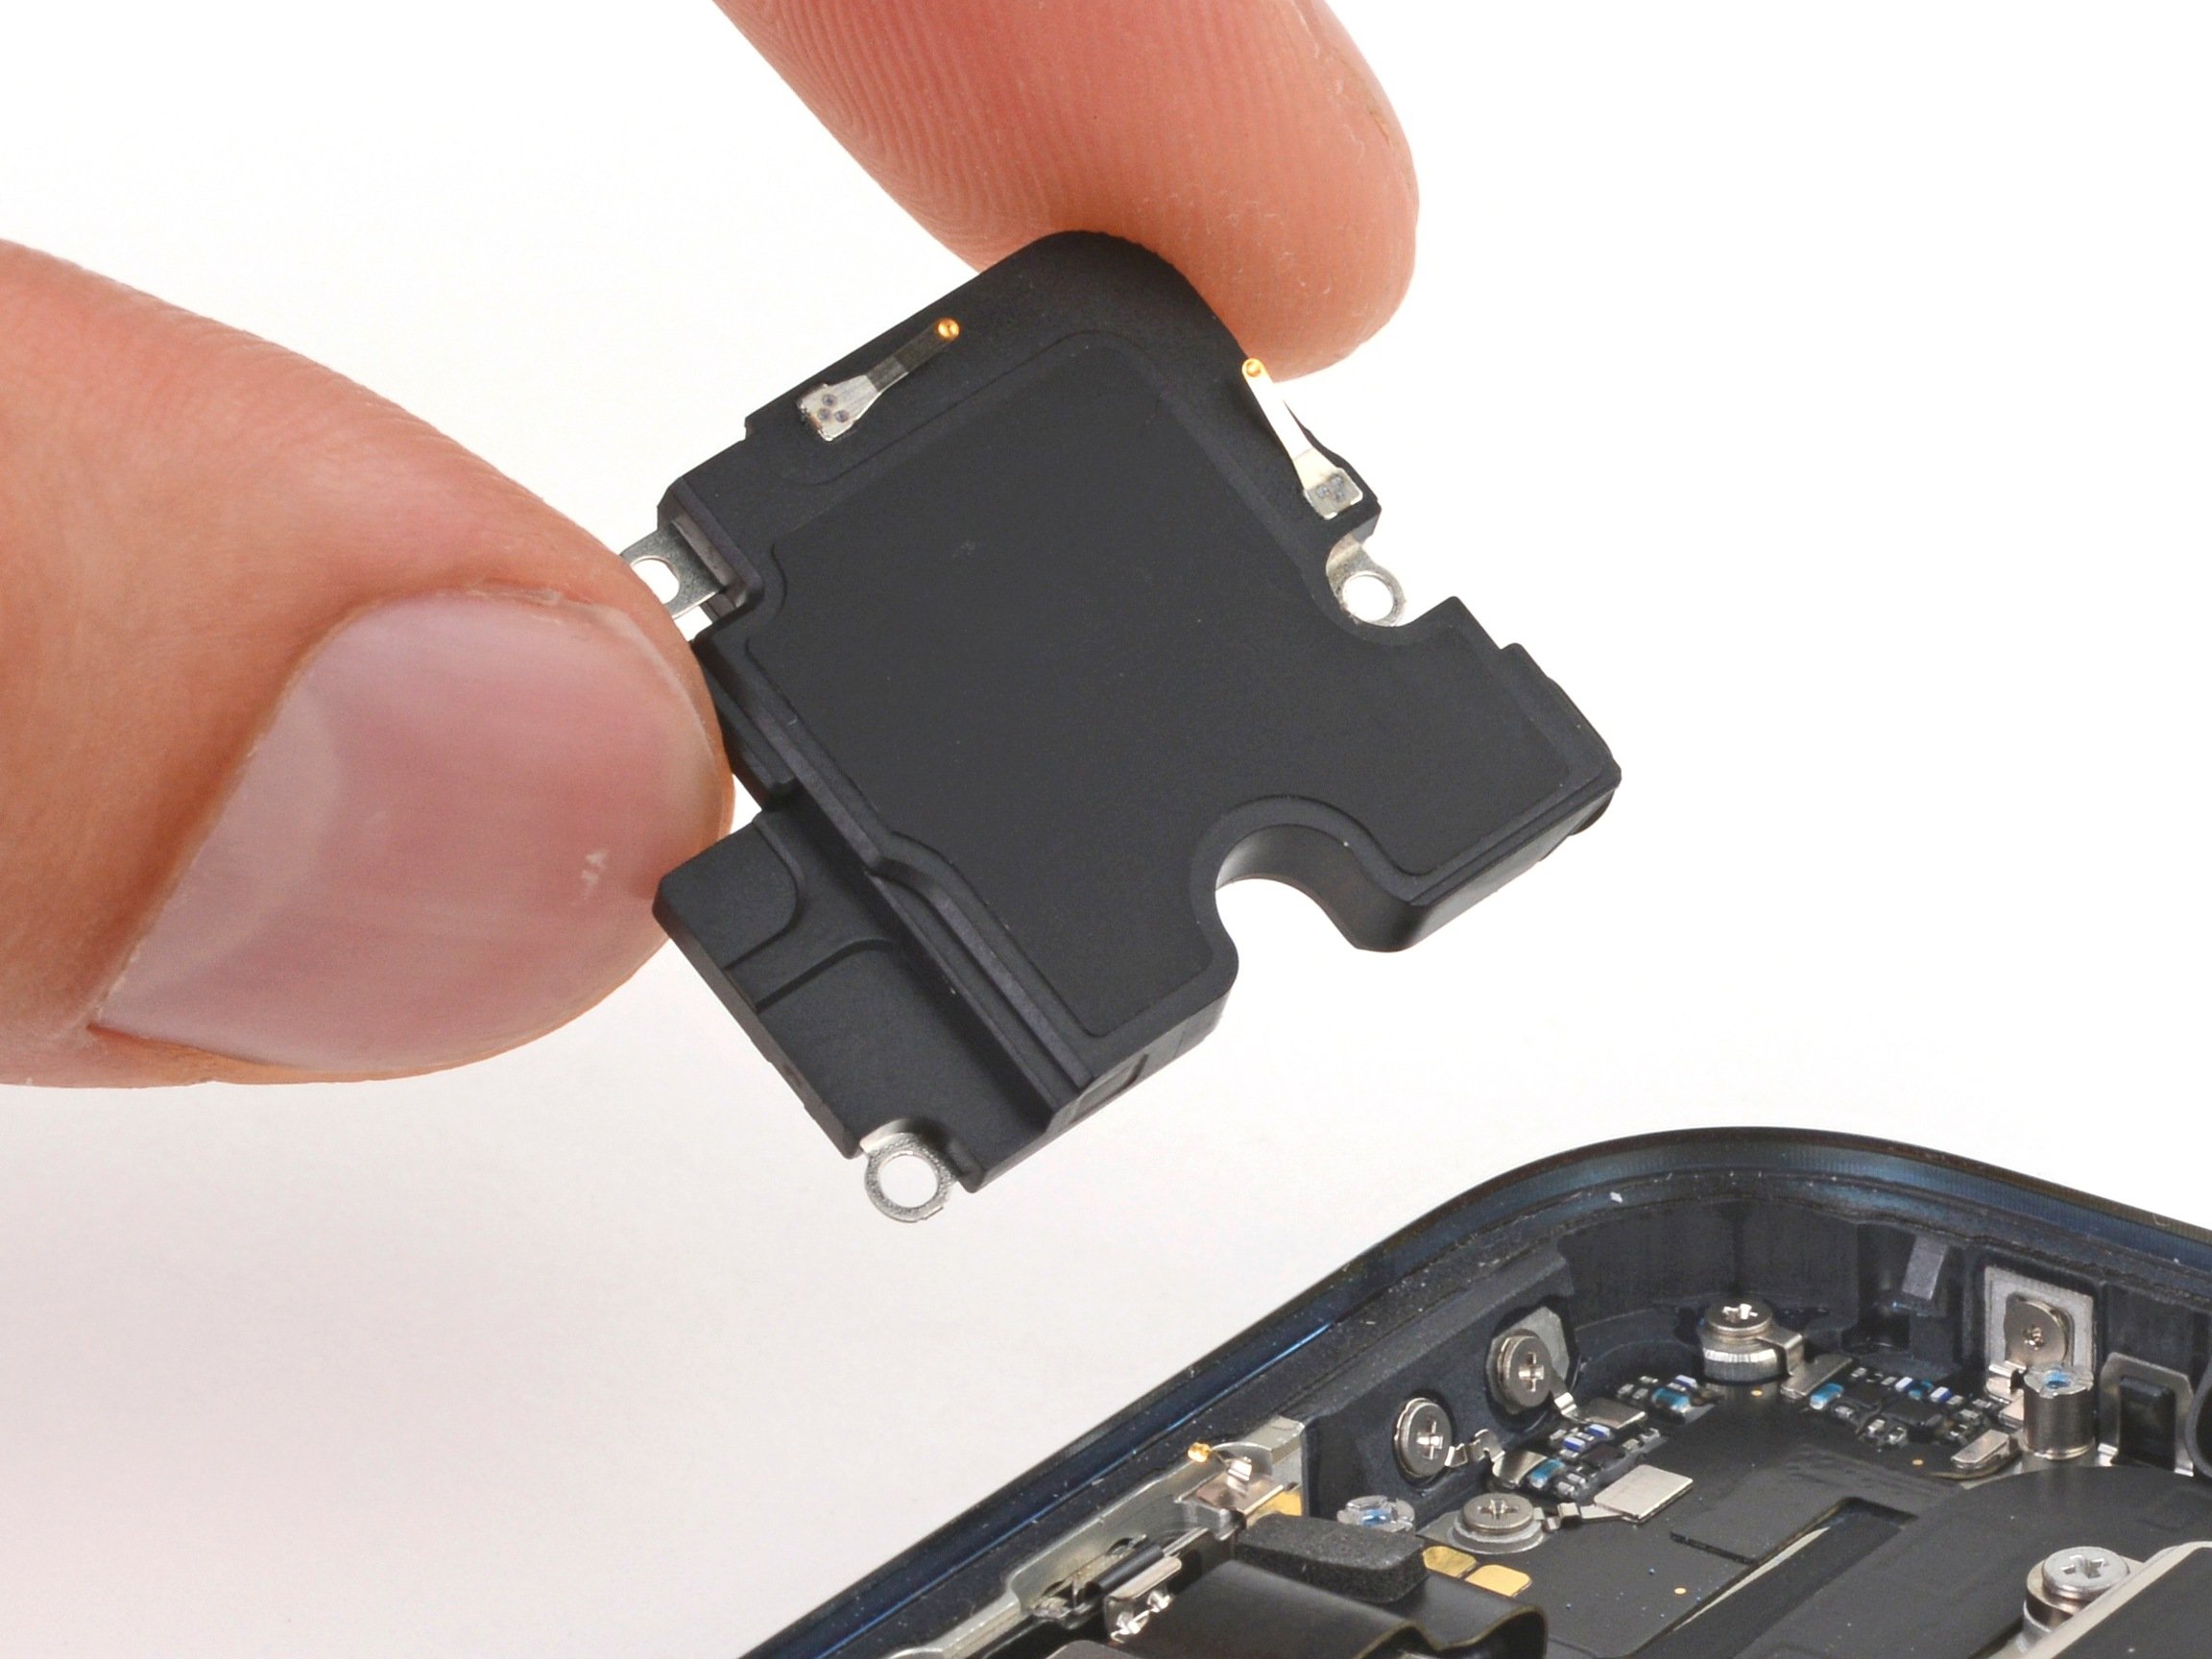
– Alright, let’s get this party started! Flip your laptop over and pop that lid open. Grab your trusty plastic prying tool and gently separate the keyboard plate from the main housing. Just a heads up—be careful around those LED indicators and other little gadgets!
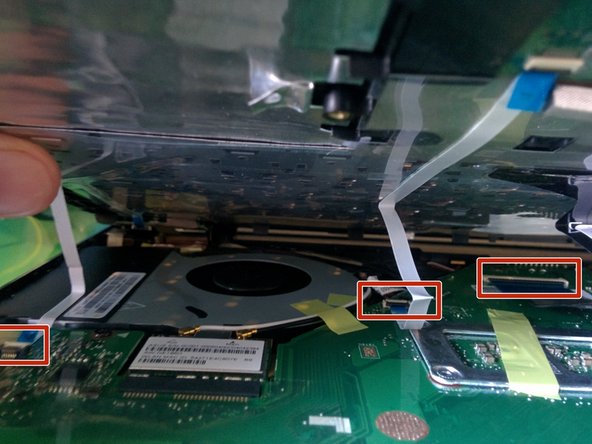
– Now, it’s time to disconnect the LED, trackpad, and keyboard ribbon cables. Easy peasy!
– And voilà! The keyboard is ready to be removed. You’ve got this!