Asus F6A-X2 Screen Replacement Guide DIY Tutorial
Duration: 45 minutes
Steps: 13 Steps
Hey there! Just a friendly reminder to take your time and be careful while working on your device. If you run into any bumps along the way, don’t hesitate to reach out for help. You can always schedule a repair if you need a hand!
Your laptop’s screen is like the window to your digital world! If it’s acting up, it can really throw a wrench in your productivity. Make sure to grab a screen that matches your laptop’s dimensions (13.3″ WXGA) for the best experience. And remember, if you need help, you can always schedule a repair.
Step 1

Before diving into the repair, make sure to unplug any power cords and switch off that laptop! Working on a powered-up device could lead to a shocking surprise or even some serious damage. Safety first, friends!
The battery decided to take a little vacation and isn’t making an appearance in this snapshot.
– Alright, let’s flip that laptop over and give it a little twist so the battery is looking right at you!
– To pop out the battery, use one finger on each of those two sleek black slide tabs. Just give them a gentle push towards the center of the laptop to unlock it.
– Now, slide that battery towards you and lift it out like a pro!


Step 3


– Slide your fingernail or the flat end of a spudger into the gap between the laptop base and the hinge guard on the right side. Give it a gentle tug towards you until the guard pops off like a champ!
– Now, just rinse and repeat for the other guard. You’ve got this!
Step 4

– First things first, take off those hinge guards and set your laptop down flat on its back. Now, lift that screen like you’re about to dive into some serious work!
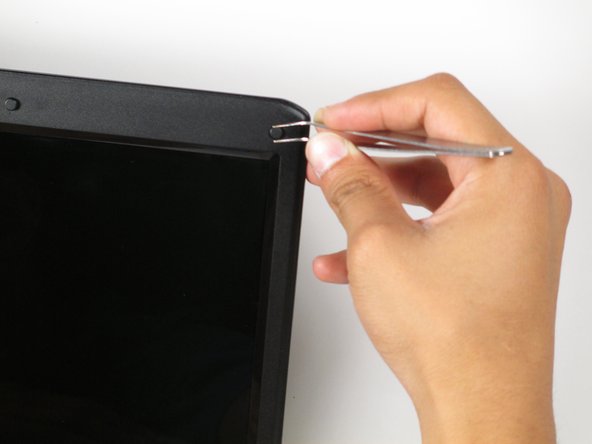
– Grab a pair of tweezers and gently peel away those six rubber cushions from the bezel that hugs the edges of your screen. You’re doing great!
Tools Used

Step 5


– Let’s get started by taking out those six 2.0 mm Phillips #1 screws that are hanging out around the edge of the bezel. They’re just waiting for you to give them a little twist!
Step 6

Hearing a little crackle? Don’t sweat it! Your bezel is still in tip-top shape during this process.
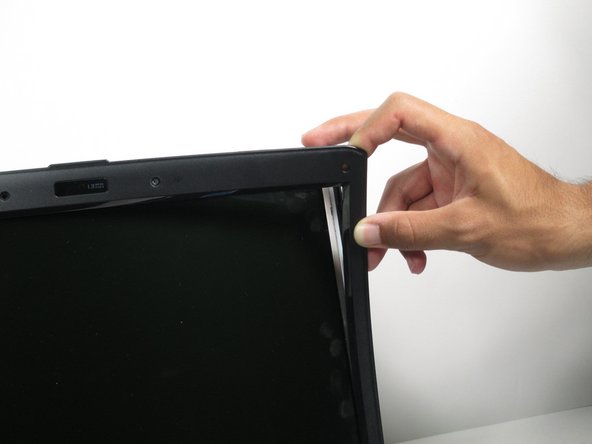
– Slide a fingernail or the flat edge of a spudger into the gap between the bezel and the back cover of your laptop.
– Gently nudge the bezel towards you to pop it off the back panel.
– Keep working your way around the edges of the laptop until the bezel is completely free and clear.
Step 7


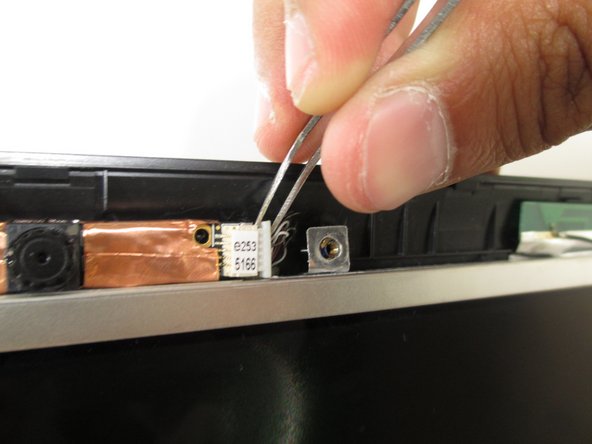
– Grab your trusty tweezers and gently latch onto the white connector at the bottom of the screen. With a steady hand, give it a little tug to the right to pop it off.
– Now, let’s do the same dance with the white connector that’s hanging out above the screen, connected to the webcam. A gentle pull to the right will do the trick!
Tools Used
Step 8

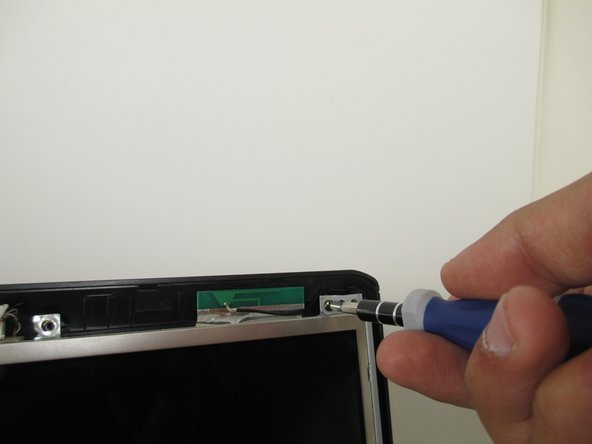
– Start by taking out those four 2.0 mm Phillips #1 screws tucked away at each corner of your laptop screen. You’ve got this!
– When it’s time to put the screen back together, be sure to place the 2.0 mm screws in the holes that are closest to the center of the laptop. It’s all about that perfect alignment!

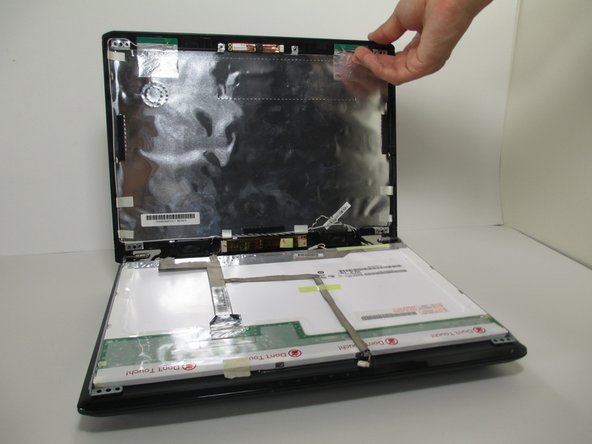

Step 11
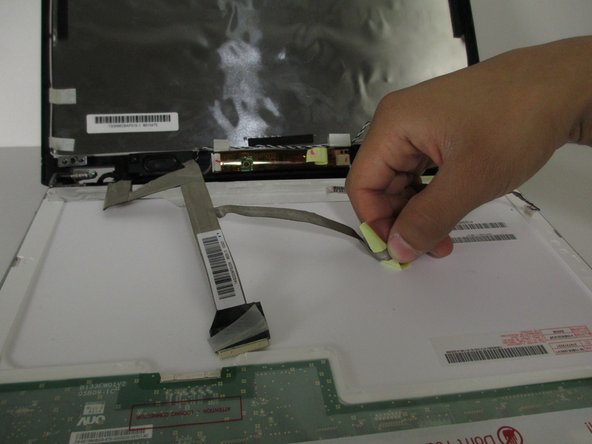

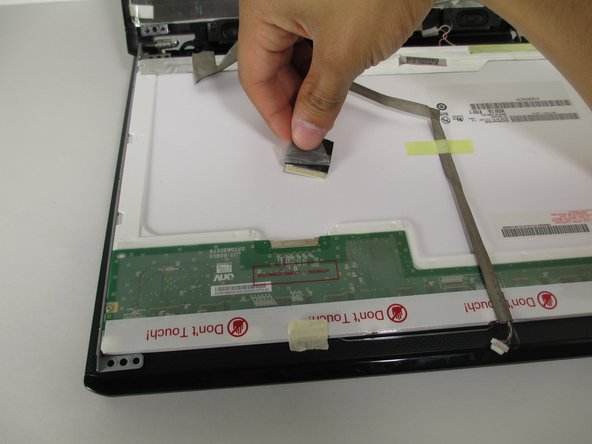
– Gently peel off the remaining adhesive by lifting the yellow tape pieces with care. You’ve got this!
– Place those wires safely on the back panel to keep them out of harm’s way. Let’s protect those little guys!
Step 12
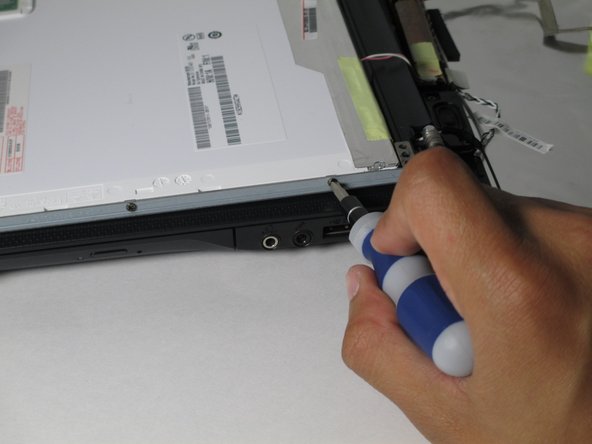

– Unscrew those six 2.0 mm Phillips #1 screws that are holding the hinges to the screen. You’ll find three screws on each side of your laptop, just waiting to be freed!