DIY Guide to Replace Hinges on Asus F6A-X2 Laptop
Duration: 45 minutes
Steps: 21 Steps
The hinges on your laptop are like the trusty sidekicks that hold the screen up when you’re opening and closing the device. If those hinges are feeling a bit too loose, your screen might not want to cooperate and stay upright. And hey, when you’re swapping out that hard drive, just make sure it’s compatible with your laptop. If you need help, you can always schedule a repair.
Step 1

Unplug all power cords and make sure your laptop is powered down. Trying to swap out parts while the device is still running could lead to a shocking experience or worse, damage your gadget.
The battery decided to play hide and seek in this picture!
– Start by flipping your laptop over so that the bottom is facing up, with the battery peeking at you from the side.
– To pop that battery out, place a finger on each of the two black slide tabs. Give them a gentle push toward the center of the laptop to unlock it.
– Now, slide the battery toward you and lift it out. Easy peasy!
Step 2


– Place your laptop on a flat surface, right side up, ready for action.
– Now, give that laptop a little twist, rotating it 90 degrees toward you so you can get a good look at the empty battery compartment. Let’s see what’s inside!
Step 3


– Take a moment to grab your trusty finger or the smooth edge of a spudger, and slide it into the little gap between the laptop’s base and that hinge guard on the right side. Gently tug it towards you, and watch as the guard pops off like a champ!
– Now, don’t stop there! Go ahead and do the same for the other guard.
Step 4

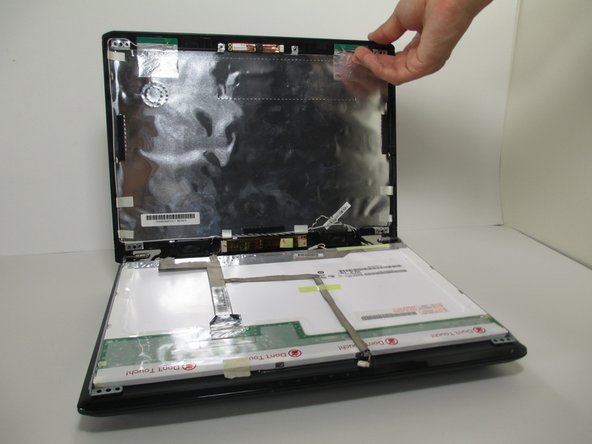
– After you’ve successfully removed those hinge guards, it’s time to lay your laptop down flat on its back. Now, go ahead and lift that screen like you’re about to dive into a great movie!
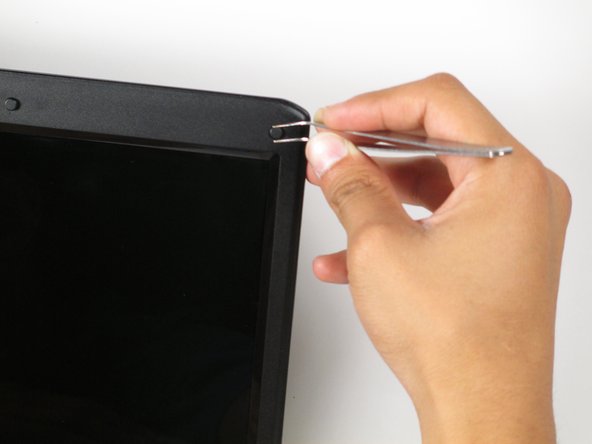
– Grab your trusty tweezers and gently peel off those six rubber cushions from the bezel that are hanging out around the screen’s edge.
Tools Used

Step 5


– Let’s kick things off by unscrewing the six 2.0 mm Phillips #1 screws that are holding the bezel in place. Grab your trusty screwdriver and get to it!
Step 6
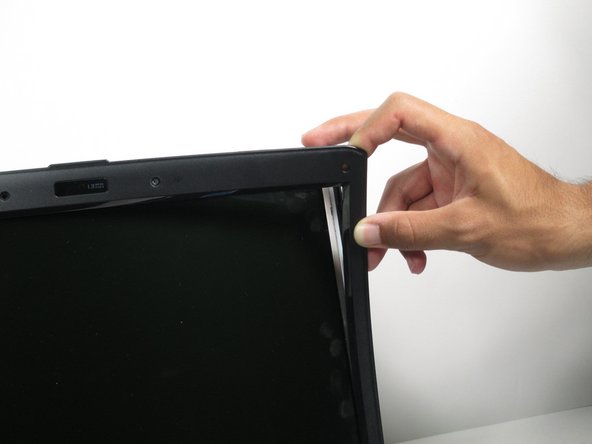

It’s totally normal to hear a cracking sound! Don’t worry, the bezel is just fine during this process.
– Slide your trusty fingernail or the flat edge of a spudger into the little gap between the bezel and the back cover of your laptop.
– Gently nudge the bezel towards yourself to pop it off the back panel of the laptop.
– Keep on prying around the edges of the laptop until the whole bezel is free and clear.


Step 8

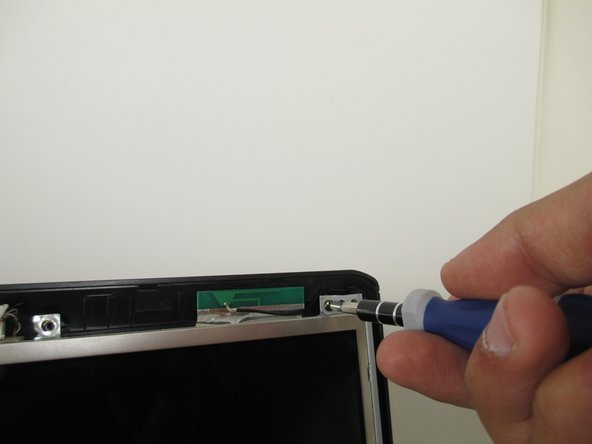
– Start by taking out those four 2.0 mm Phillips #1 screws nestled in the corners of your laptop screen. They’re just waiting to be freed!
– When you’re putting the screen back together, don’t forget to guide those 2.0 mm screws into the holes that are closest to the center of the laptop. They’ll thank you for it!

Step 10

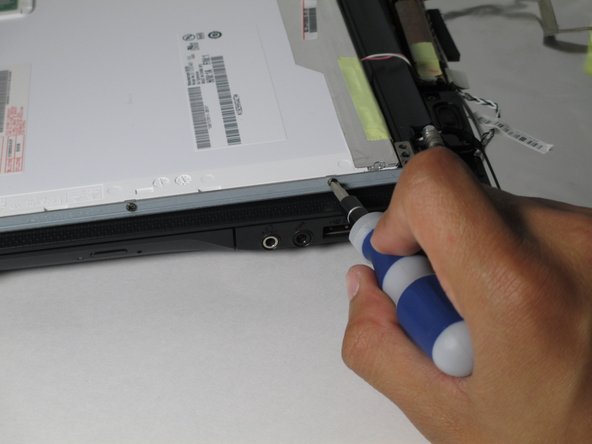
– Let’s kick things off by taking out those six little 2 mm Phillips #1 screws that are keeping the hinges snugly attached to the screen. You’ll find three on each side, just waiting for some attention!
– Once those screws are out of the picture, close up your laptop and give it a flip so it’s resting face down. You’ve got this!
Step 11


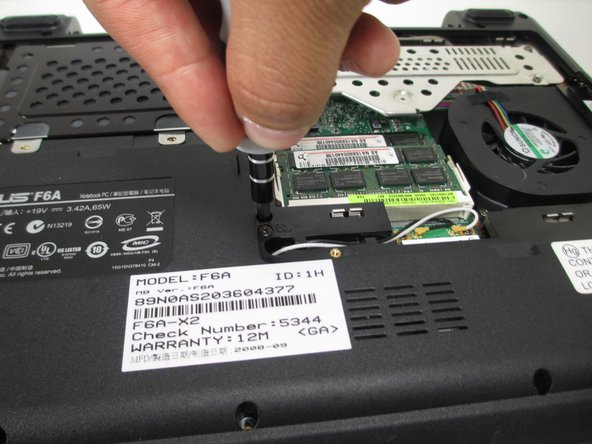
– Alright, let’s flip that laptop over! Position it so the battery pack is facing away from you like it’s giving you a friendly wave.
– Next up, grab your trusty Phillips #1 screwdriver and carefully remove those six 1.5 mm screws on the back panel. You’ve got this!
Step 12


– Slide a finger into one of the nifty little slots on the bottom panel.
– Gently lift it up, and watch as the back panel of your laptop gracefully pops off!
Step 13

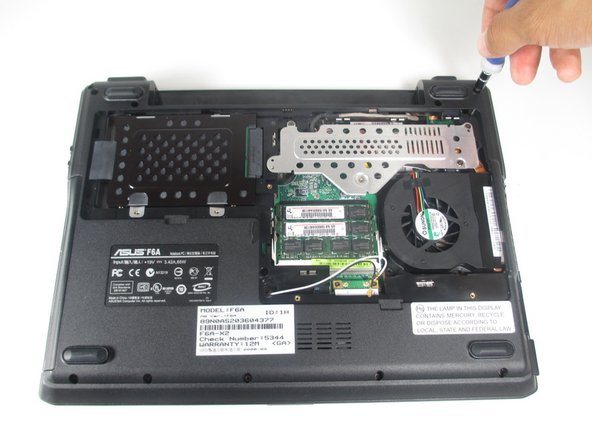
This sneaky little screw is hiding behind a black wire that runs across the top of your laptop. Give that wire a gentle nudge to the right, and voilà, the screw is all yours to remove!
– Time to get those screws out! Start by unscrewing these four little guys that are keeping the base snugly attached to the motherboard:
– First up, locate that 1.5 mm Phillips #1 screw chillin’ near the center of your laptop.
– Next, find another 1.5 mm Phillips #1 screw at the top center, right next to the metal guard. It’s waving at you!
– Lastly, there are two 1.5 mm Phillips #1 screws hanging out by the fan. Give them some love and twist them out!
Step 14

This will provide some wiggle room when separating the base from the motherboard.
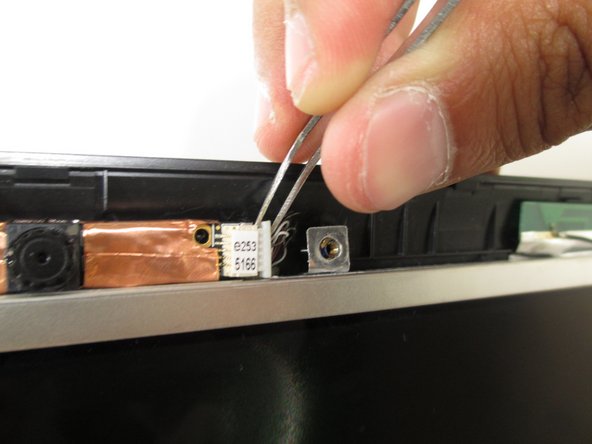
– Alright, let’s take a moment to carefully detach those white and black cables from the graphics card using a trusty pair of tweezers! Just grab the gold node on each wire and give it a gentle tug upwards—watch as it pops right out of its socket like magic.
– Quick reminder: the black wire belongs in spot 1, and the white wire in spot 2 on the graphics card. Keep that in mind!
– When you’re putting your laptop back together, don’t forget about the little hole on the motherboard where those black and white wires will need to sneak through. It’s their little passageway to happiness!
Tools Used
Step 15

You’ll find two screws tucked away inside the big circles at the top corners of your laptop. Let’s get those out and keep moving forward!
– Let’s get this laptop opened up! Start by unscrewing the eleven 1.5 mm Phillips #1 screws that are hanging out around the edges. You’ve got this!
Step 16

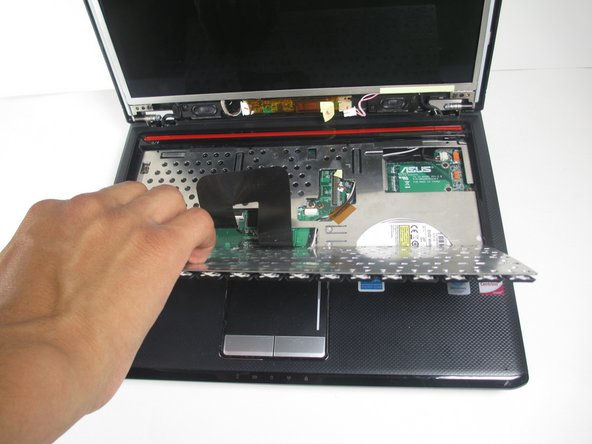
Time to say goodbye to the keyboard! Just a heads up: it’s attached to your laptop with a delicate little ribbon. So, when you’re gently prying it away, take your time—no need to rush and risk damaging that ribbon. You’ve got this!
– First things first, flip that laptop right side up and swing it open to say hello to the keyboard!
– Now, take your finger or the flat end of a spudger and gently slip it into the top left edge of the keyboard, right beneath the ‘Esc’ and ‘F1-F2’ keys.
– With a little finesse, pull the keyboard towards you and lay it down flat. You’ll hear a friendly pop as it disconnects from the laptop!
Step 17

Now that you’ve freed the ribbon, gently set the keyboard aside in a safe spot to keep it out of harm’s way. You’ve got this!
– Alright, let’s get that keyboard out of there! To completely remove it, you’ll first need to disconnect the ribbon from the laptop.
– Grab a pair of tweezers and gently tug on each side of the white tab. With a little finesse, you’ll have it freed from the computer in no time!
Tools Used
Step 18
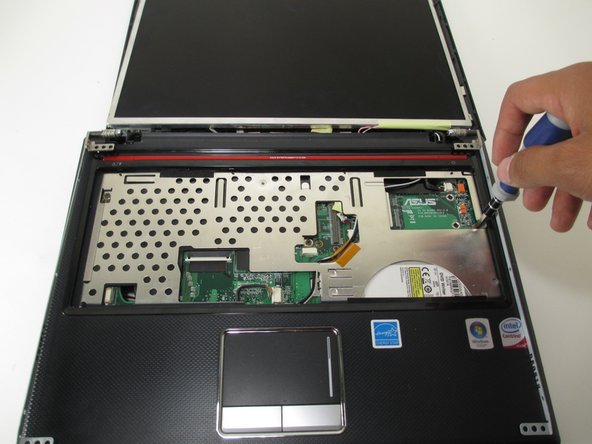

– Start by unscrewing those three 1.5 mm Phillips #1 screws holding the metal guard of your laptop in place. You’ve got this!
– When you put everything back together, keep in mind that the screw on the far right is a bit longer than the other two. It’s like the special one in the group!
Step 19
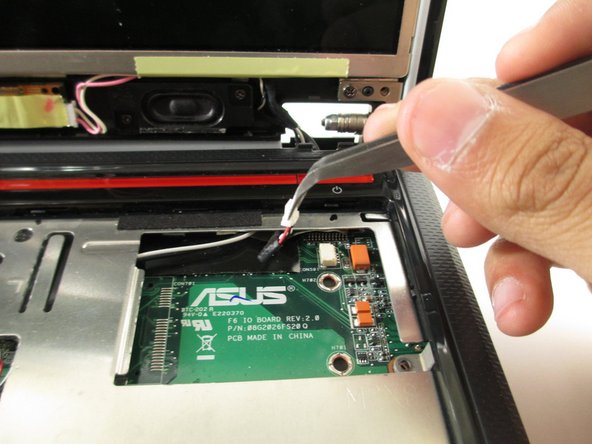

– Grab your trusty tweezers and gently detach the three white connectors from the motherboard. This will give you a bit of breathing room as you take apart the base.
– For those connectors at the top right and in the middle of the laptop, just give them a little tug to the left.
– And that connector nestled right in between the two? You’ll want to pull it back towards the rear of the laptop.
Tools Used
Step 20

– Slide the flat end of a spudger into the slim gap along the side of your laptop. With a gentle touch, start prying open around the edges to separate the base from the top.
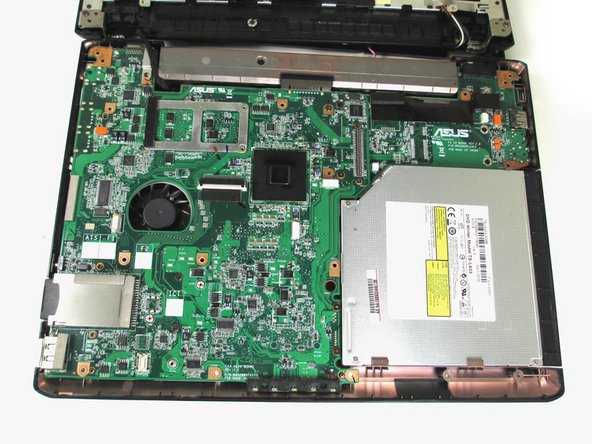
– Once you’ve successfully separated the two halves, lay the top base flat against the back panel. Now, take a moment to admire the exposed circuit board!
Step 21
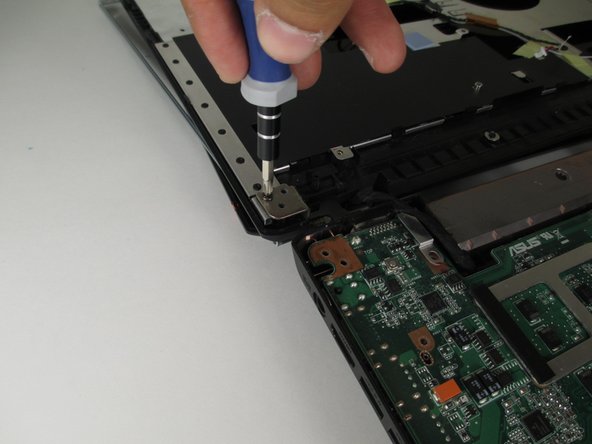

Each hinge is clearly marked to make your life easier! Look for an ‘L’ on the left hinge and an ‘R’ on the right hinge. We’ve got your back on this!
– Unscrew the two 2.0 mm Phillips #1 screws on each hinge with a gentle touch.
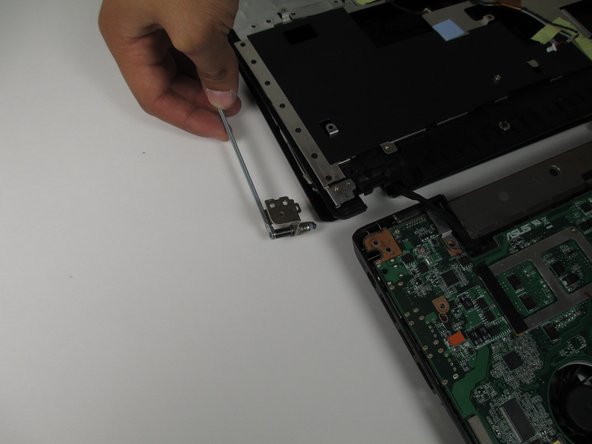
– Carefully pull the hinges away from the laptop to free them up.