Polaroid PMID4312 Digitizer Teardown
Duration: 45 minutes
Steps: 7 Steps
Since the digitizer is glued onto the screen, applying gentle heat with a heat gun can help soften the adhesive. This makes it easier to carefully separate the two parts without damage. Take your time and be patient—if you need a hand, you can always schedule a repair.
Step 1


– Slide the plastic opening tool into the gap between the two halves of the cover. Gently work your way around the edge, prying the halves apart little by little. If you need help, you can always schedule a repair.
Step 2


– Gently slide a card (like an old ID or credit card) underneath the battery and give it a little nudge to loosen it up.
– Peel off any yellow tape that’s not holding the battery in place—no need for it to stay if it’s not attached directly.
– Grab your soldering iron and carefully desolder the two wires connecting the battery to the motherboard. Take it slow, and don’t forget to be careful!
Tools Used

Step 3
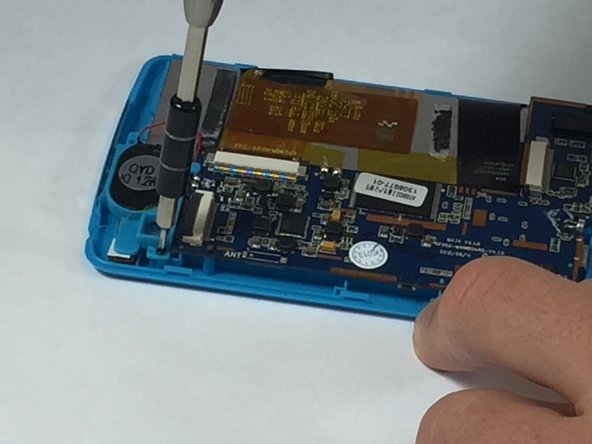
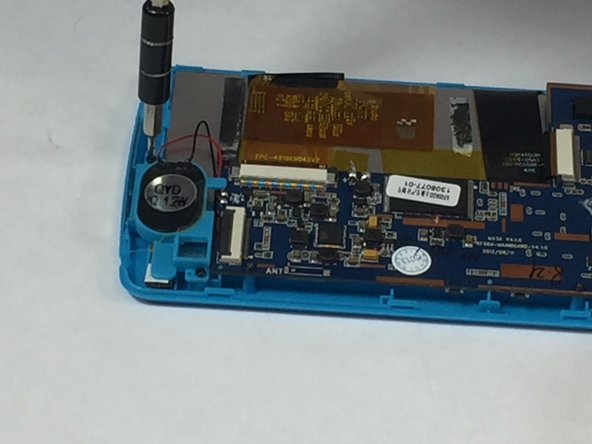
– Grab a Phillips head #00 screwdriver and unscrew the two screws securing the speaker. If you need help, you can always schedule a repair.
Step 4
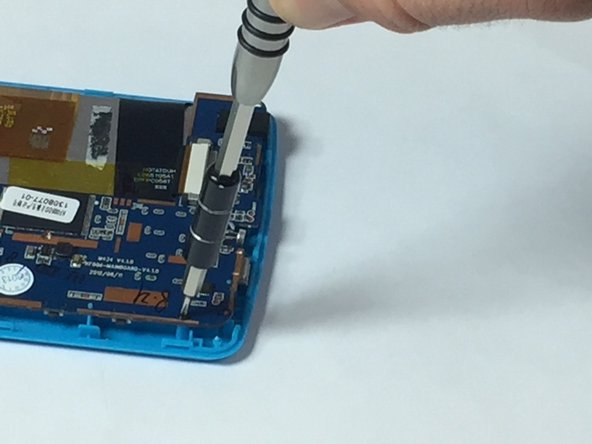

– Grab your trusty ph#00 screwdriver and take out those four 5mm screws that keep the motherboard snug in its casing. You’ve got this!
Step 5


Handle the parts gently—think of it like giving them a light touch, because they’re pretty fragile. If you need help, you can always schedule a repair.
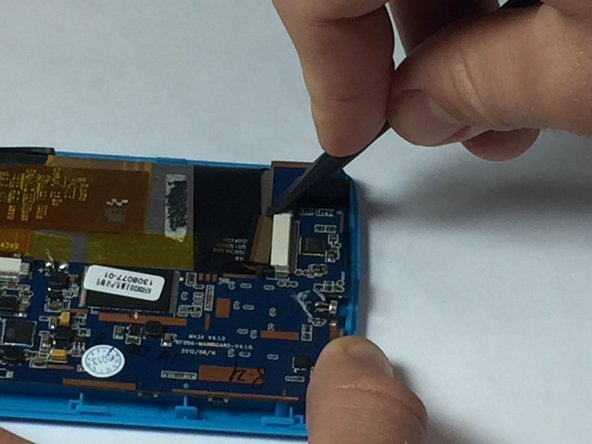
Grab a pair of tweezers to gently lift the ribbons. This will help you avoid any accidental snags or bends while you’re working.
– Grab your spudger and gently pop those two ribbons off the motherboard by sliding the gray plastic tabs away from their white slots.
– Once the casing is off, carefully lift the two ribbons from the motherboard.
Tools Used

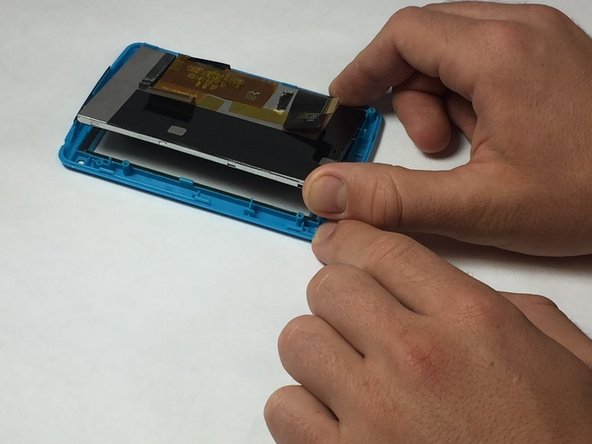
Step 6

– Next up, gently detach the motherboard along with all its attached buddies.
Step 7

Using the heat gun from earlier makes this step a breeze. Just a quick, gentle touch and you’re good to go!
– Warm up the front of the screen with a heat gun for about 3-5 minutes to loosen the glue—think of it as giving it a gentle hug. Next, use a plastic opening tool to lift the blue tabs and gently pry the digitizer away from the screen. Finally, remove the black trim that runs along the edge of the screen, which is attached to the digitizer. If you need a hand along the way, don’t hesitate to schedule a repair with Salvation Repair.
Tools Used

Success!