How to Replace Asus F554LA-WS52 Screen DIY Guide
Duration: 45 minutes
Steps: 6 Steps
If your notebook’s screen has seen better days with scratches or cracks but the rest of it is still in good shape, it might be time for a screen swap! It’s an easy fix, and all you need are a plastic opening tool and a Phillips #0 screwdriver. Remember, if you need help, you can always schedule a repair!

Step 2


– Grab your trusty Phillips #0 screwdriver and unscrew those two 4.6mm screws like a pro! You’ve got this!
Tools Used

Step 3
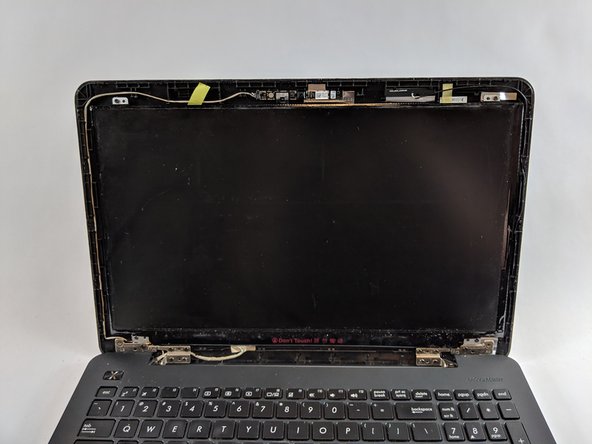

– Grab that trusty plastic opening tool and gently nudge the notebook’s plastic screen cover away from the screen. You’ve got this!


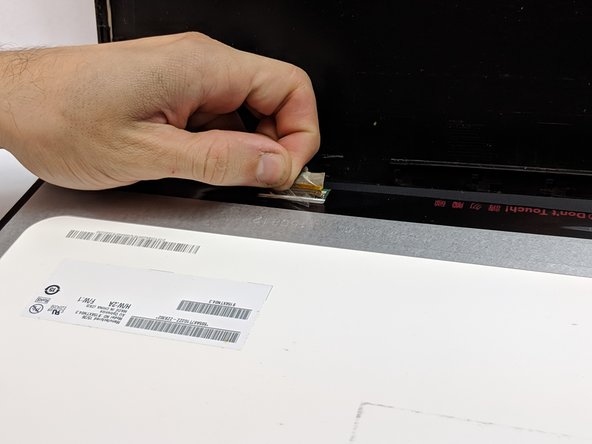
Step 6

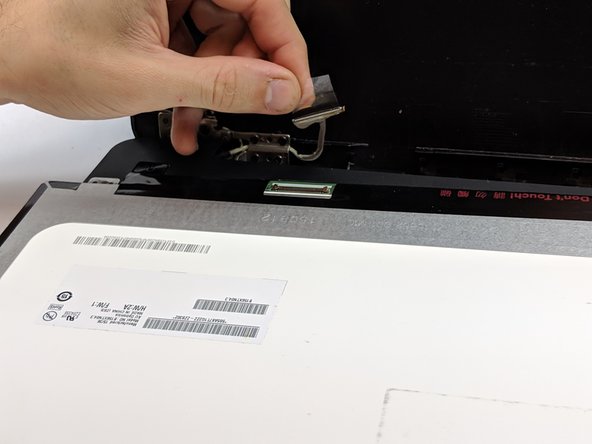
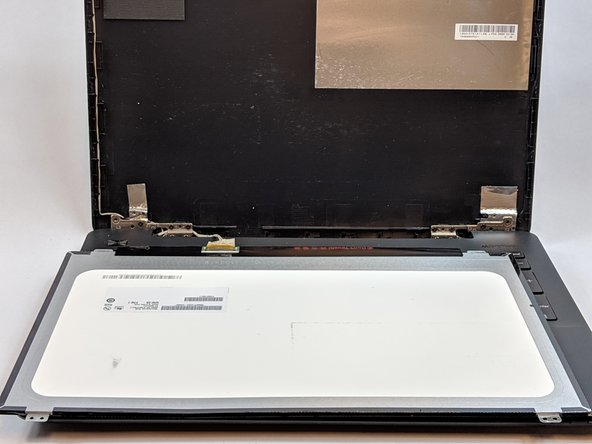
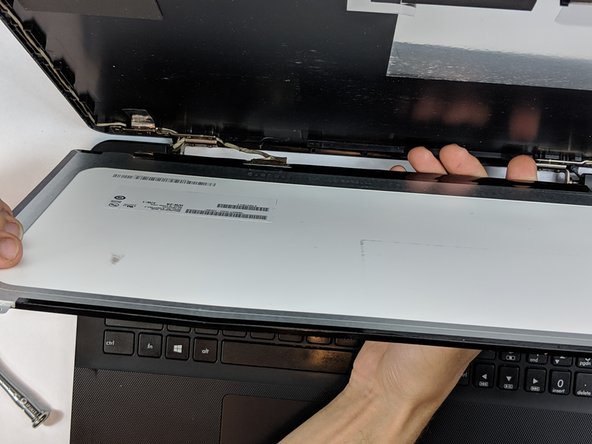
– Peel away the tape that’s hiding those visual pin connectors like a surprise gift waiting to be unwrapped.
– Carefully unplug the screen from those pin connectors and give it a fresh new start by replacing it.