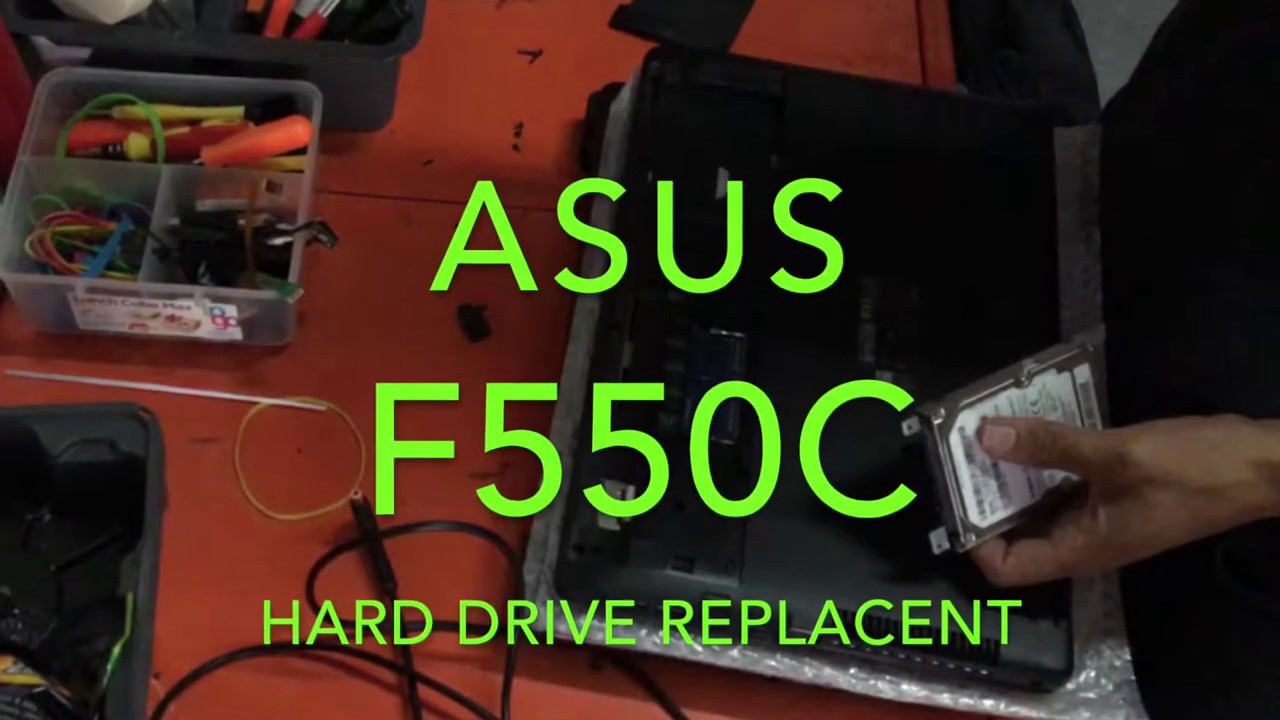
How to Replace ASUS F550 HDD Step-by-Step Guide
Duration: 45 minutes
Steps: 3 Steps
Alright, tech whiz! Time to dive into the world of repairs. We’ll walk you through each step with ease, making sure your device gets back to its prime in no time. Remember, if you hit a snag along the way, don’t hesitate to schedule a repair. Let’s get started!
Step 1


Give your device a little pep talk by trying to power it on after taking out the battery. This helps ensure there’s no lingering power hanging around.
– First up, let’s get that battery out of the way! Pop it out using those handy release clips.
– Next, it’s time for some screw action! Remove either 2 screws, or go for 4 if you’re diving into a full teardown. These little 12mm Phillips screws are your ticket to lifting the bottom cover and accessing the HDD and RAM.
– Now, let’s take off the HDD and RAM cover to reveal the treasures inside!
Step 2

– Unscrew those 3 tiny 5mm Phillips screws with a smile!
– Gently slide the HDD caddy back and give it a little tug using the handy black pull tab to free it.
Step 3

– Unscrew those 4 Phillips screws, with 2 on each side just waiting to be removed!
– Carefully lift out the HDD from its cozy caddy.