DIY Guide to Replace Asus Eee PC 1201HAB Hard Drive
Duration: 45 minutes
Steps: 9 Steps
Hey there! Just a quick heads up: make sure you’re all set and ready to tackle this repair adventure. Take your time, have fun, and remember, if you need a helping hand, you can always schedule a repair. You’ve got this!
Having a hard time with your hard drive? No worries! This guide is here to walk you through the steps to easily remove and replace it. Let’s get that device back in action!
Step 1


– Grab a trusty plastic opening tool and gently wiggle the top panel away from the base. You’ve got this!
Step 2


– Gently raise the keyboard off the base, taking your time to avoid any surprises.
– Unplug the ribbon cable nestled beneath the keyboard with care.

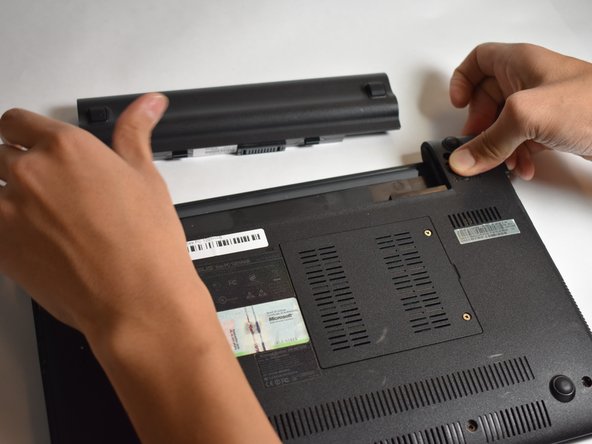
Step 4

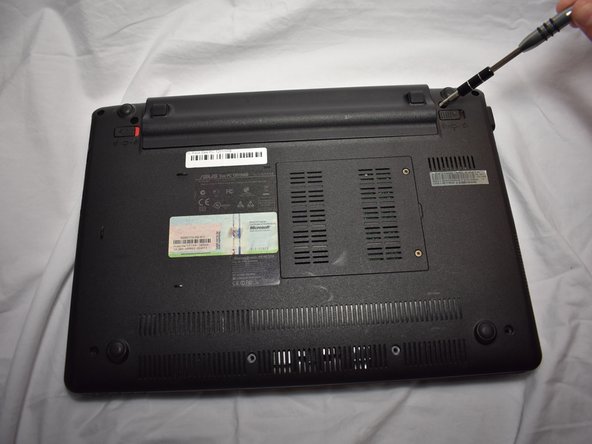
– Flip that laptop over so the back is facing up, just like you would with a pizza! It’s time to get to work.
– Grab your trusty Phillips #0 screwdriver and get ready to tackle those eight 6mm screws on the back of your laptop. Let’s show them who’s boss!
Tools Used


Step 6


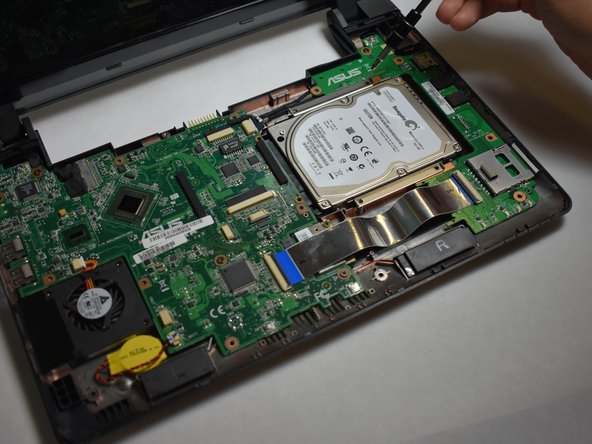
– First things first, flip your device over so you’re eye-to-eye with the screen. Got it? Perfect!
– Next up, grab your trusty Phillips #0 screwdriver and tackle those ten 4mm screws holding the silver panel snugly beneath the keyboard. You got this!
Tools Used
Step 7

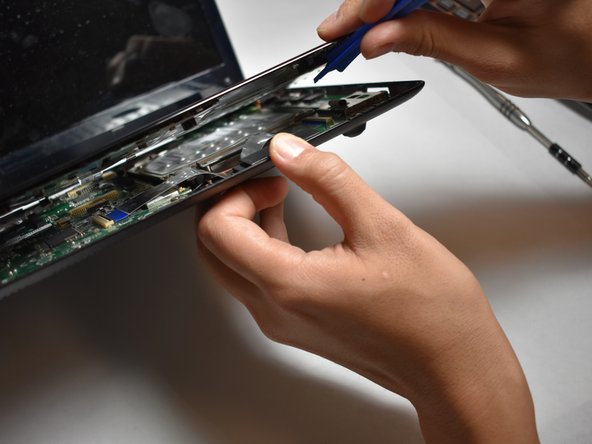
– Grab your trusty plastic opening tool and gently pop off the top panel of that laptop! You’ve got this!
Step 8
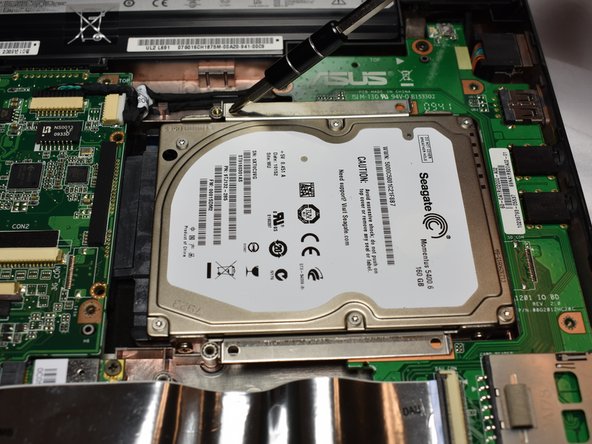

– Grab your trusty Phillips #0 screwdriver and go to town on those four 4mm screws holding the hard drive in place. You’ve got this!
Tools Used
Step 9

– Pop out the old hard drive and slide in the shiny new one! You’ve got this!