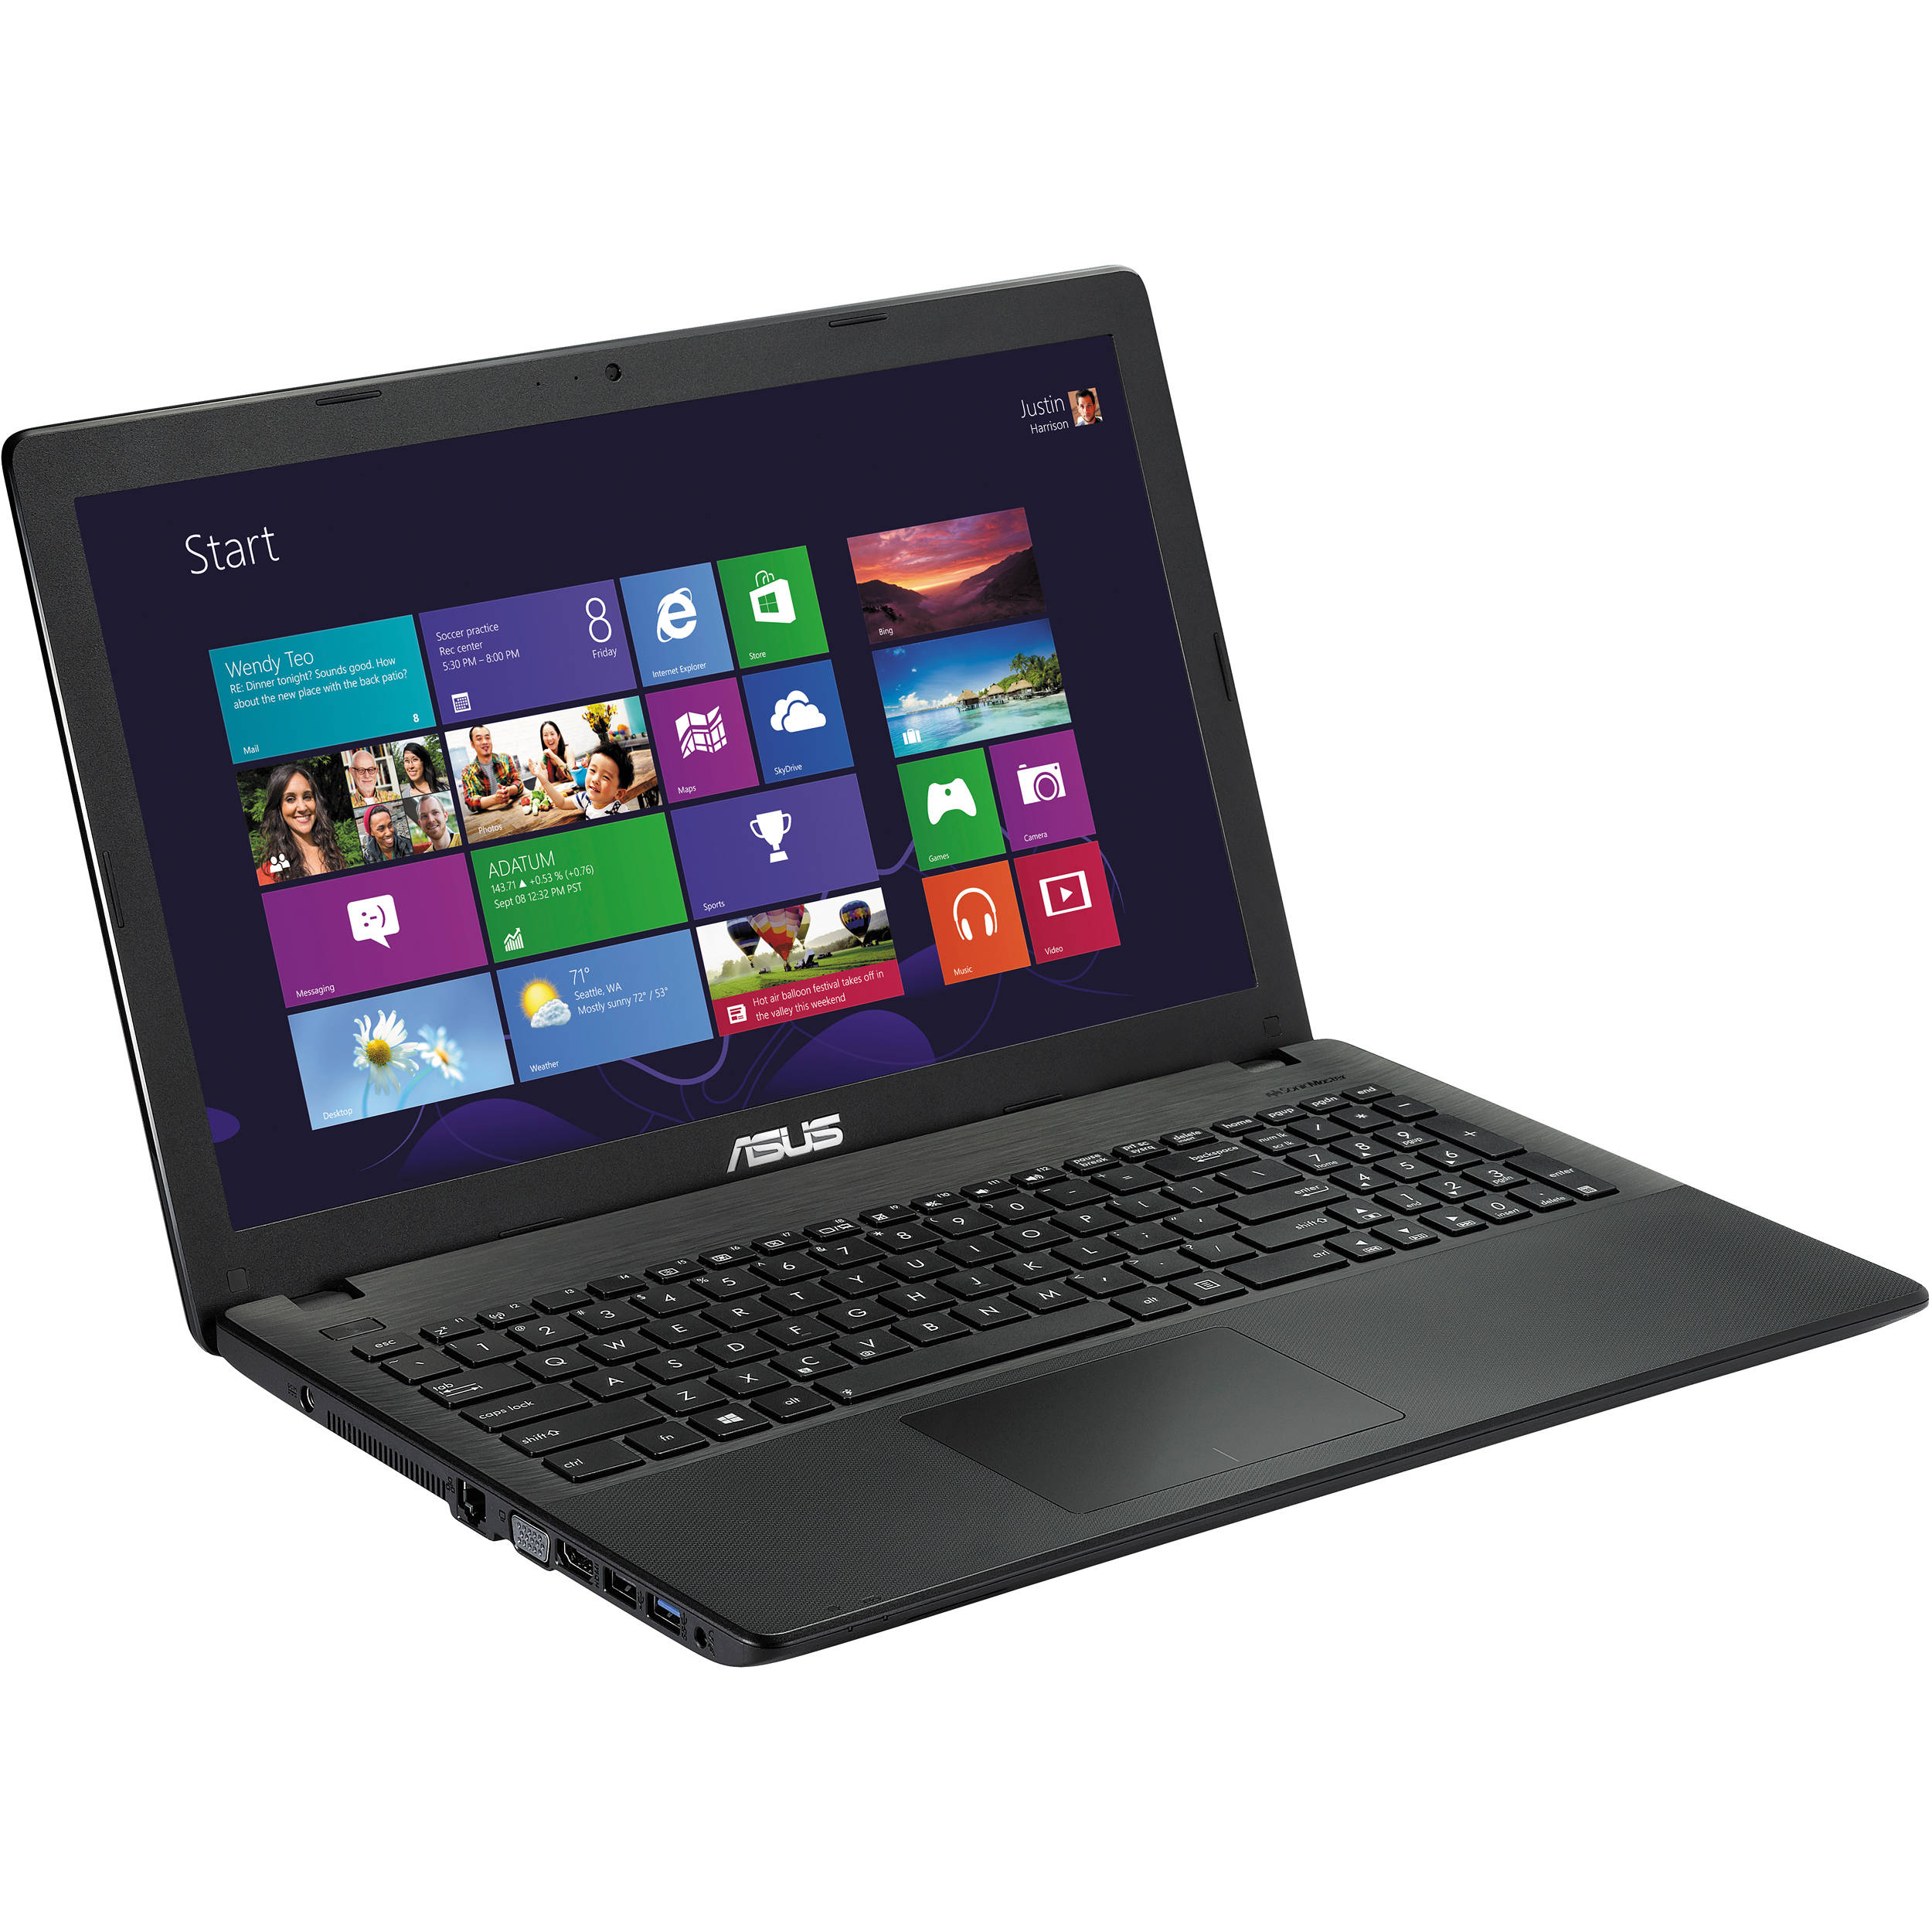
How to Replace Power Button on ASUS D550MA Guide
Duration: 45 minutes
Steps: 7 Steps
Hey there! Just a friendly reminder to be super careful while doing this repair. A little caution goes a long way in keeping your device safe and sound. If you run into any trouble or feel a bit lost, don’t hesitate to schedule a repair with us. We’re here to help you out!
The Power Button is your computer’s best friend when it comes to getting things started. If it ever decides to take a break, don’t worry! This guide will walk you through the simple steps to replace your Power Button and get back to business. If you need help, you can always schedule a repair.
Step 1


Before diving in, make sure to power down your laptop and unplug it from the wall. Safety first, right?
– Grab a Philips #1 screwdriver and take out the nine screws holding the back cover in place. You’ve got this!
Step 2

Be gentle when prying open the lid! You should hear each plastic clip give a satisfying snap as you glide the spudger along the edge. Remember, patience is key!
– Flip your laptop over and pop open the display.
– Grab your trusty spudger and slide the flat edge into the gap between the keyboard cover and the rest of the casing.
– With the spudger in place, gently work your way around the edge, carefully prying the casing open. Just slide the spudger along the edge—patience is key here!
Tools Used

Step 3


Ensure that every bit of the cover has popped free from those pesky plastic clips.
– Gently lift the cover from the front of the laptop, but remember, it’s not a race—don’t take it all the way off just yet!
– Keep an eye on those three white and blue data cables connecting the keyboard to the main board; they’re like the secret passageways of your device!
Step 4

If you’re just swapping out the battery, you can skip this step and the one after it. Gently move the keyboard module away from the display and place it down carefully, making sure the delicate flex cables aren’t under any stress.
To unlock a ZIF connector, gently use the tip of a spudger or your fingernail to lift the small, hinged locking flap. Then, carefully slide the cable out of its socket once it’s free.
– Unplug the three data cables from the motherboard with care.
Tools Used

Step 6


– Flip the keyboard over so the key-side is facing down. The Power Button circuit is conveniently located right under where the button sits.
– Grab your trusty Philips #1 screwdriver and unscrew the two screws that are keeping the circuit snug in place.
Step 7

– Gently lift and detach the circuit board for the Power Button from the Keyboard Module.