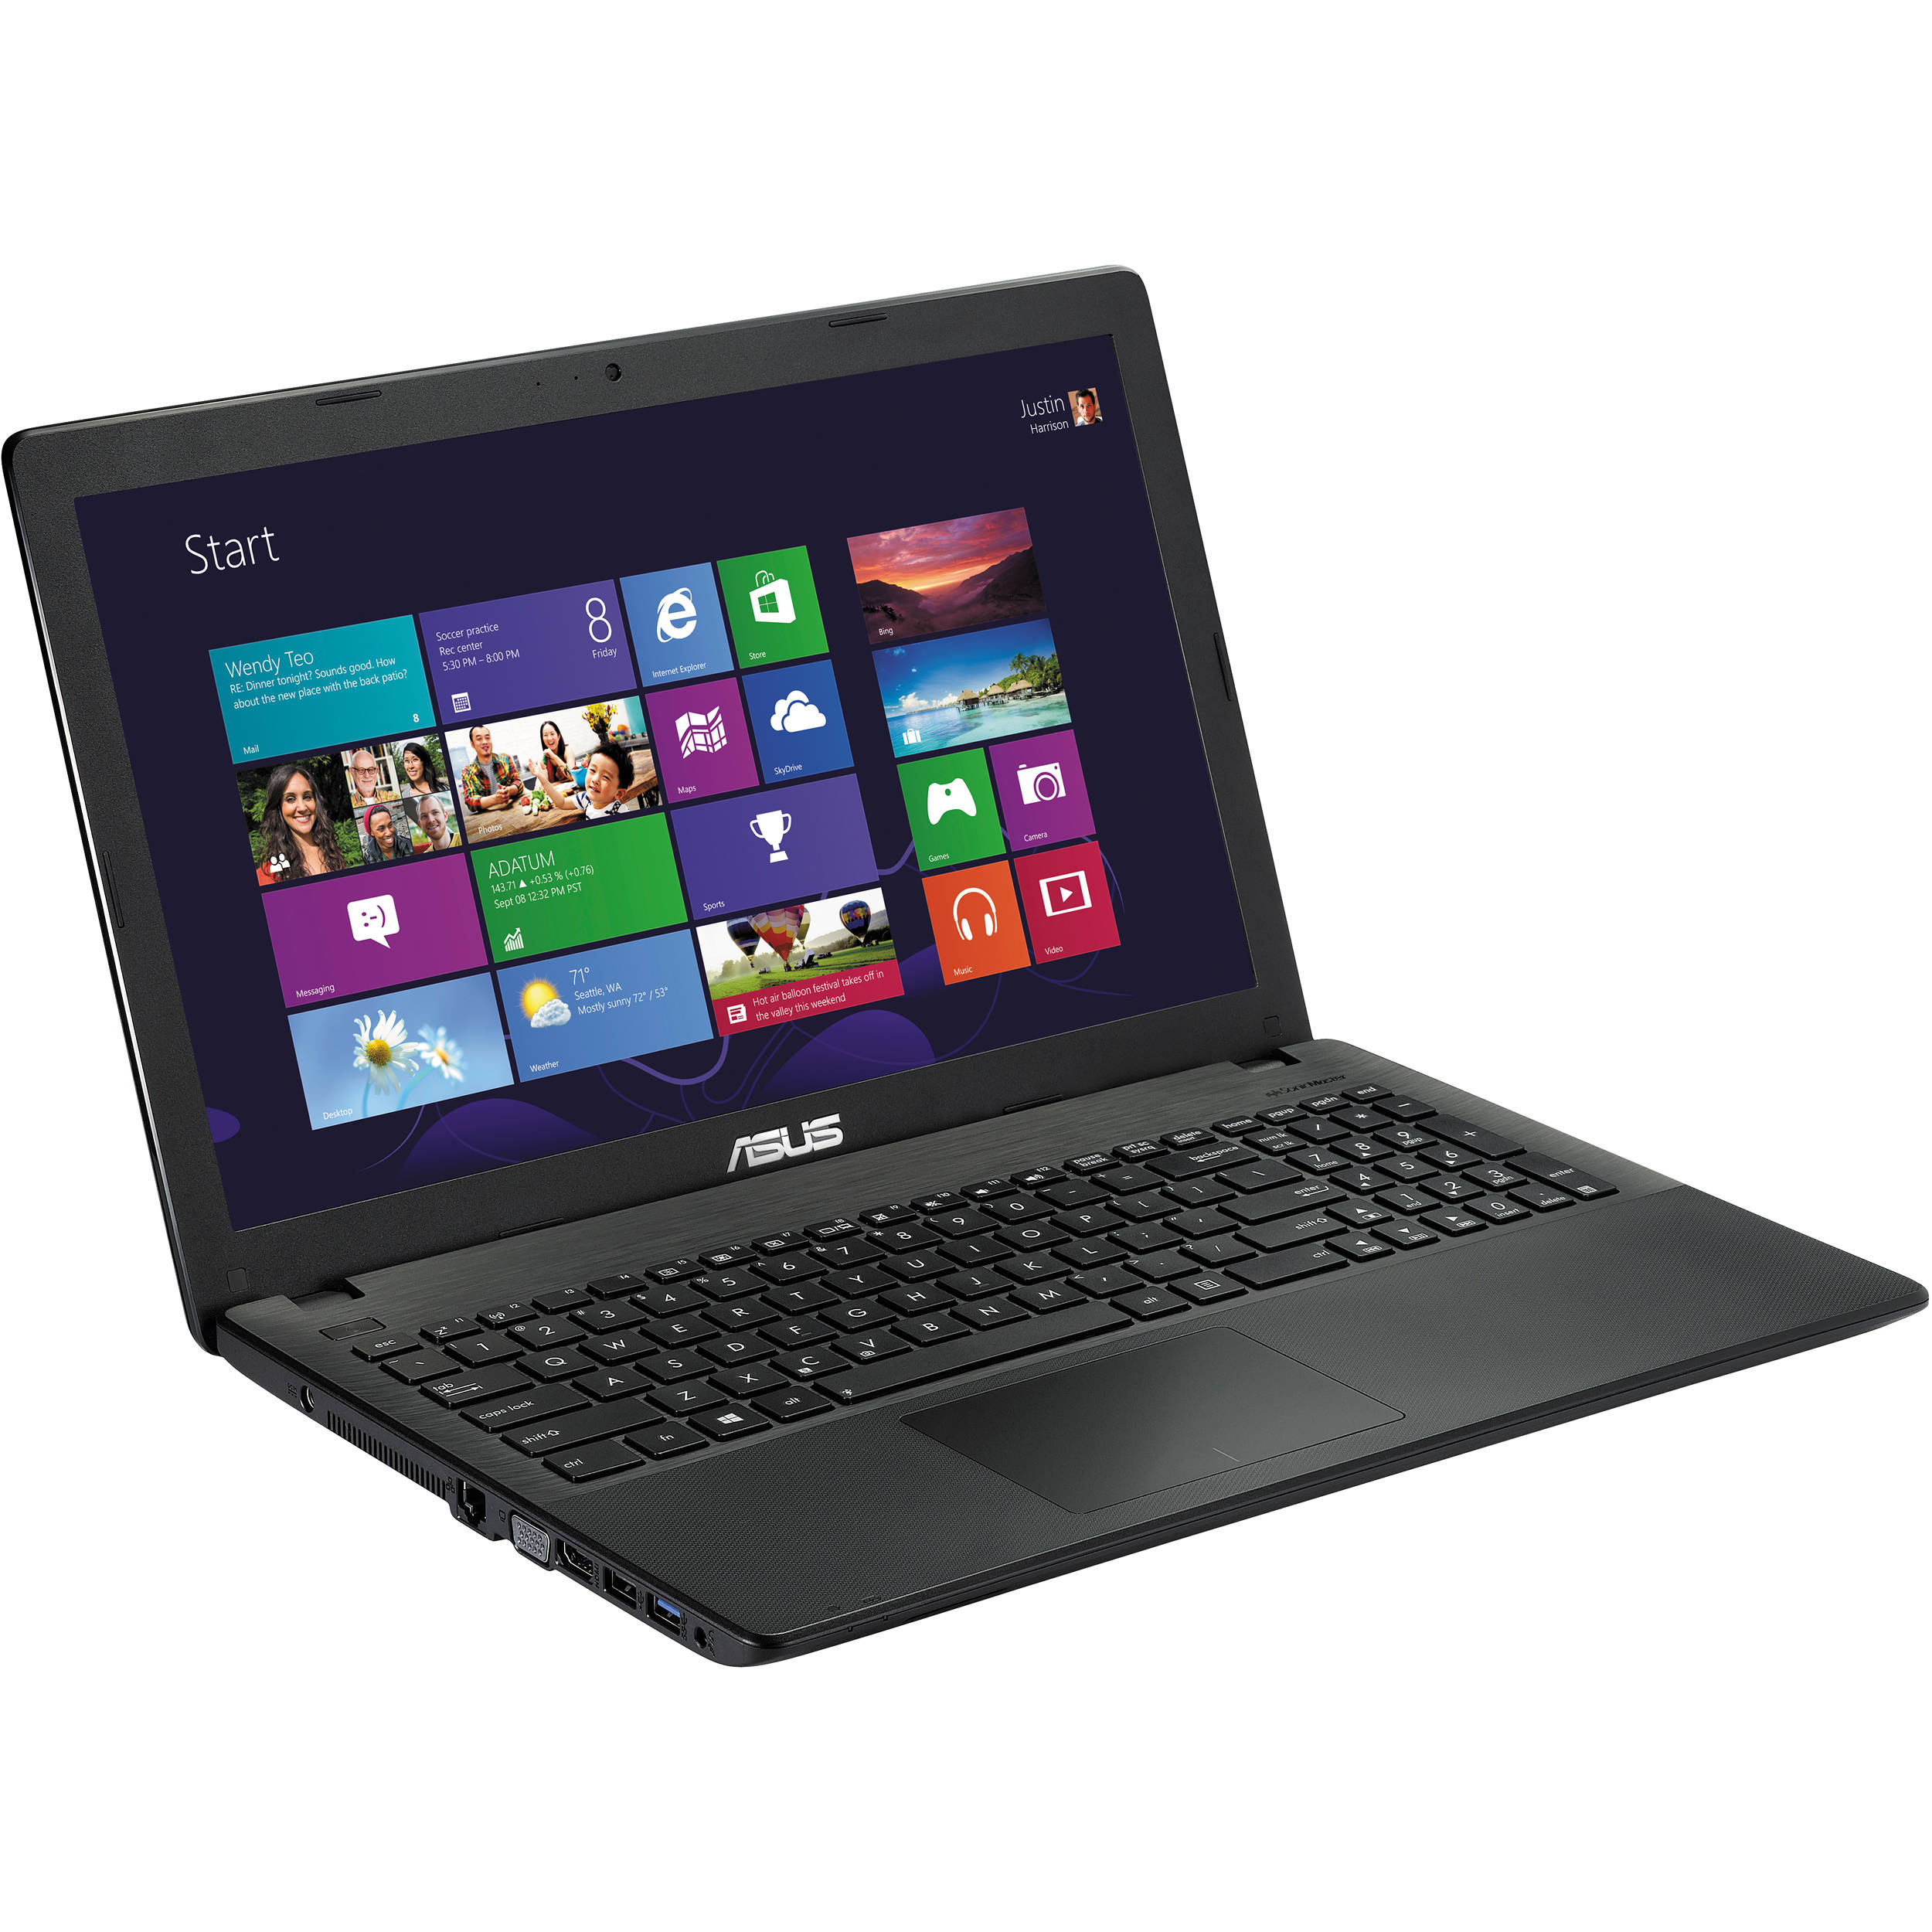
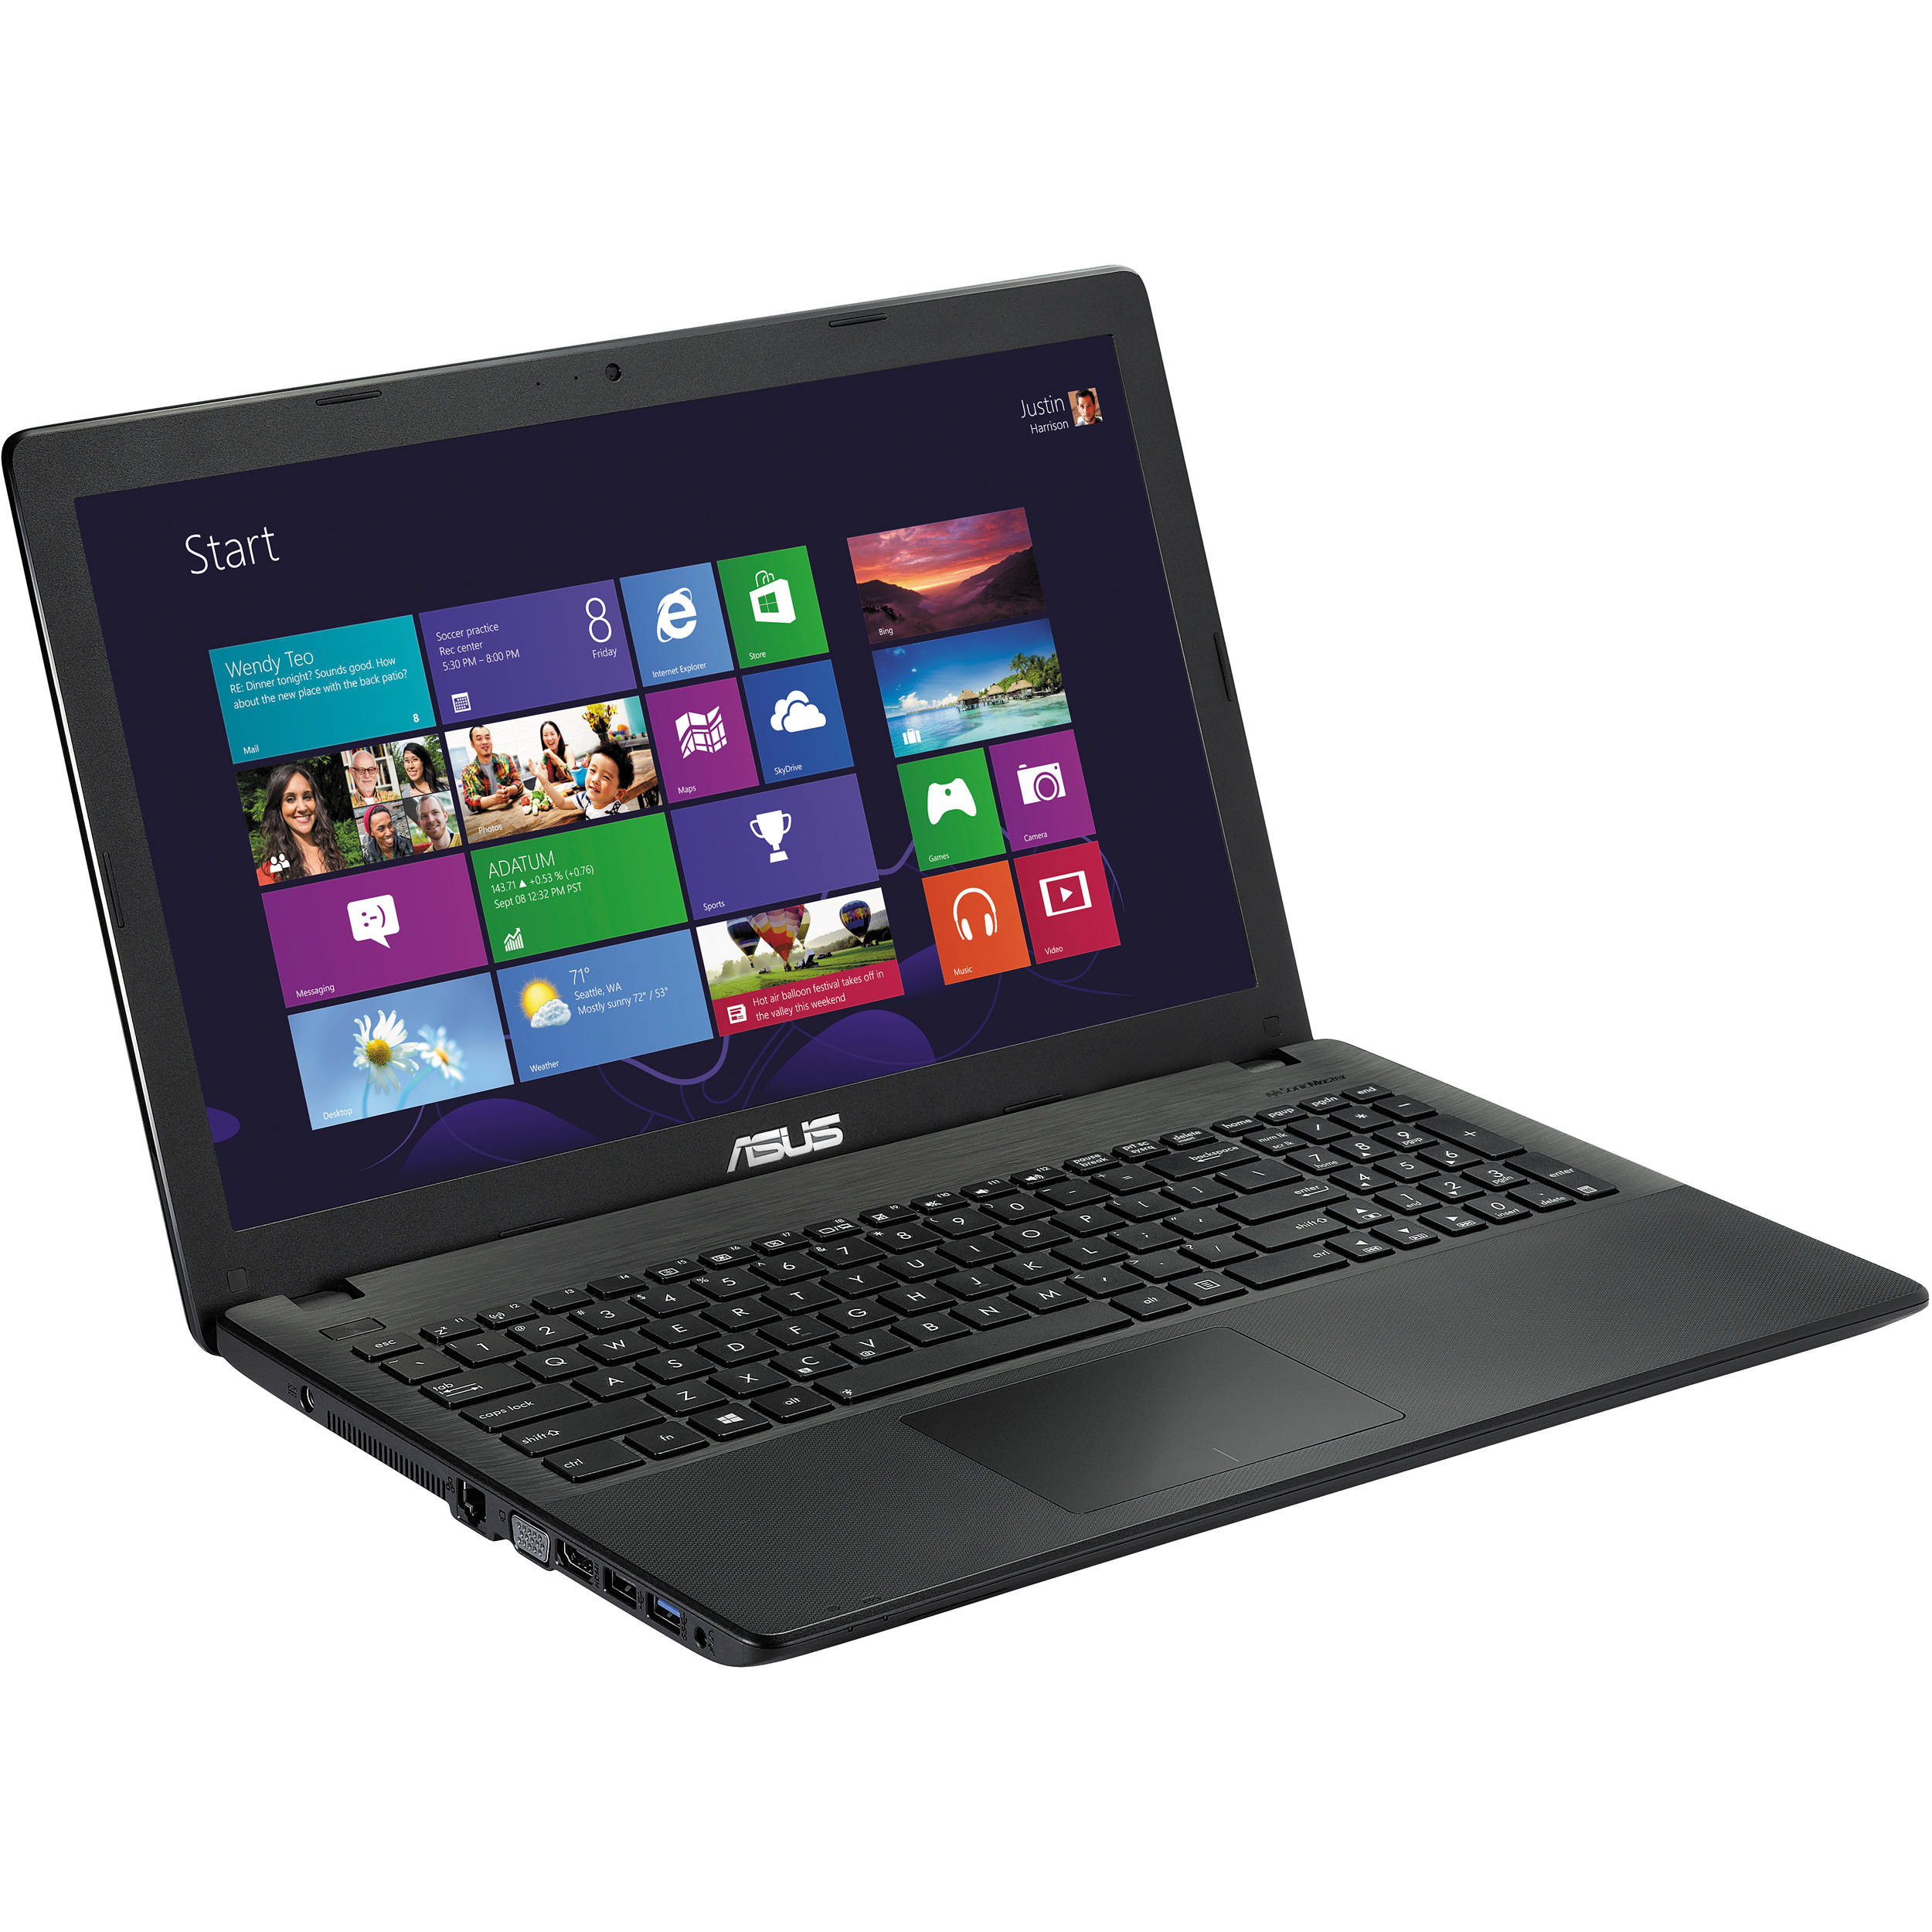
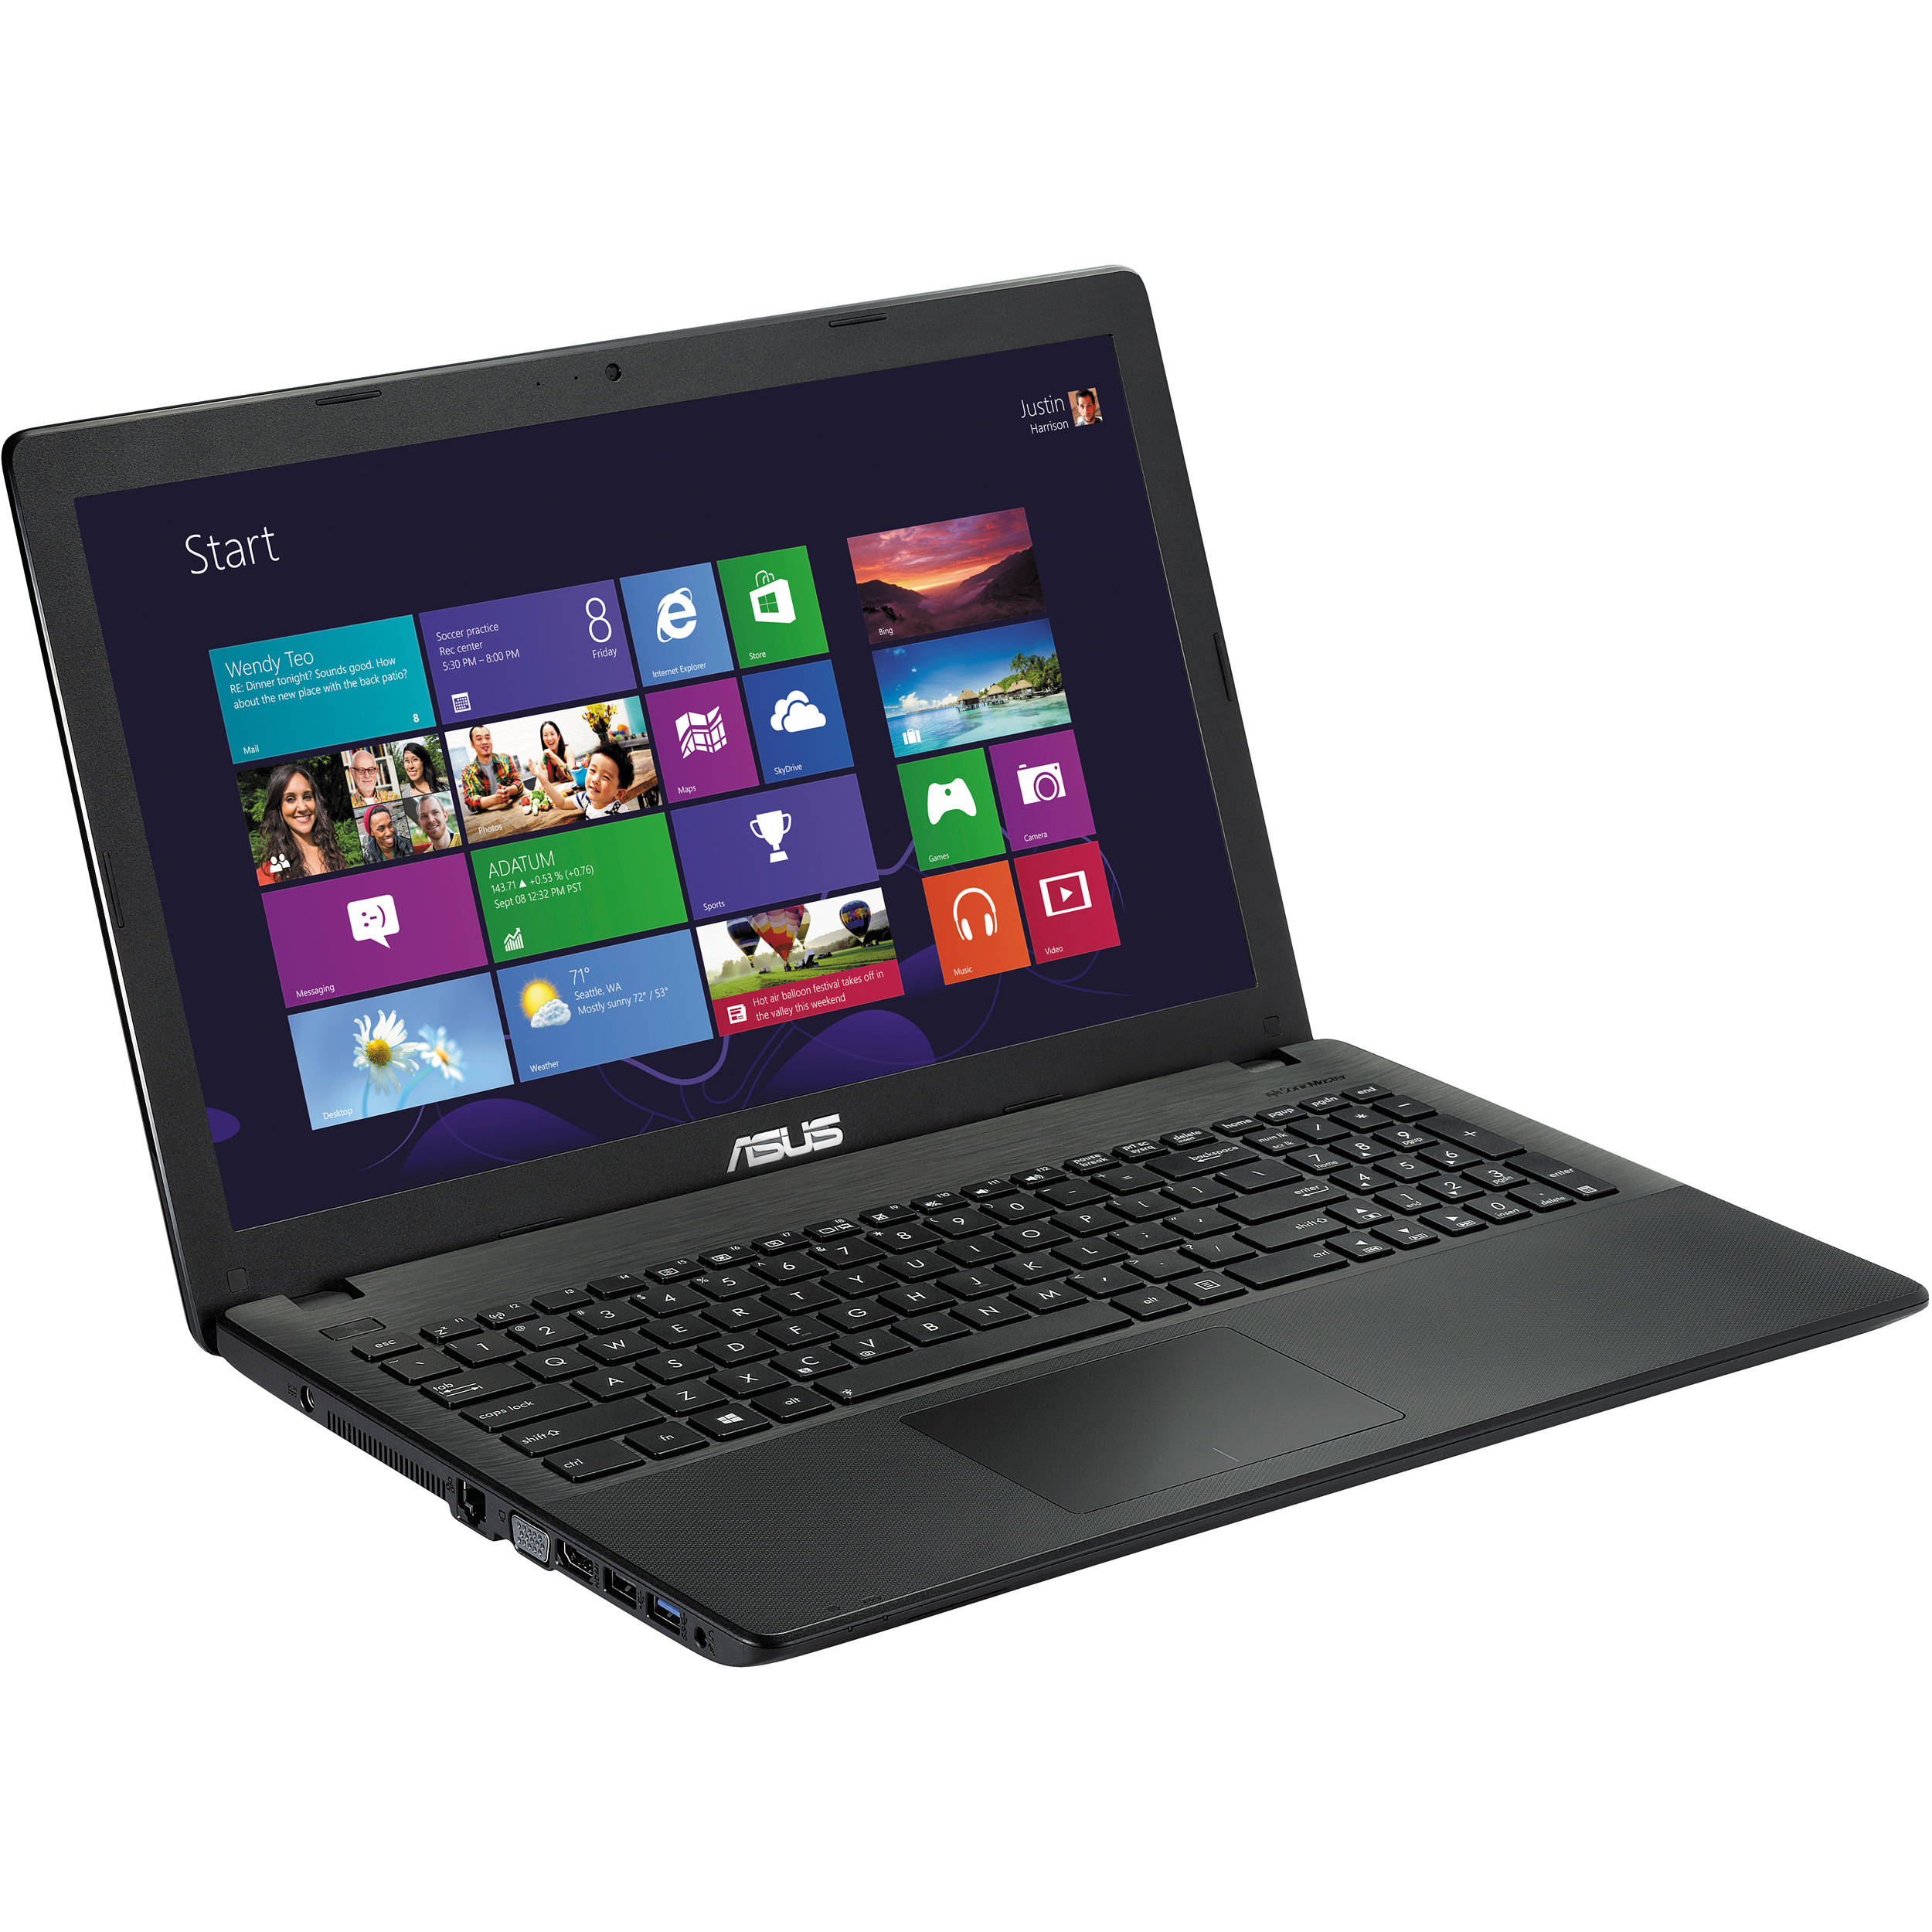
How to Replace ASUS D550MA Fan Guide Tutorial
Duration: 45 minutes
Steps: 19 Steps
Hey there! Just a friendly reminder to handle your device with care. If you’re feeling a bit overwhelmed or stuck, don’t worry! You can always schedule a repair and let the pros take it from there. You’ve got this!
Step 1
Before diving in, make sure your laptop is powered down and unplugged from the wall. Safety first, right?
– Grab your trusty Philips #1 screwdriver and tackle those nine screws holding the back cover in place.
Step 2
Be gentle when prying open the lid! You’ll want to hear each plastic clip give a satisfying snap as you glide the spudger along the edge. Remember, patience is key!
– Flip your laptop over and pop that display open like a pro!
– Slide the flat edge of your trusty spudger into the groove of the keyboard cover.
– With the spudger in place, gently nudge the casing apart by gliding it along the edge. You’ve got this!
Tools Used
Step 3
Ensure that all the clips have released their grip on the cover. You’re almost there!
– Gently raise the cover up from the front of the laptop, but don’t pull it all the way off.
– Take a close look at where those three white and blue data cables are connecting the keyboard to the computer’s main board.
Step 4
If you’re just switching out the battery, feel free to skip over this step and the next one. Gently move the keyboard module aside from the screen and position it in a way that won’t strain those delicate flex cables.
For unlocking a ZIF connector, grab the tip of a spudger or use your fingernail to lift up the small, hinged locking flap. Slowly slide the cable out of the socket once it’s unlocked.
– Unplug the three data cables from the motherboard. You’ve got this!
Tools Used
Step 5
– Gently detach the keyboard module that’s completely disconnected from the laptop. You’ve got this!
Step 6
Steer clear of using any metal tools to pry open batteries. Trust us, you don’t want to poke or short that battery—it could lead to some serious trouble or even injury. Keep it safe and sound!
– Grab your trusty Phillips #1 screwdriver and unscrew those two little screws holding the battery in place. You’re almost there!
Tools Used
Step 7
The battery is snugly connected to the motherboard on the left side, just hanging out.
Remember, gentle is the name of the game! Avoid using too much force or prying the battery with tools. We wouldn’t want to accidentally turn your laptop into a puzzle piece!
Step 8
You’ve got two screws holding the motherboard in place and another pair keeping the case snug. Let’s get those unscrewed and continue the journey!
– Using your trusty Philips #1 screwdriver, carefully take out the four screws that are keeping the hard drive snug and secure. You’ve got this!
Step 9
Make sure to completely unplug the hard drive from the motherboard to avoid any damage to those delicate connectors. You’ve got this!
If needed, carefully detach the old hard drive from its cozy spot and securely fasten the new one in place. You’ve got this!
– Gently slide the hard drive to the right to detach it from the motherboard, then lift it out like a pro!
Step 10
– Time to say goodbye to that lonely screw keeping the drive in place. Grab your trusty Phillips #1 Screwdriver and bid it farewell!
Tools Used
Step 11
Be careful when lifting the drive! Pulling it straight out instead of sliding it to the right could cause damage to the motherboard. Take it slow and steady!
– Gently nudge the drive to the right side of the laptop to easily detach it from the motherboard.
Step 12
As you tackle those screws, grab some tweezers to help keep them in check. It’s a neat little trick to make sure they don’t play hide and seek.
– Using your trusty Philips #1 screwdriver, take out the 9 screws holding the motherboard in place. You’ve got this!
Tools Used
Step 13
Hey there! Just a friendly reminder: avoid tugging on those cables by their wires. Doing so might lead to some unwanted damage. Keep it gentle!
You might find some clear tape making sure that screen connector stays snug as a bug!
– First things first, let’s get those three cables off the motherboard! No worries, we got this.
– The big, black cable is your screen’s best friend. Just give it a gentle wiggle by holding onto the black tape with your fingers and it should slide right out.
– Now for the fan and speaker cables – they like to hang out together with similar connectors. Grab that trusty black spudger or use your fingers to carefully pull each connector out. Take it slow and steady!
Tools Used
Step 14
– Gently nudge the motherboard to the right to free it from the laptop’s peripheral connections.
– Carefully lift the motherboard out of the laptop, like you’re unveiling a surprise!
Step 15
Keep an eye on how the white and black wires are positioned on your NIC – the connection might look a bit different from the picture.
If you’re just prepping to remove the motherboard, no need to pull out the NIC entirely! Just detach the wires and you can skip the next step.
– First things first, find that Network Interface Card (NIC) nestled on the motherboard—it’s like a little treasure waiting for you!
– Now, with a gentle tug, disconnect the white and black wires from the NIC card. They should pop off without putting up a fuss!
Step 16
Once you’ve unscrewed everything, the NIC will pop up like a spring-loaded surprise!
– Grab your trusty Phillips #1 screwdriver and unscrew those little screws that are keeping the wireless network card in place. You’ve got this!
Tools Used
Step 17
Keep it cool and gentle when you’re pulling that card out. The NIC should glide right out without a fuss.
– Carefully wiggle the NIC out of its cozy spot.
Step 18
– Grab your trusty Philips #1 screwdriver and take out those two screws you see right there! You’ve got this!
Step 19
Before attempting to lift the fan, make sure to free it from the speaker housing first. Otherwise, you may encounter a sticky situation. If it does get stuck, simply nudge it back into place and give it another go.


