Asus A53U-ES21 Hard Drive Replacement Guide: Step-by-Step Tutorial
Duration: 45 minutes
Steps: 4 Steps
Hey there! Just a friendly reminder to take your time and double-check everything as you go. If you hit a snag or need a hand, don’t hesitate to schedule a repair. You’ve got this!
If your laptop is acting up, it might just be that pesky hard drive causing all the trouble. No worries, though! This guide will walk you through the steps to swap out that hard drive like a pro.
Step 1


Before getting started, make sure your trusty laptop is taking a well-deserved nap.
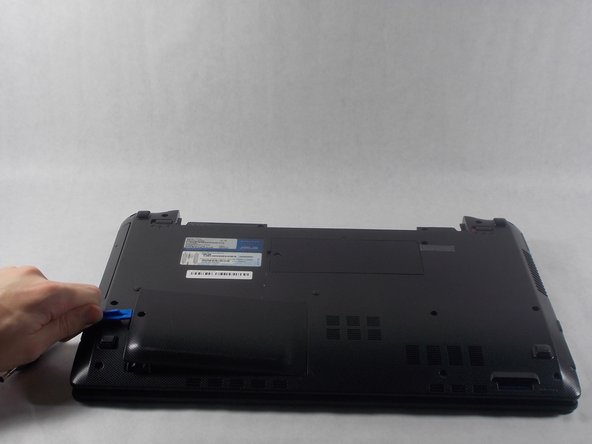
– Turn your laptop over so the battery is looking right at you!
Step 2


– Slide those two sliders out toward the edges of your laptop like you’re opening a funky beach umbrella.
– Now, with your left hand, gently pull the battery out while keeping the right slider in place. You’ve got this!
Step 3

– Grab your trusty Phillips #1 screwdriver and twist out that 5mm screw like a pro!
– Now, it’s time to break out the iFixit opening tools and gently pry off the hard drive panel. You’ve got this!
Tools Used


Step 4


– Gently lift the black ribbon at the end of the hard drive like you’re teasing a surprise.
– Carefully slide the hard drive out from its cozy spot and take it out of the device.