How to Replace Asus A53U-ES21 Fan Step-by-Step Guide
Duration: 45 minutes
Steps: 16 Steps
If things get a little funky, don’t fret! Remember, you can always schedule a repair for some tech TLC.
Is your computer feeling a bit too toasty or making some raucous sounds? Don’t sweat it! Check out this guide to swap out the fan in your device with ease.
Step 1


Before we dive in, let’s make sure our trusty laptop is taking a well-deserved nap. Sweet dreams, laptop!
– Alright, let’s spice things up a bit! Flip that laptop right on over, make sure the battery’s giving you a little wink.
Step 2


– Slide those two sliders outwards like you’re opening a treasure chest! It’s all about that smooth motion.
– With your left hand, gently pull the battery out while keeping the right slider in place. You’ve got this!
Step 3


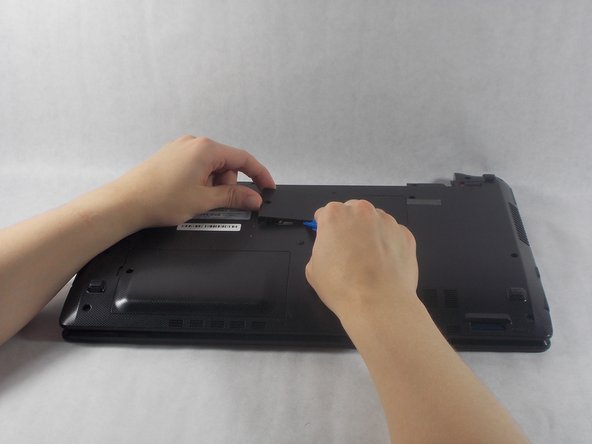
– Grab your trusty Phillips #1 screwdriver and twist out that 5mm screw like a pro!
– Now, it’s time to get those iFixit opening tools in action to pop off the RAM panel. You’ve got this!
Tools Used


Step 4


– Get ready to tackle the 7mm screw with your trusty Phillips #1 screwdriver.
– Give that optical drive a gentle tug from the side of your laptop.
Tools Used
Step 5

– Let’s kick things off by popping off the RAM cover from the bottom of the keyboard!
– Next up, grab your trusty #1 Phillips screwdriver and unscrew those two 7mm screws with a cool engraved ‘K’ on them.
– Now, it’s time to tackle that pesky 5mm screw holding the panel in place—give it a twist with your Phillips #1 screwdriver.
– Finally, use your pry tool to glide along the edge and complete the removal like a pro!
Tools Used
Step 6
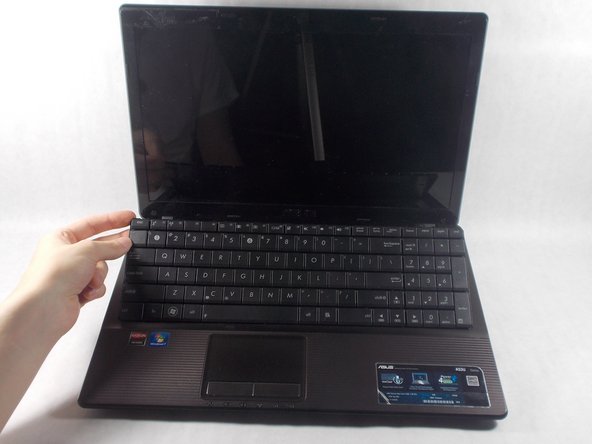

– Alright, let’s get started! Position your computer so the keyboard is in front of you with the screen at the top.
– Locate the three buttons at the top of the keyboard, nestled in the crack between the casing and the keys. They’re highlighted in a vibrant red color for you.
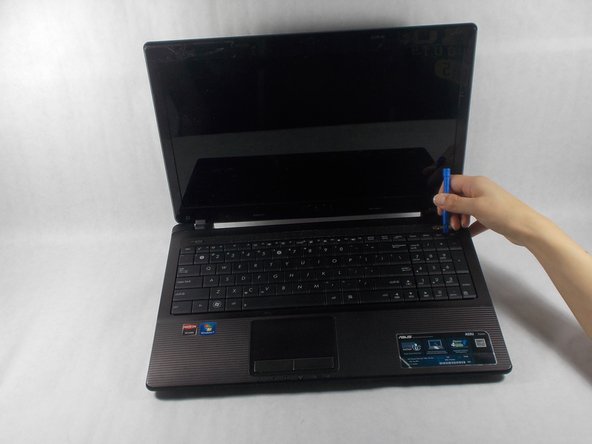
– Grab your handy pry tool and gently press down on those buttons. The keyboard will happily pop out for you to work on.
Step 7

– Gently unfold the keyboard towards you, keeping in mind that it’s still connected to the rest of the computer by a ribbon.
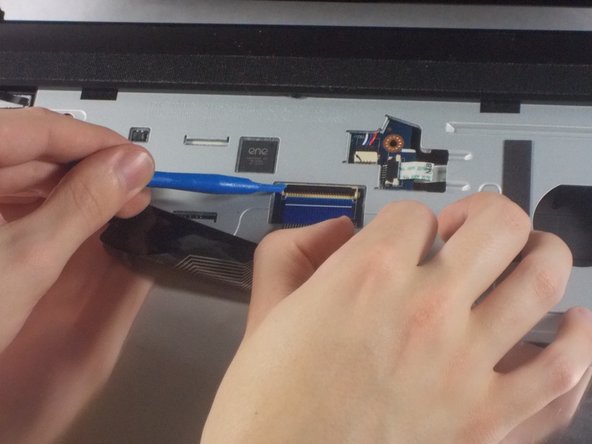
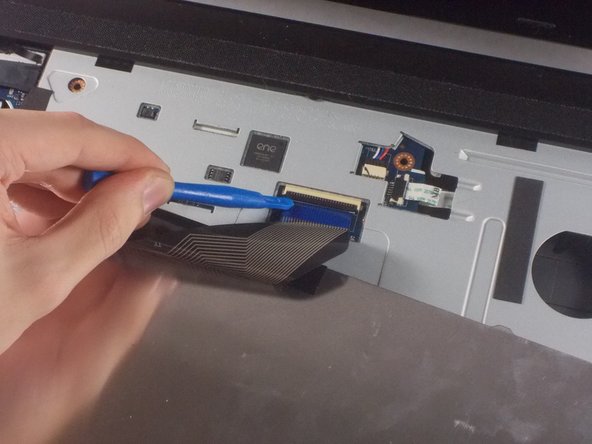
– Carefully use the opening tool to lift the black piece that’s holding the ribbon down, and then remove the ribbon with a gentle touch.
– When you put the black piece back, make sure it covers the white line on the ribbon for a snug fit.
Step 8

– First, let’s close that laptop and flip it over like a pancake! We’re getting ready to dive in.
– Now, grab your trusty Phillips #1 screwdriver and tackle those twelve 7mm screws. Let’s get them out so we can see what’s inside!
Tools Used
Step 9

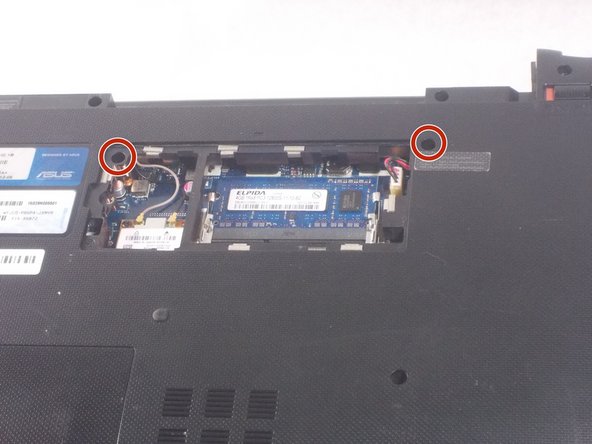
– Grab your trusty Phillips #1 screwdriver and gently unscrew those two 2mm screws. You’ve got this!
Tools Used
Step 10


– Gently detach the connectors from the wireless card using your trusty plastic opening tools.
– Carefully remove the white connector from its cozy spot in the RAM panel.
Step 11

– Turn your laptop back over, pop it open, and grab your trusty Phillips #1 screwdriver to unscrew those three 7mm screws like a pro!
Tools Used
Step 12

– Carefully peel back the tan flap from the cable using your trusty plastic opening tool.
– Gently nudge the tan piece towards the cable and let it go with the help of your plastic opening tool.
– Remove the black flap from its connector with ease.
Step 13


– Time to show that laptop who’s boss! Use the plastic opening tool to gracefully separate the front plate from the back.
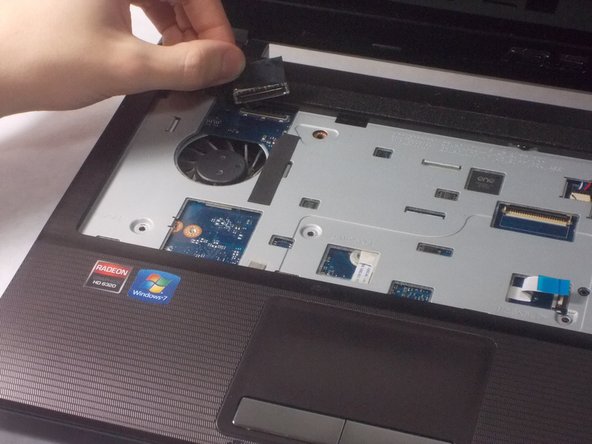
Step 14


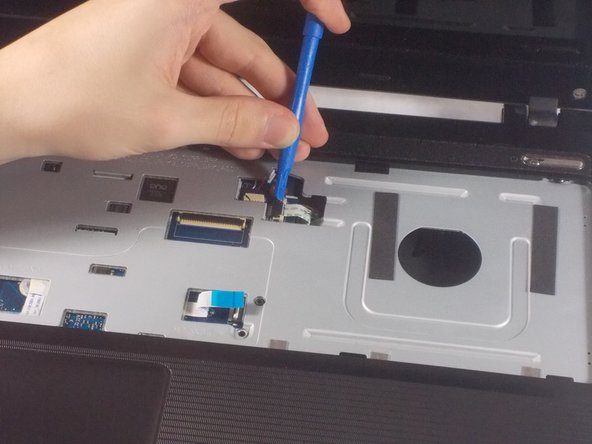
– Time to get your screwdriver out! Use your trusty Phillips #1 to unscrew that single 7mm screw holding the motherboard in place.
– Next, let’s give those cables a little tug! Use your plastic opening tools to gently pull the two visible cables from their sockets.
– Now, with care and finesse, lift the motherboard out of the laptop. You’re on the right track!
Tools Used
Step 15

– When it’s time to say goodbye to the heat sink, simply unscrew those four 7mm screws using a trusty Phillips #1 screwdriver.
– Gently remove the heat sink from its cozy spot on the device.
Tools Used
Step 16
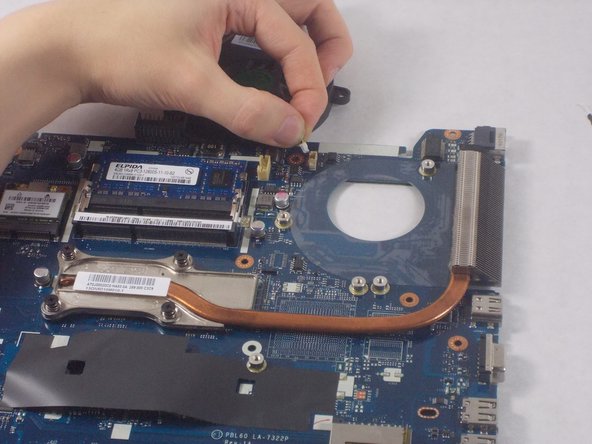

– To take out the fan, grab your trusty Phillips #1 screwdriver and unscrew the three 5mm screws. Once that’s done, gently pull the cable from its socket, and you’re on your way!
Tools Used