DIY Asus A53S Optical Drive Replacement Guide: Step-by-Step
Duration: 45 minutes
Steps: 4 Steps
Hey there, tech whiz! Just a friendly reminder to take it easy and keep your workspace tidy while you dive into this repair adventure. If things get tricky, remember, you can always schedule a repair with us. We’re here to help you get back on track!
Hey there! Ready to swap out that old optical drive in your trusty Asus A53S? Optical drives are like the CD and DVD whisperers for your laptop. Remember to take a peek at the troubleshooting page before diving in. If your DVD player decides to take a nap on you, don’t worry – we got your back. Just give your laptop a good night’s rest, unplug it from any power umbilicals, and pop that battery off before the magic begins.
Step 1


First things first, power down your device and take out the battery before diving into this guide. You’ve got this!
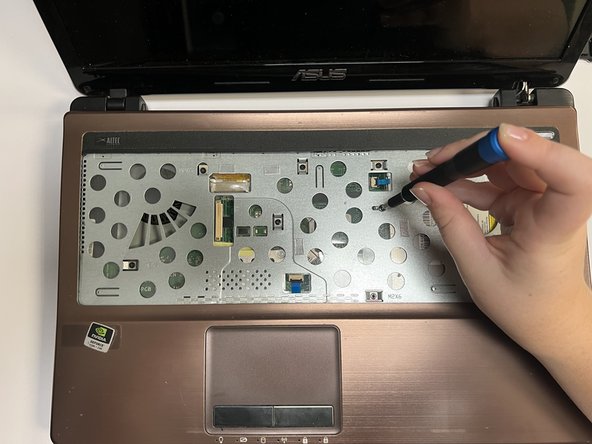
– Let’s get that laptop open!
– Grab your trusty Spudger and gently slide the flat end into the notches at the top of the keyboard. With a little finesse, pop the keyboard up and out of the device like a pro!
Tools Used


Step 3

– Grab your trusty Phillips #1 screwdriver and gently twist out that lone 6 mm screw. You’ve got this!
Tools Used


