How to Replace I/O Board in Asus A53S DIY Guide
Duration: 45 minutes
Steps: 14 Steps
Hey there! Just a friendly reminder to take your time and double-check everything as you go. If you hit a snag or need a hand, don’t hesitate to schedule a repair. You’ve got this!
Get ready to dive into the world of repairs! This guide will walk you through the process of swapping out the I/O board in your Asus A53S. The I/O board is your laptop’s best buddy for connecting all sorts of devices, so let’s get it back to working order. Before you jump in, don’t forget to take a peek at the troubleshooting page—many USB hiccups can be fixed without touching the I/O board at all! And just a quick reminder: make sure your laptop is completely powered off, unplugged from any power source, and the battery is out of the equation before we get started. If you need help, you can always schedule a repair.
Step 1


First things first, let’s power down your device and take out that battery before we dive into this guide. You’ve got this!
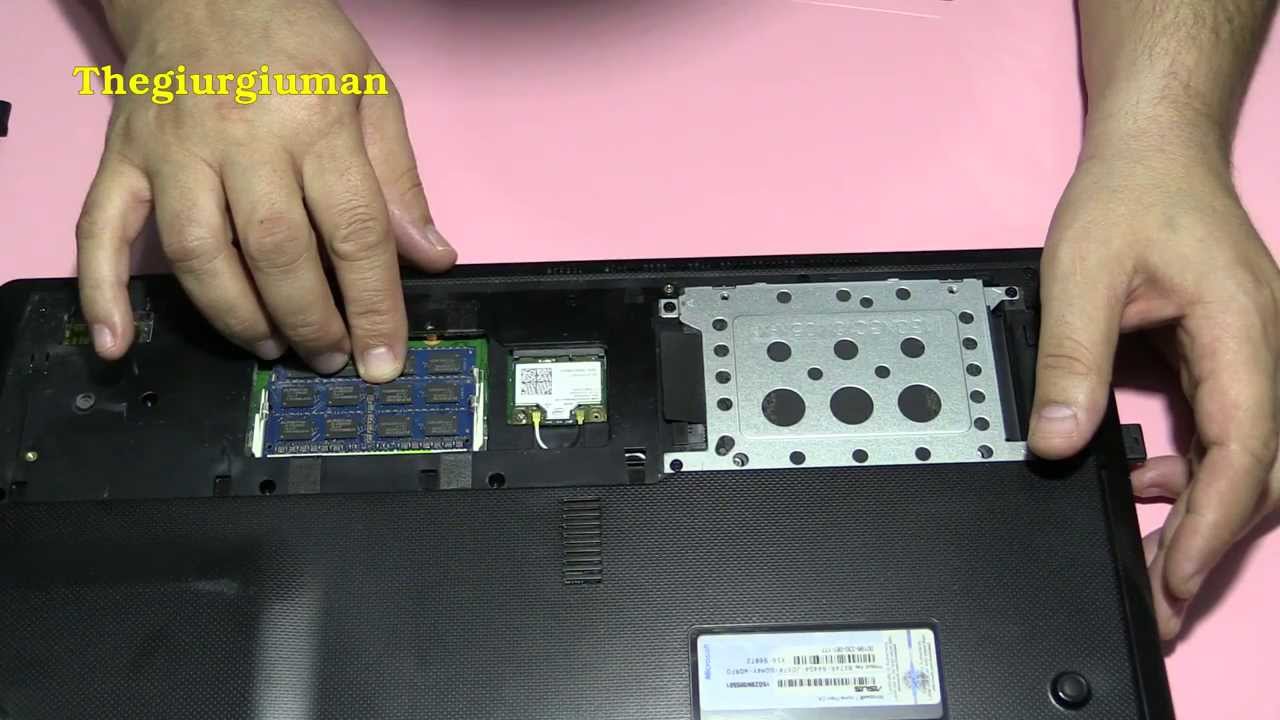
– Turn your laptop upside down so we can get to the fun stuff underneath!
– Grab your trusty Phillips #01 screwdriver and remove those two 6 mm screws with ease.
– Time to take off the back plate and reveal the magic inside!
– Keep your screws organized by step; it’ll make putting everything back together a breeze!


Step 3
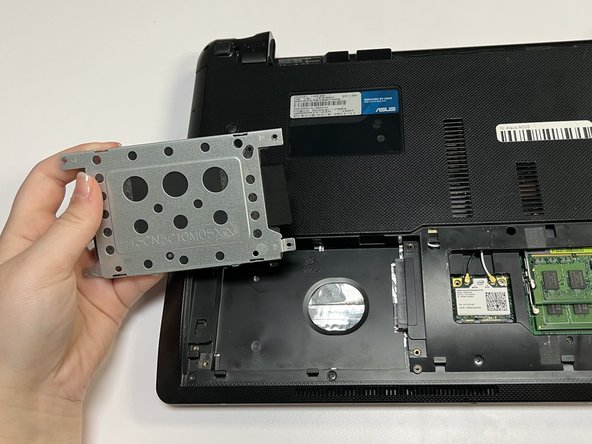

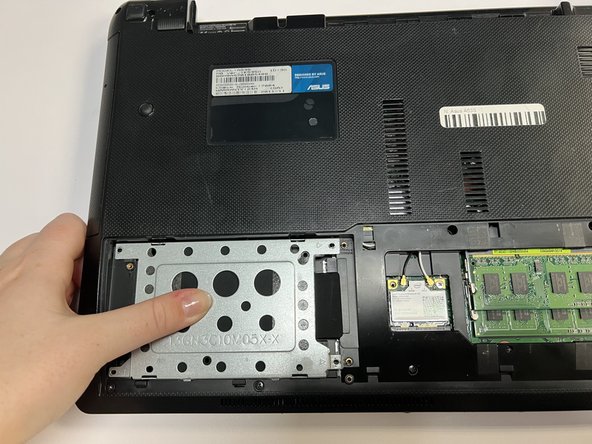
– Gently nudge the hard drive to the left and slide it out with a smile.
Step 4


– Grab your trusty Phillips #01 screwdriver and start unscrewing the fifteen 6 mm screws exactly where we’ve pointed them out.

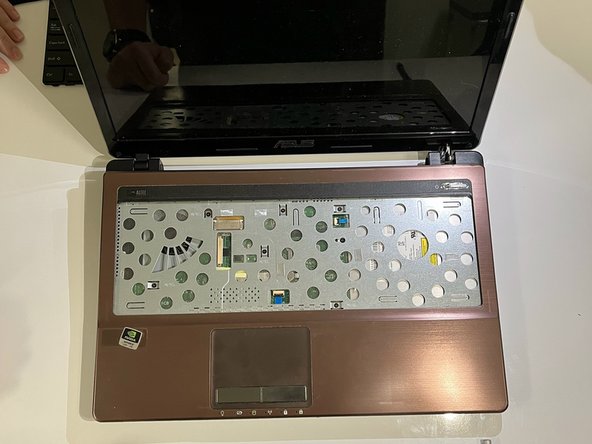

Step 7
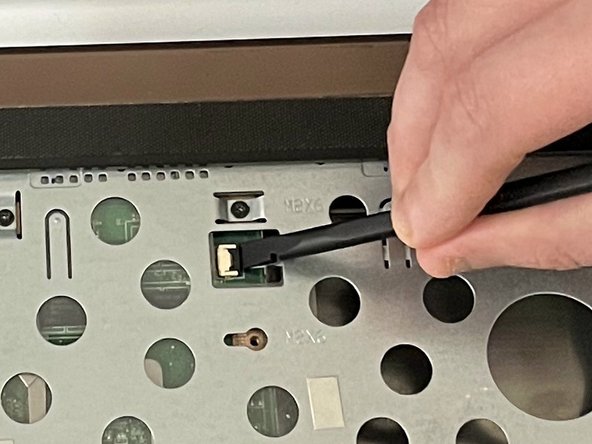

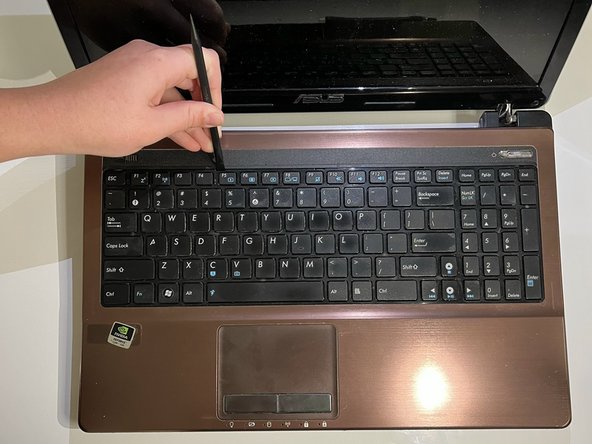
– Grab your trusty spudger and slide the flat end under the ZIF connector lock bar that’s keeping the power switch in place. Give it a gentle push up and to the left to disconnect that power switch like a pro!
– Now, let’s use that same spudger magic on the touchpad to disconnect it. You’ve got this!
Tools Used
Step 8
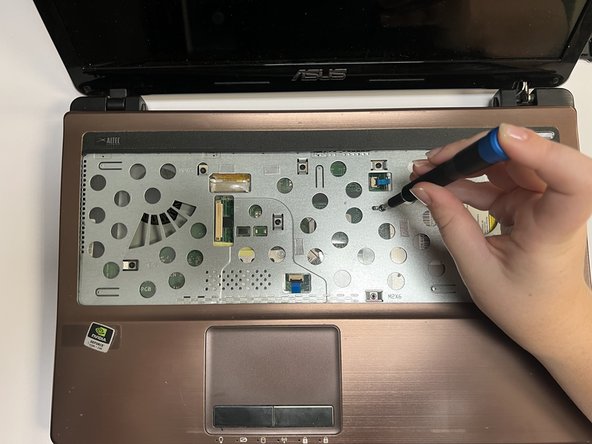

– Grab your trusty Phillips #01 screwdriver and get ready to unleash your inner tech wizard! Carefully remove the seven 6 mm screws from the spots marked for you, and let’s get this show on the road!

Step 10

– Let’s flip that laptop over, bottom side up!
– Grab your Phillips #01 screwdriver and unscrew those three 6 mm screws from the spots we’ve pointed out.
Step 11

– Flip that laptop back over so you can pop it open!
– Carefully ease the cover away from the laptop by sliding an iFixit Opening Tool between them and gently prying them apart.
Tools Used

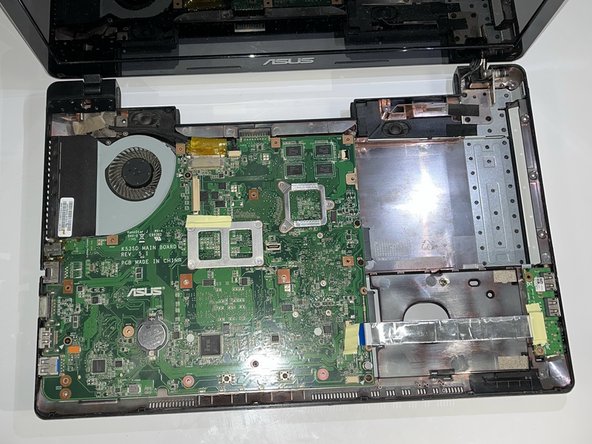
Step 12

– Say goodbye to that pesky yellow tape! It’s time to peel it off and make some magic happen.
Step 13

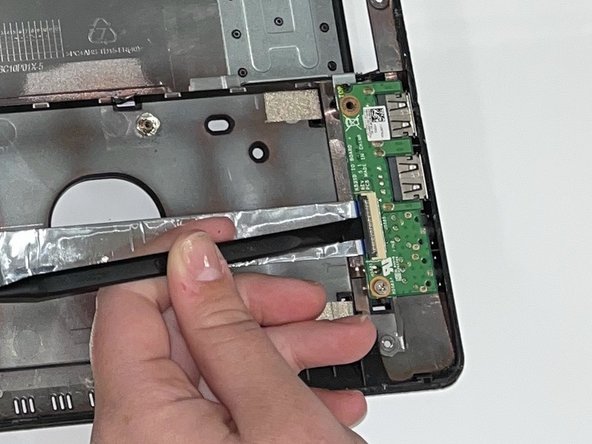
– Grab your trusty spudger and gently lift up the ZIF connector lock bar to disconnect the USB board from the motherboard. Easy peasy!
– Now, let’s do it again on the other side of the USB connector. You’ve got this!
Tools Used
Step 14
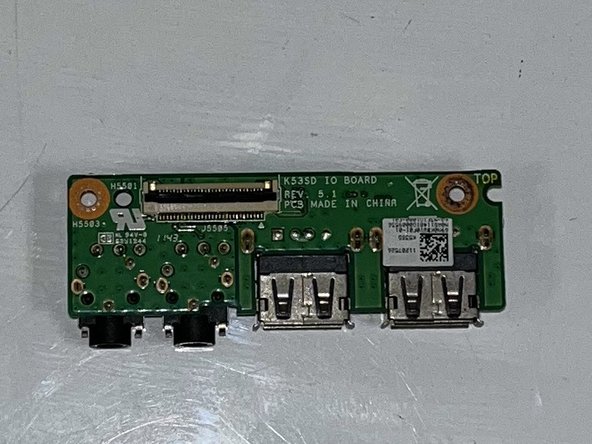

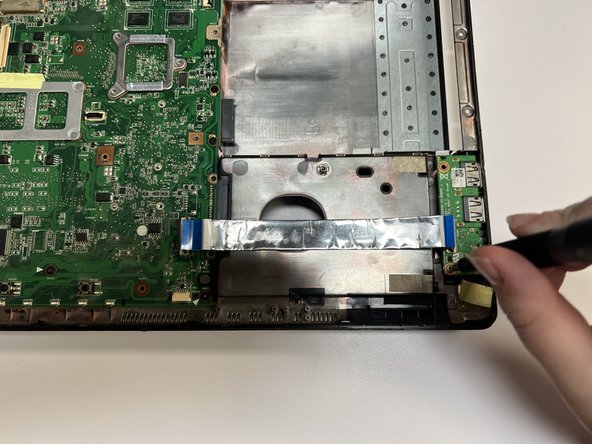
– Grab your trusty Phillips #01 screwdriver and carefully unscrew that 5 mm screw in the spot we’ve pointed out. You’ve got this!
– Now, with a gentle touch, ease out the USB board. You’re making great progress!