DIY Asus A53E-ES92 Hard Drive Replacement Guide – Step-by-Step
Duration: 45 minutes
Steps: 7 Steps
Hey there! Looks like it’s time to roll up our sleeves and dive into this repair. Remember, you’ve got this. If you need a hand, you can always schedule a repair to save the day!
Get ready to dive into the world of tech! In this guide, we’ll walk you through the steps to expertly remove the hard drive from your Asus A53E-ES92. Let’s get started and give your device the TLC it deserves!
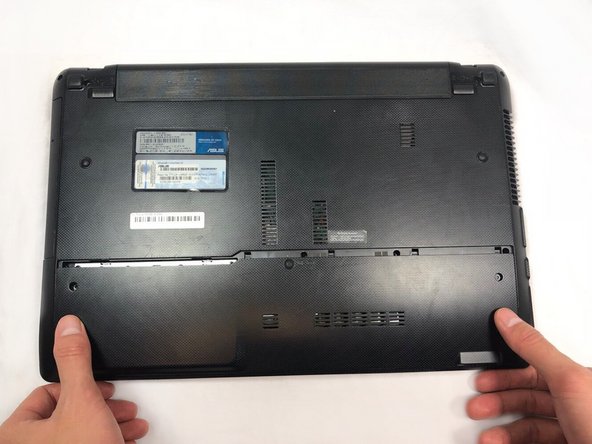
Step 1

– Flip that laptop over to reveal its bottom panel!
Step 2


– Grab a Phillips #0 screwdriver and get ready to tackle those two screws highlighted in the picture!
Tools Used

Step 3

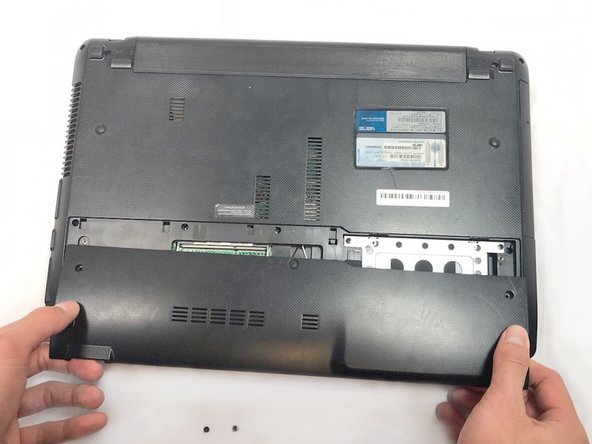
– Gently place your fingers on the panel as shown below.
– With a little bit of pressure, slide the panel away from the laptop with care.
– Now, go ahead and remove the panel!
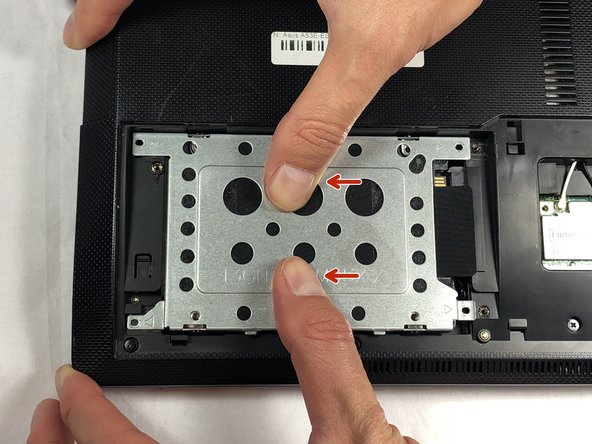
Step 4


– Gather round, folks! The treasure you seek, the hard drive, is marked with a splash of red. Let’s go locate it!
Step 5


– Grab your trusty Phillips #0 screwdriver and take out those four screws like a pro!
Tools Used
Step 6

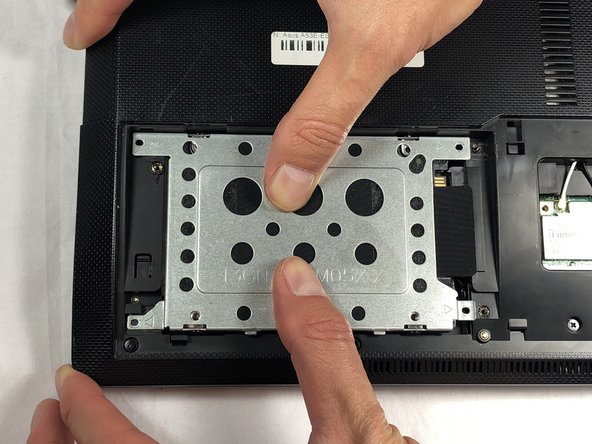
– Gently press down on the hard drive, just enough to give it a little love.
– Now, slide that hard drive to the left to set it free!
Step 7

– Let’s start by popping out that hard drive from your device.