DIY Acer Aspire E5-571-58CG Touchpad Replacement Guide
Duration: 45 minutes
Steps: 8 Steps
Hey there! Just a friendly reminder to take it easy while you tackle this repair. If things get tricky or you feel a bit lost, no worries at all! You can always schedule a repair and let the pros handle it. You’ve got this!
Oh no, a touchpad that’s not playing nice can really cramp your style and your work flow! Don’t worry though, we’ve got your back. Let’s work together and get that touchpad swapped out like a pro.
Step 1


Keep that laptop standing tall and proud!
– Gently pop off the keyboard cover using your trusty plastic opening tool.
Step 2


– Time to jazz things up a bit! Flip the keyboard cover upside down.
– Grab the JIS #000 screw bit and put some music on as you remove those trusty M1.4 x 2 mm screws from the back of the metal panel.
Step 3

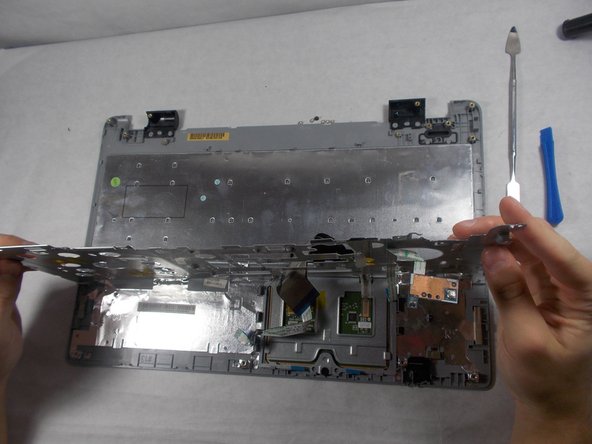

– Gently nudge the metal panel forward to free it from its plastic hugs on both sides.
– Give the metal panel a little lift and peel it back to reveal the hidden keyboard component.
Step 4
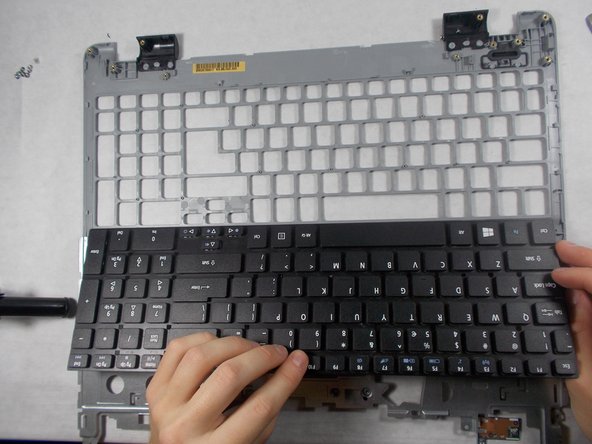

– Grab that trusty metal spudger and gently coax the keyboard component out of the metal panel. You’ve got this!
Tools Used


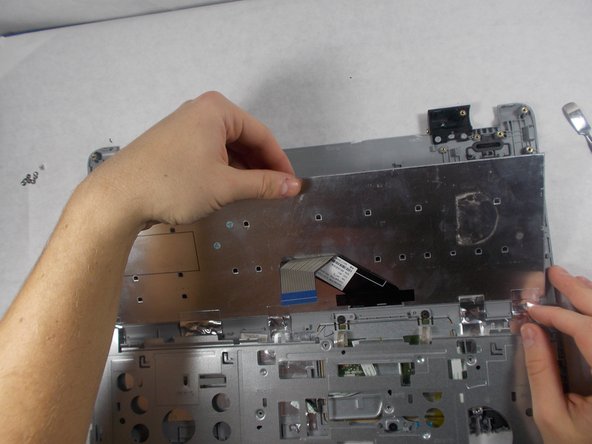
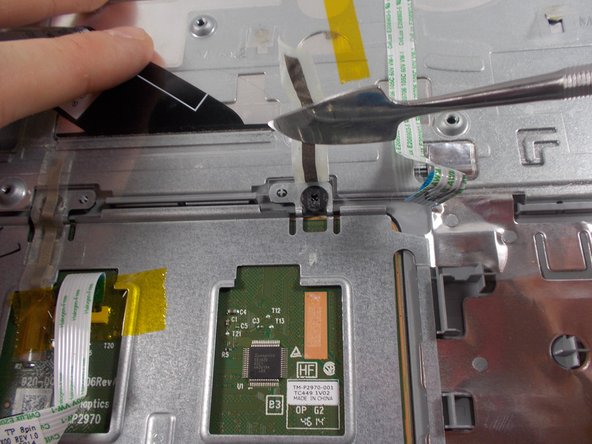
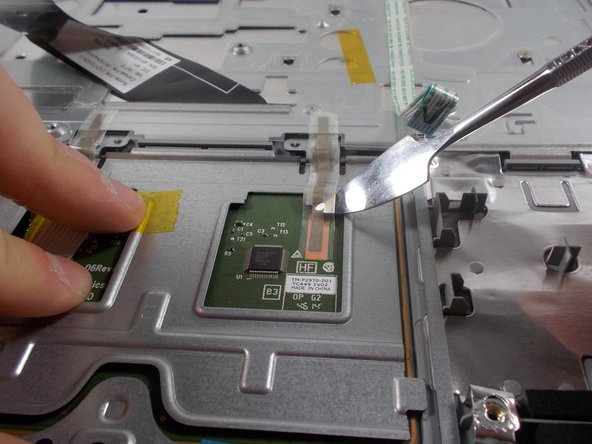
Step 5

Don’t forget to dance with the keyboard before even thinking about removing the touchpad!
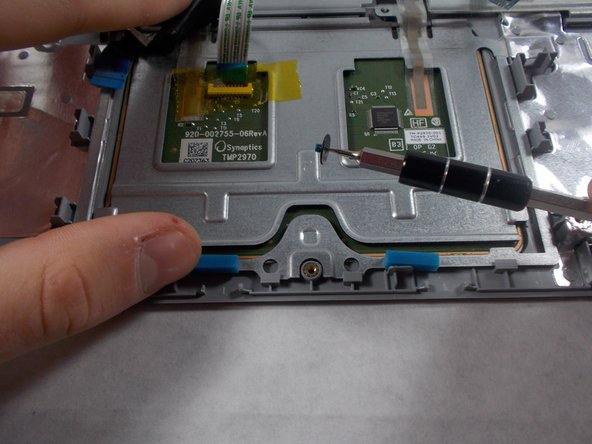
– Get your hands on a 1 1/2 mm flathead screw bit and show that stubborn black screw at the bottom of the panel who’s boss!

Step 7

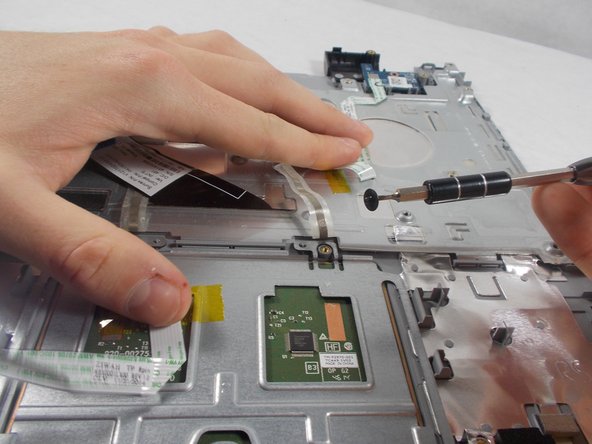
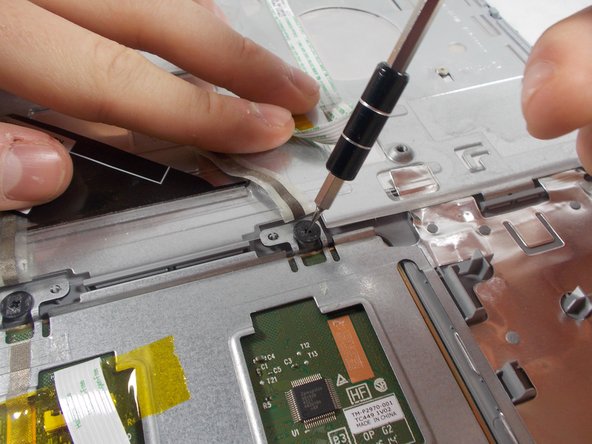
– Grab your trusty 1 1/2 mm flathead screw bit and carefully take out those two black screws hanging out at the top of the panel. You’re doing great!
Step 8


– Gently pry the touch pad away from the metal panel using a metal spudger. You’ve got this!
Tools Used


