How to Replace Acer Aspire V5-122P-0468 Touchpad Guide
Duration: 45 minutes
Steps: 10 Steps
Hey there! If you get stuck, don’t worry, we’re here to help. Just schedule a repair and we’ll get you back on track in no time. Stay positive and keep going!
Is your touchpad feeling a bit moody or just flat-out refusing to cooperate? No worries! This guide will walk you through the simple steps to safely take out your old touchpad and pop in a shiny new one for your Acer Aspire laptop. Let’s get your device back on track!
Step 1


– First up, grab that trusty PH0 screwdriver and say goodbye to those nine 4mm screws. They’ll be out in no time!
– Next, it’s time to tackle the two 6mm screws. Just a quick twist with the PH0 screwdriver and you’re on your way!
Step 2


– Let’s kick things off by carefully peeling off the black rubber tab from the back of your computer. It’s like unwrapping a present!
– Next, grab your trusty PH0 screwdriver and locate that sneaky 4mm screw hiding beneath the black tab. Time to set it free!
Step 3


– Flip your computer over so that the hinges are pointing away from you.
– Locate the sleek black plastic piece nestled in the SD card slot on the right side of the computer.
– Gently extract the plastic piece by smoothly sliding it out of the SD card slot.
Step 4


Get your spudger ready to gently pop the cover around the I/O ports. Let’s rock this repair and get your device back in action! Remember, if you need a hand, you can always schedule a repair with us. Happy fixing!

Step 5


– Let’s get started by taking out those two pesky 4mm screws with a trusty PH0 screwdriver.
– Next, gently press down on those tabs holding the battery in place using a spudger – you got this!
– Now, carefully disconnect the battery connector from the motherboard with your spudger. Easy peasy!
– Finally, lift the battery up and away from the laptop to complete the removal. You’re doing great!
Tools Used
Step 6

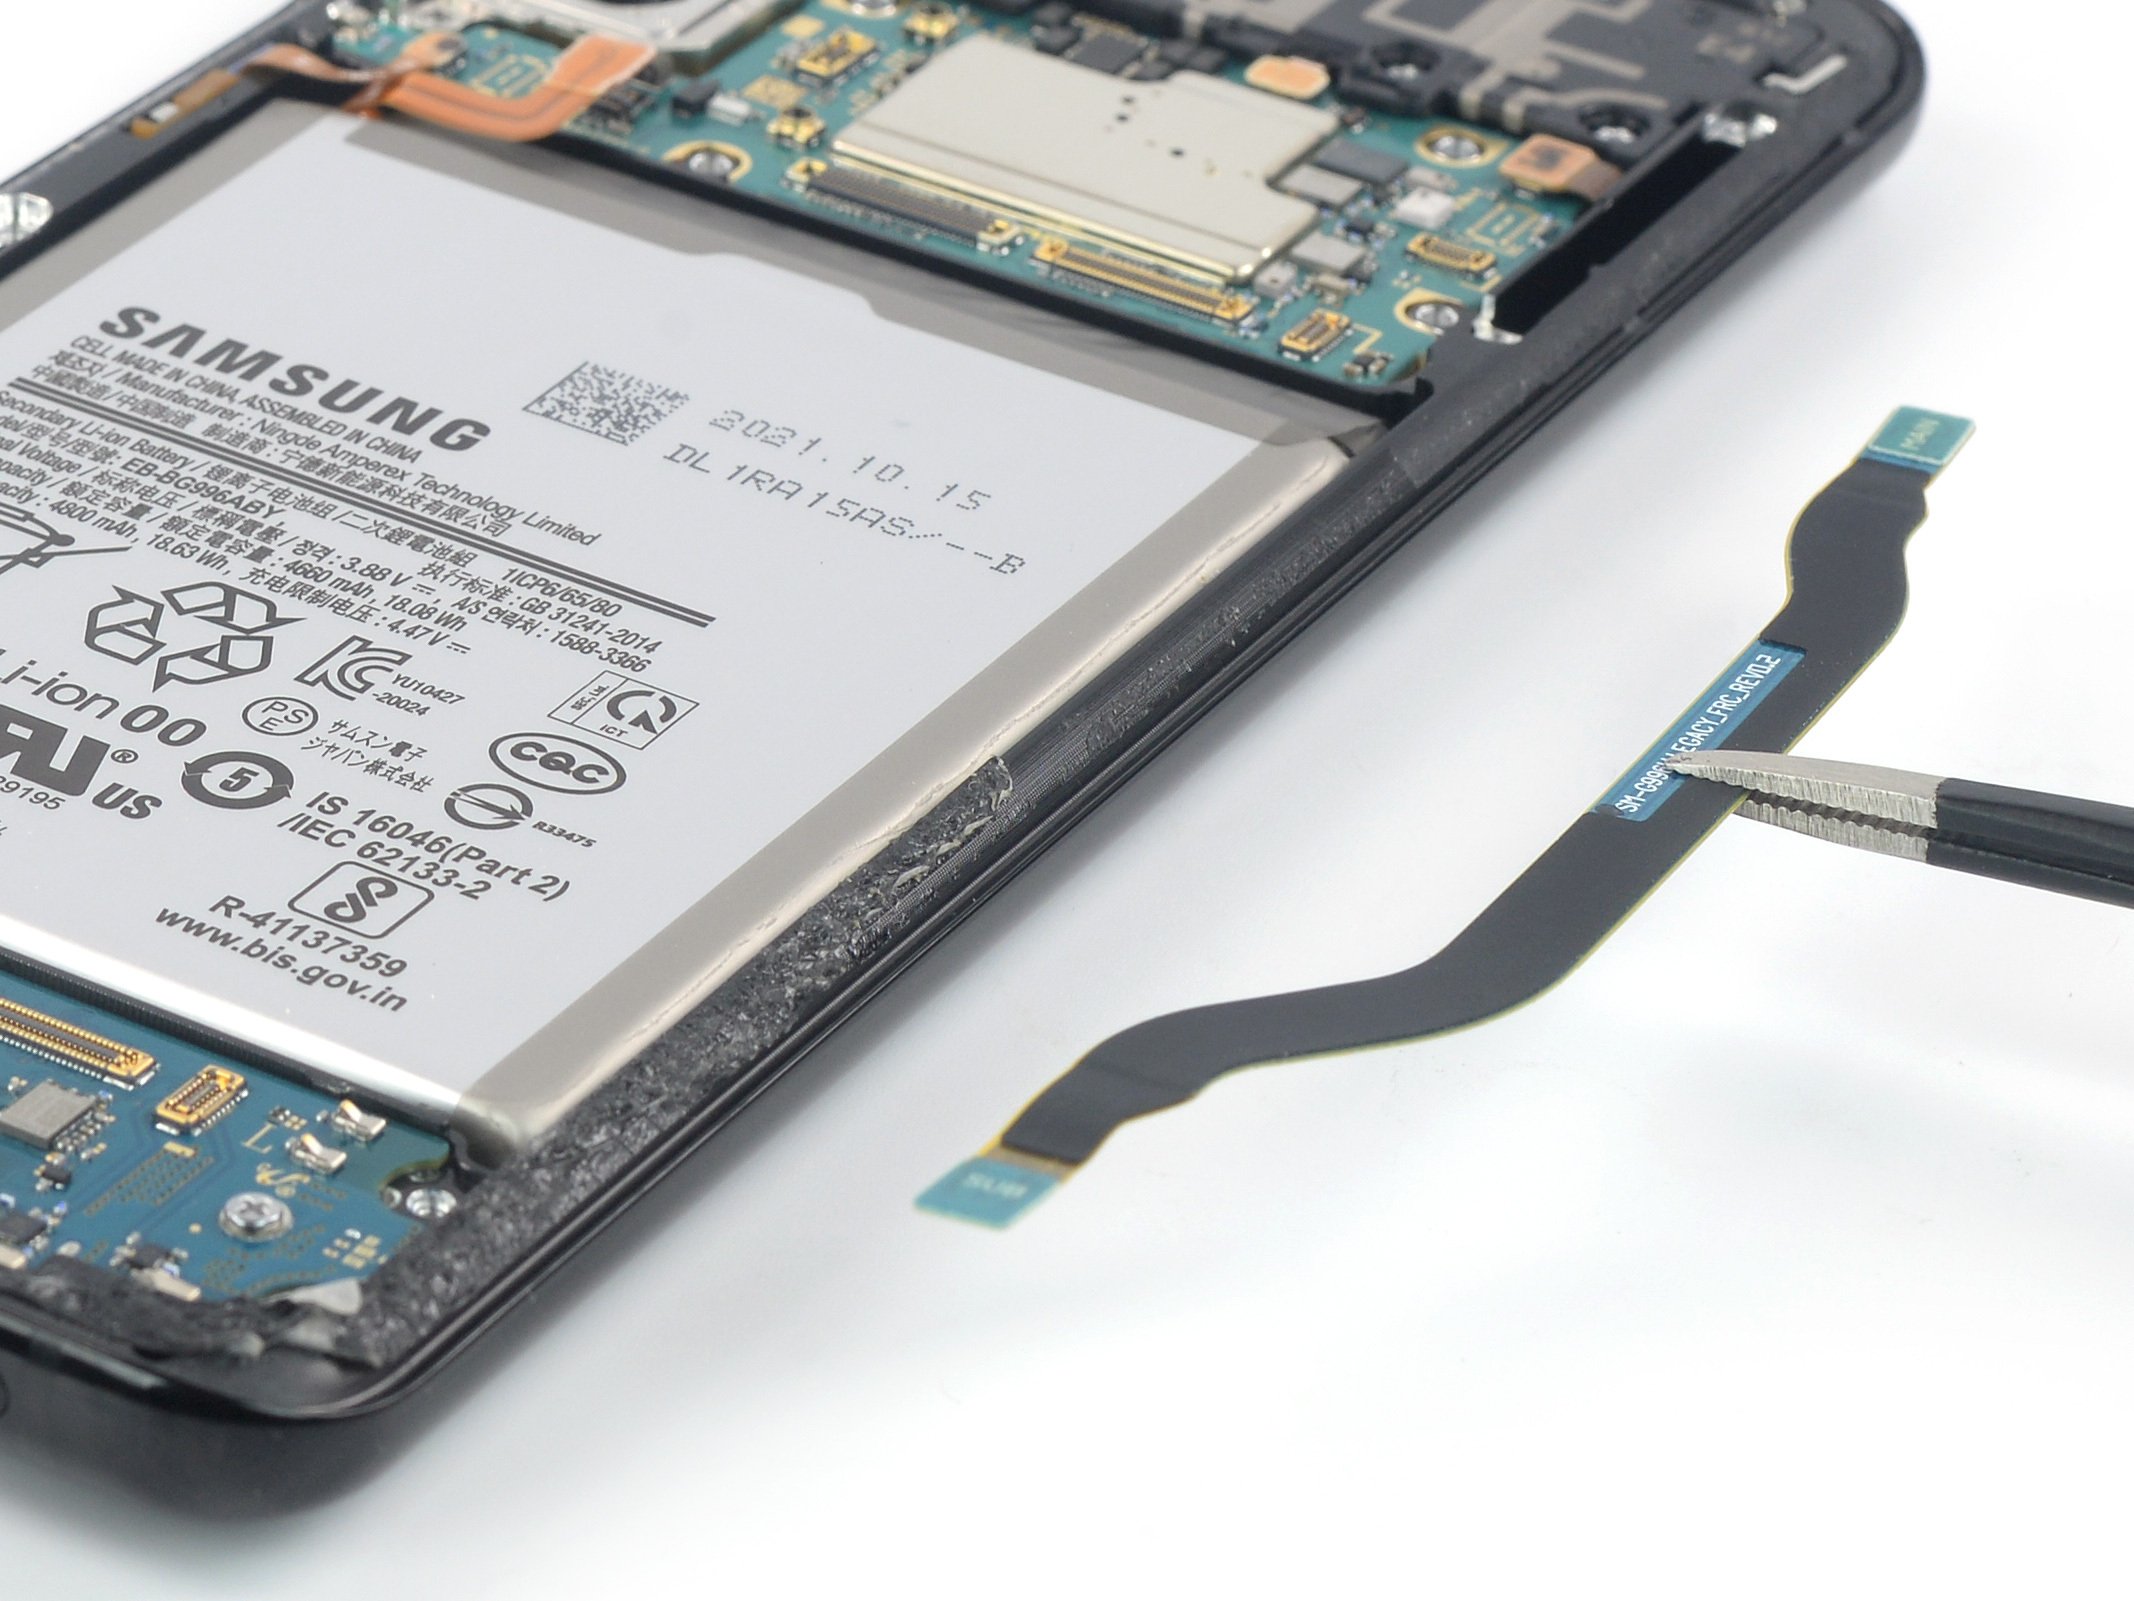
– Let’s begin by using the spudger to gently pop up the latch on the ZIF connector!
– Next, with a touch of finesse, pull out the ribbon cable.
Tools Used
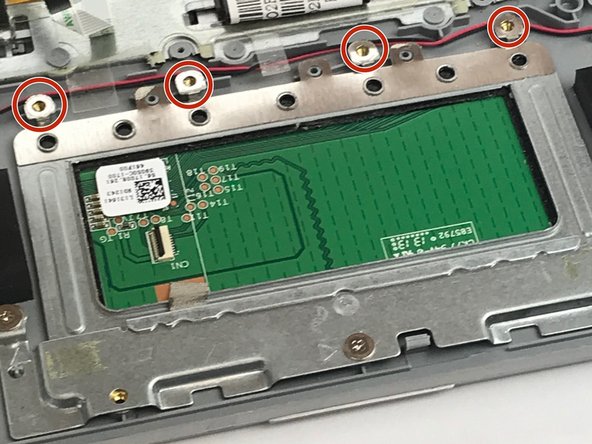
Step 7


– Let’s kick things off by unscrewing those three 2mm PH #0 screws. You’ve got this!
– Now, gently lift that metal tape off the mounting bracket like you’re peeling a sticker. Easy peasy!
Step 8

– Let’s take off that metal mounting bracket from the bottom of the touchpad. You’ve got this!