How to Remove the Stand on a PlayStation 5 DIY Guide
Duration: 45 minutes
Steps: 6 Steps
power down and unplug all cables
Follow this guide to remove the stand on a PlayStation 5. Before you start, fully power down and unplug all the cables from your console. Remember to follow general electrostatic discharge (ESD) safety procedures while repairing the console. If you need help, you can always schedule a repair.
Step 1

Work on a flat surface to keep your PlayStation from doing an unexpected somersault.
Got your PS5 chillin’ horizontally? Jump ahead to Step 6!
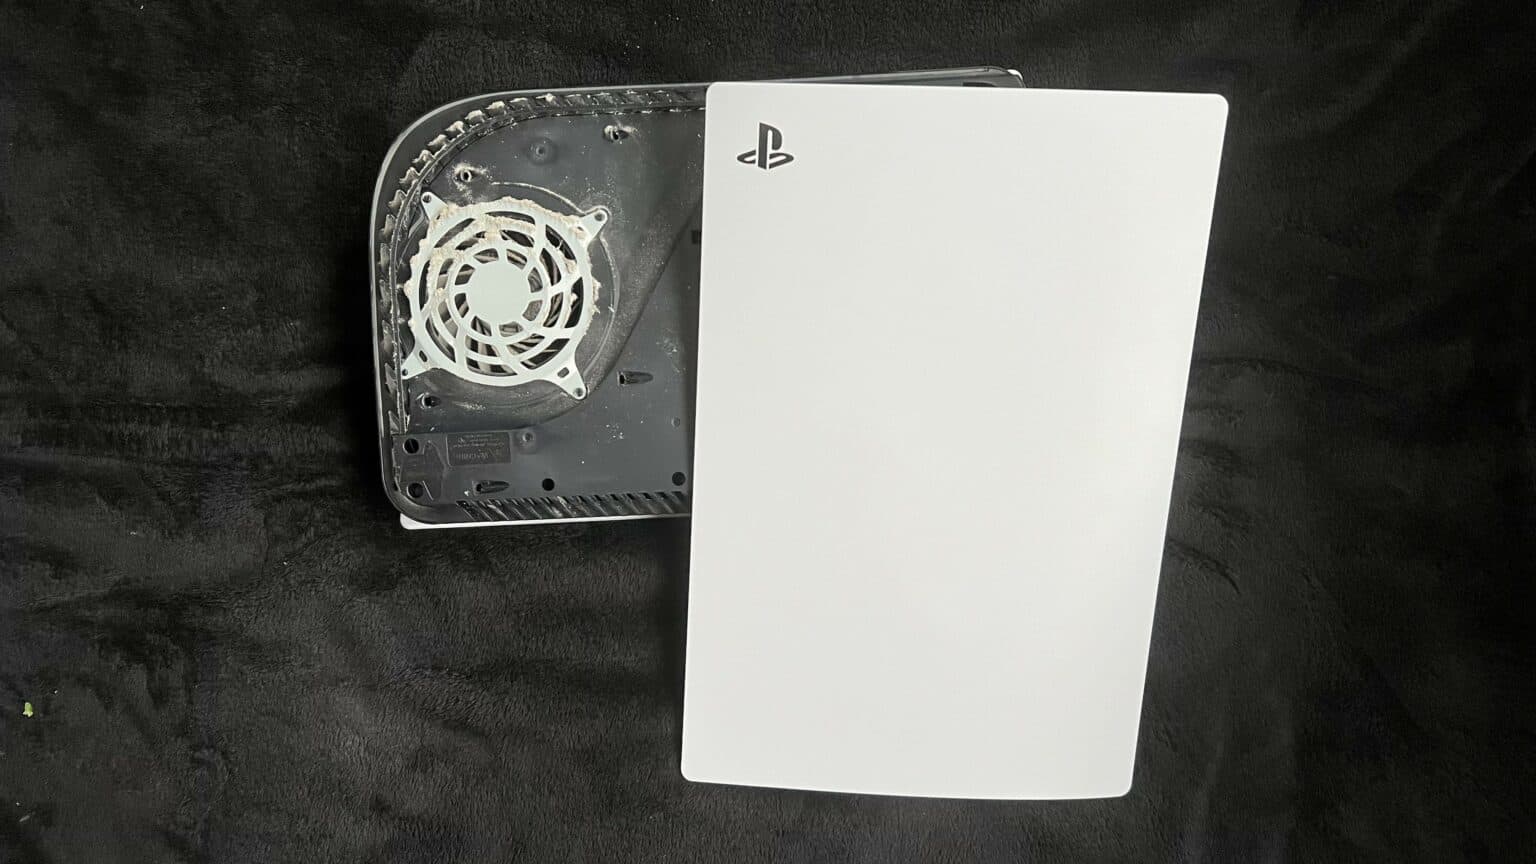
– If your PlayStation 5 is standing tall like a champion, give it a little flip so the stand is facing up towards the sky.
– Grab a coin or a flathead screwdriver, and let’s tackle that 26.5 mm-long stand screw with some finesse!
Tools Used

Step 2


– Give it a gentle tug upward to free the stand.
Step 3


– Pop that screw into the little cubby located snugly on the bottom of the stand.
Step 4


– Grab a pair of tweezers or your fingernail to pop off the cap from the cubby.
– Use your finger to press the cap into the screw hole.
Step 5


– Give the stand a gentle twist to the left and watch as the cubby closes up nicely!
Step 6


– Got your PlayStation 5 lying down like a sleepy cat? Perfect! Just flip it over so the charging port is looking up at you.
– Now, give that stand a gentle lift straight up to take it off. Easy peasy!