
How to Replace PlayStation 5 Slim Console Covers Tutorial
Duration: 45 minutes
Steps: 3 Steps
Hey there! Just a friendly reminder: be cautious while working on your device. It’s important to handle everything with care to avoid any mishaps. If things get tricky, don’t hesitate to schedule a repair with us!
Let’s have some fun swapping out the console covers (also known as casings, shells, or housings) on your PlayStation 5 Slim! Get ready to give your gadget a fresh new look with this quick and easy switcheroo. If you need a hand, don’t hesitate to schedule a repair for some expert assistance. Time to jazz up that tech!
Step 1


Before you dive into your repair adventure:
– First things first, power down your console and unplug all those cables and accessories like a pro.
– Next up, if your device has any stands, take them off and lay it flat like it’s ready for a nap.
Step 2


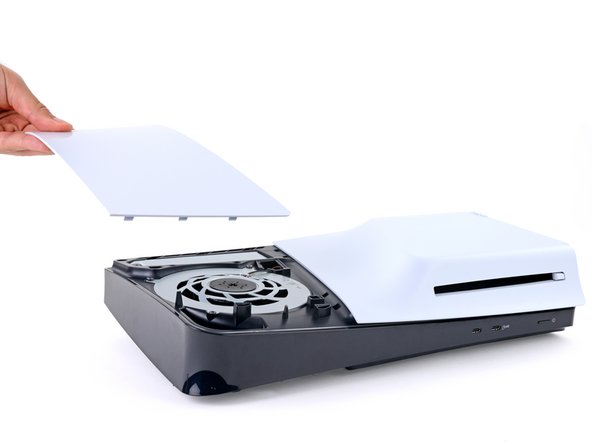
Each console cover is held in place by hooks at the back and clips at the front. It’s like a little game of hide and seek!
Listen for those satisfying “pops” as the clips let go. It’s music to your ears!
– Lift the front edge of the cover with a solid grip to pop those clips loose.
– Now, go ahead and take off the cover!
Step 3


– Follow the same steps to take off the other three covers.
– To put a cover back on, line up the hooks with their slots along the rear edge and press down on the front edge until the clips snap into place. If you need help, you can always schedule a repair
