Samsung Galaxy S6 Active Volume Buttons Replacement Guide
Duration: 45 minutes
Steps: 29 Steps
Hey there! Ready to tackle fixing those volume buttons on your phone? Let’s get to it and have your device sounding good as new in no time. Get step-by-step guidance and rock those repairs like a pro. If you need assistance, don’t hesitate to schedule a repair with us. Happy repairing!
Step 1


– Gently slide in something thin like your fingernail or a plastic tool into the groove located on the side of the SIM tray.
– Delicately nudge the tray until it pops out smoothly from its slot.

Step 3


Got an iOpener? Give it a quick zap in the microwave for thirty seconds.
– Warm up the front of your phone (sides, top, bottom) with the iOpener, a hair dryer, or a heat gun for a solid 60 seconds to loosen up that adhesive around the glass edge.
Tools Used

Step 4

– Pop a suction cup onto the lower part of the screen and get ready to lift off that display like a pro!
Step 5


Be gentle! If you pull too hard, you might end up cracking the display. If you’re still feeling some resistance, don’t sweat it! Just give Step 3 another shot and let that iOpener work its magic a little longer.
– Grab the suction cup and give that stubborn panel a gentle tug from the bottom half.
Tools Used
Step 6


– After creating a nice little gap, grab a plastic tool and slide it in at the bottom, right between the glass and the frame of your phone.
– Now, gently glide that plastic opening tool around the screen, coaxing the display away from the body with care.
Step 7

Gently lift the lower part of the screen—it’s connected to the top of the motherboard with a clip. Pull too hard, and it might pop off! If you need help, you can always schedule a repair.
– Gently use the trusty suction cup to pull apart the lower half of the screen while firmly holding down the phone frame. Let’s separate these components like a pro!
Step 8


– After removing the glass, you’ll spot a tiny clip that holds the screen connection to the motherboard at the top of your phone. Grab some tweezers and gently grasp the clip by its crease, then pull it out with care!
Tools Used


Step 10

– Get ready to give your device a mini-makeover by saying goodbye to its display assembly (LCD and Digitizer).
Step 11


– Grab your trusty PH000 Phillips Head Screwdriver and carefully remove the sixteen 4mm screws from the frame. If you need help, you can always schedule a repair.
Step 12

You’ll notice the clips starting to release themselves.
– Gently press down on the top, bottom, and sides of the phone to help pop off the rear case. You’ve got this!


Step 14

– Gently slide a plastic opening tool into the side of the frame and carefully lift out the battery.


Step 16
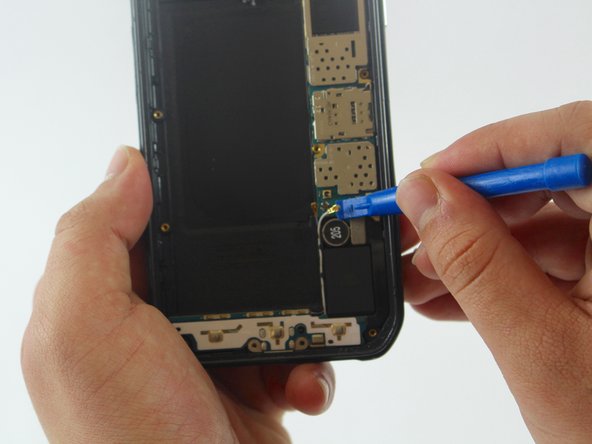

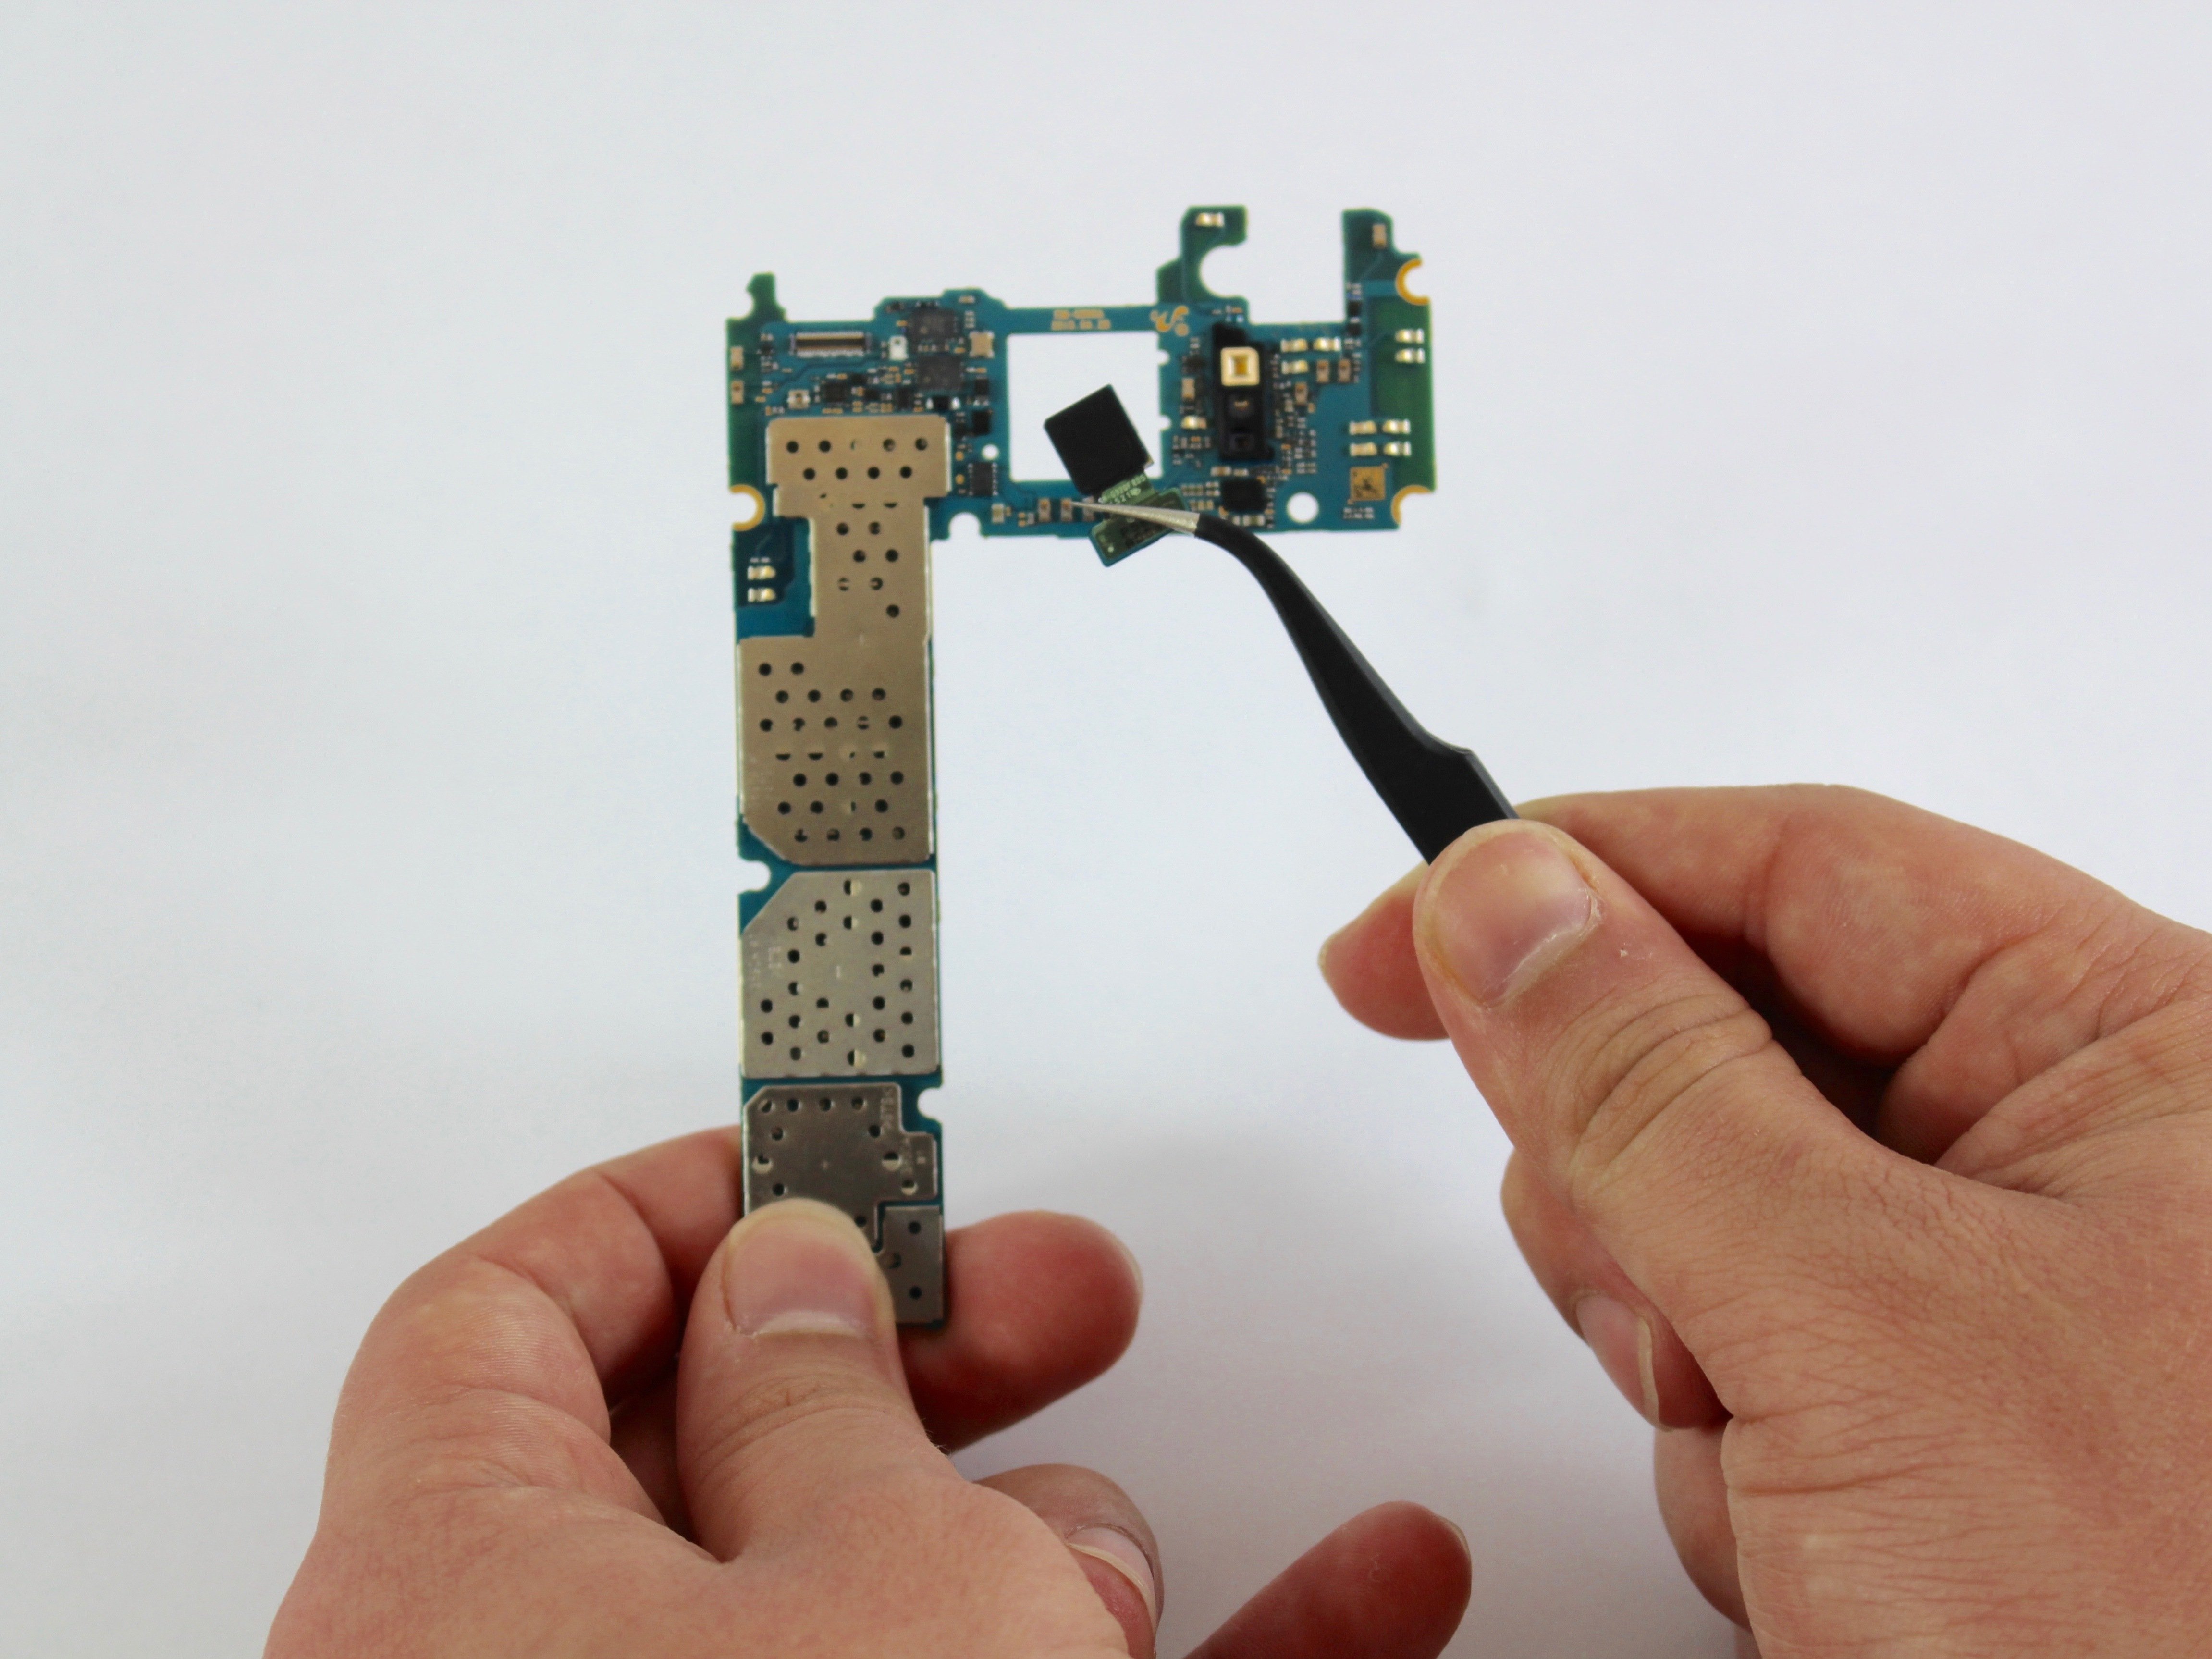
You’ve got three connections to disconnect. Let’s tackle this together!
– Grab a trusty plastic tool and carefully disconnect all the connections on the motherboard. You’re doing great!
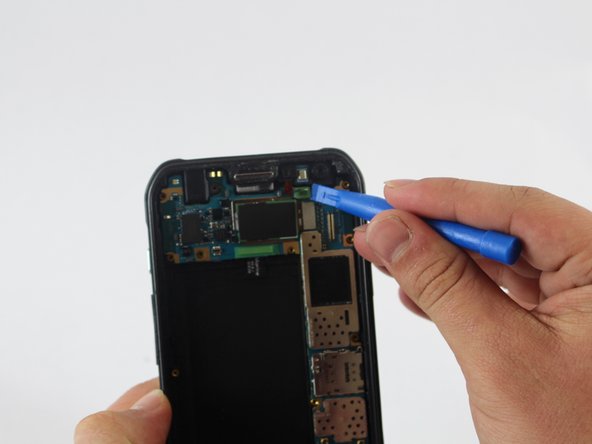
Step 17

– Slide the flat end of the spudger under the motherboard and give it a little twist to pop the board up.
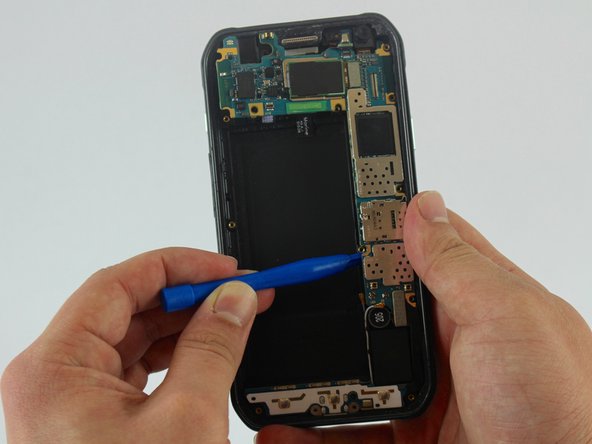
Step 18

– Time to give your device some breathing room by delicately lifting out the motherboard from its cozy rear case.
Step 19

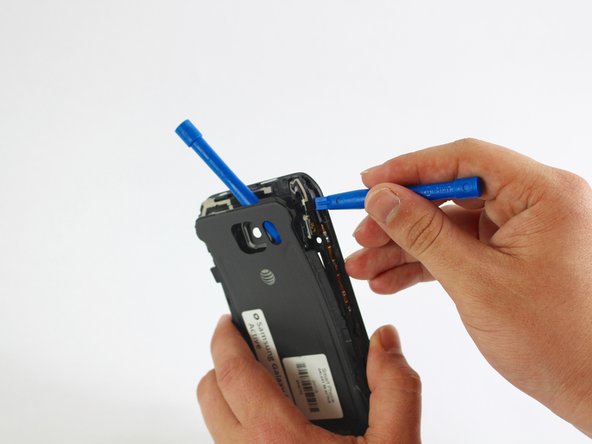
– Gently press down on the top, bottom, and sides of your phone to help it pop free from the plastic cover. You’ve got this!
Step 20

– As soon as you notice a nice gap forming, grab a plastic tool and gently wiggle it between the frame and the plastic cover. Slide it around the phone to help separate those two parts like a pro!
Step 21

– Gently peel off the plastic cover from your phone like you’re unwrapping a present!
Step 22

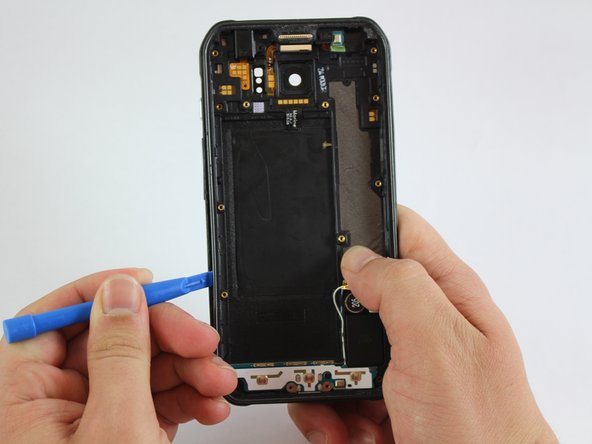
– Gently slide a plastic tool into the gap between the phone’s frame and the back cover at the top right corner. You’ve got this!
Step 23

– Remember to keep the plastic tool inside while you work to easily access the volume button connection!
Step 24

– Gently slide a plastic tool into the gap to pop open the black and beige cover that guards the volume button connection. You’ve got this!
Step 25

Give that ribbon cable a gentle touch! Tugging too hard can break it. If you need help, you can always schedule a repair.
– Gently lift the volume buttons ribbon cable until all that’s left connected to the frame are the contacts. Keep it cool and steady!

Step 27

– Grab those tweezers and gently pop out the volume buttons bracket. You’ve got this!
Tools Used
Step 28

– The volume buttons hang out on the plastic cover, just waiting for some attention.
– Grab those tweezers and gently nudge the volume buttons out of their cozy little frame.
Tools Used