How to Replace Samsung Galaxy S6 Active USB Board Guide
Duration: 45 minutes
Steps: 18 Steps
Hey there, repair champ! Just a heads up, tackling repairs can sometimes be a bit tricky. If you find yourself in a jam, remember, it’s totally cool to reach out for help. You can always schedule a repair with us. We’ve got your back!
Oops! Did your Samsung Galaxy S6 Active suffer some mishaps like being over-charged, splashed with water, or having its USB port played with a bit too much? Fear not! Follow this simple guide to swap out that USB board in your trusty Samsung Galaxy S6 Active. Just remember to power down your phone completely and unplug it from any power source before you begin this quick fix!
Step 1


– Pop your fingernail or a plastic opening tool into the pivot on the SIM tray’s side.
– Gently wiggle the tray out of its cozy socket. If you need help, you can always schedule a repair

Step 3


Pop that iOpener in the microwave for a quick thirty seconds to get it nice and toasty!
– Warm up the front face (sides, top, bottom) of your phone using an iOpener, hair dryer, or heat gun for about 60 seconds. This will help loosen the adhesive holding the glass in place, making it easier for you to get in there and do your thing!
Tools Used


Step 5


Be gentle! If you tug too hard, you might just end up cracking that display. If you’re still feeling some resistance, go ahead and give Step 3 another shot, leaving the iOpener on a bit longer this time. You’ve got this!
– With the trusty suction cup in hand, give a gentle tug on the lower half of the panel. You’ve got this!
Tools Used
Step 6


– Once you’ve opened up enough space, pop a plastic tool at the bottom, between the glass and the phone’s frame.
– Move the plastic opening tool around the screen, gently nudging the display away from the body. If you need help, you can always schedule a repair
Step 7

Just a friendly reminder: when lifting the lower part of the screen, be gentle! It’s got a little clip holding it to the top of the motherboard, and yanking too hard could lead to some unwanted drama.
– Gently tug on the lower half of the screen with your trusty suction cup while keeping a firm grip on the phone’s frame to help separate the two parts. You’ve got this!
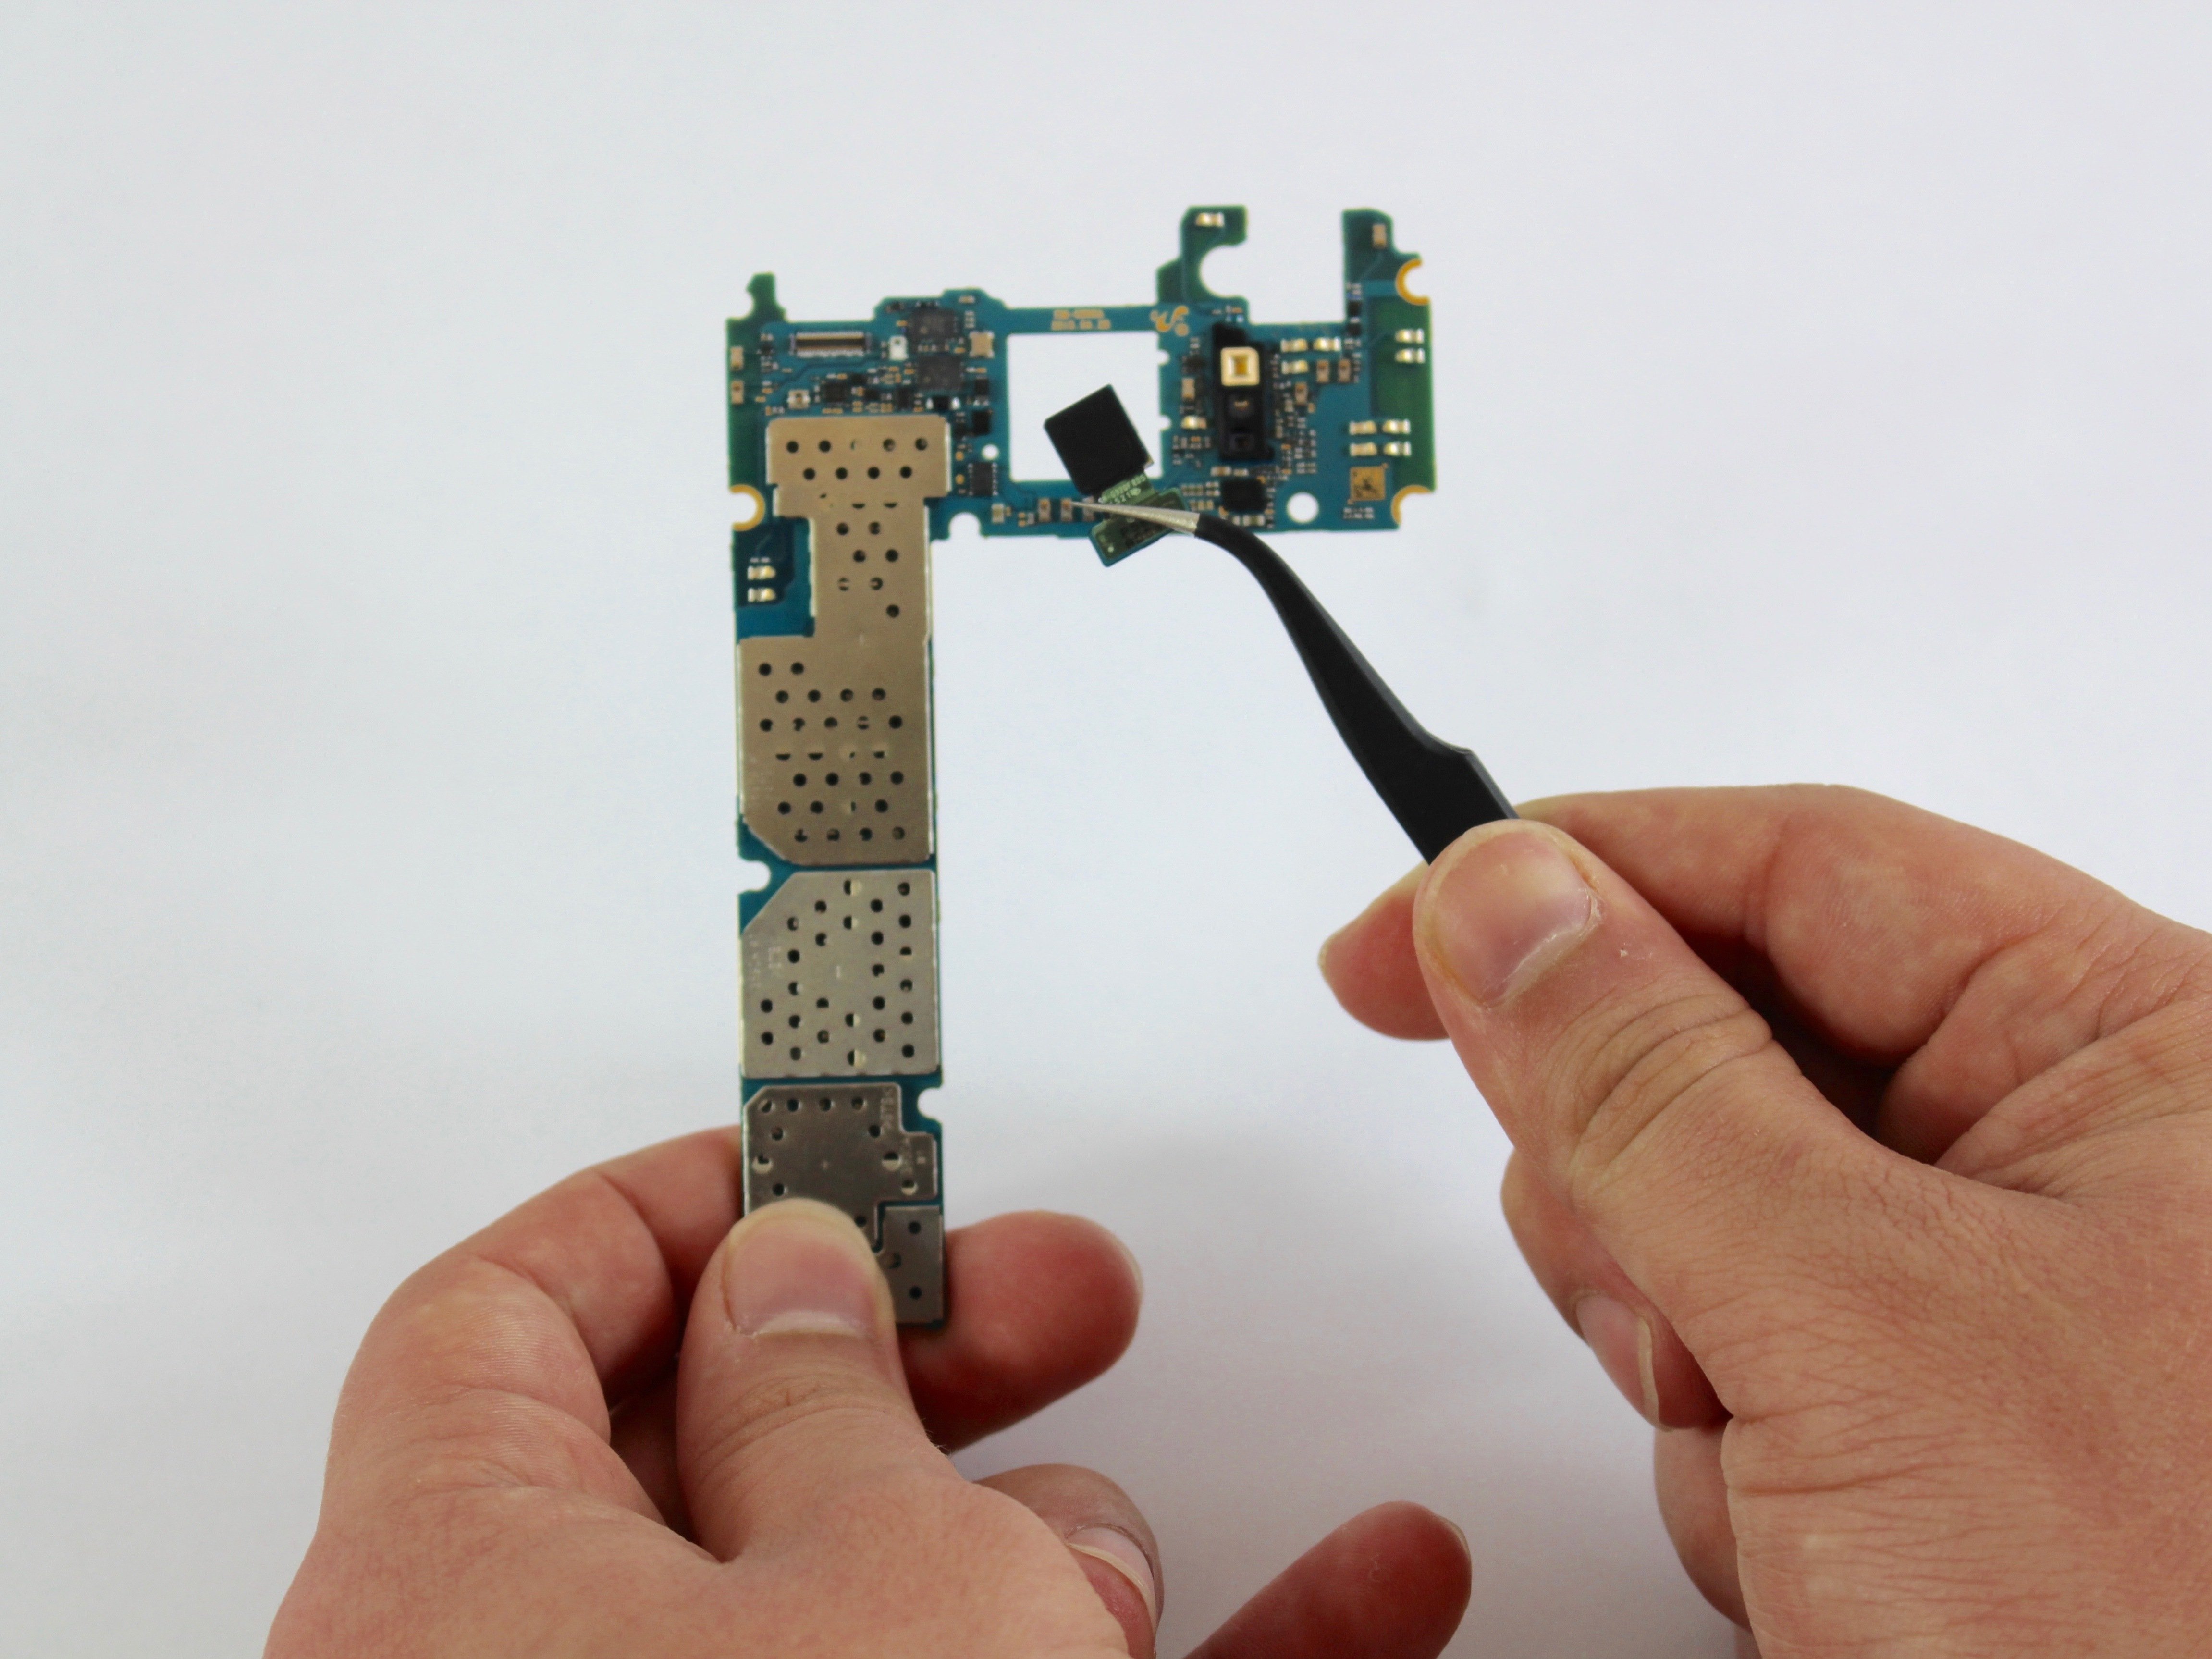
Step 8


– Once the glass is off, take a moment to admire your handiwork! Now, at the top of the phone, there’s a tiny clip guarding the screen connection to the motherboard. With a steady hand, grab that little guy by the crease on its side using your tweezers and gently pull it out. You’re doing great!


Step 11


– Grab your trusty PH000 Phillips Head Screwdriver and unscrew those sixteen 4mm screws from the frame. If you need help, you can always schedule a repair.
Step 12

You’ll start to hear those clips popping loose.
– Give the phone a little press on the top, bottom, and sides to pop off the rear case. If you need help, you can always schedule a repair.


Step 14

– Gently slide a plastic opening tool into the side of the frame and carefully pop out the battery. If you need help, you can always schedule a repair.


Step 16
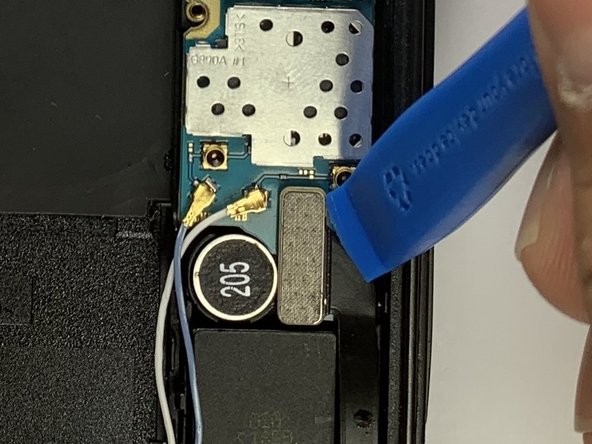

– Try your hand with a plastic opening tool to release the connector and the two wires on the motherboard.
Step 17

– Grab your trusty Phillips #000 screwdriver and gently unscrew those two 4mm screws from the USB board. You’ve got this!
Step 18

– Slide a plastic opening tool beneath the USB board and gently lift it out of the rear case.