DIY Samsung Galaxy S6 Active Power Button Replacement Guide
Duration: 45 minutes
Steps: 28 Steps
Heads up, repair enthusiast! Make sure to take your time with each step. If things get tricky or you feel a bit lost, don’t hesitate to schedule a repair. We’ve got your back!
Get ready to dive into the world of phone repair! This guide will help you seamlessly access and swap out that pesky power button on your phone. If you need help, you can always schedule a repair.
Step 1


– Gently slide your fingernail or a trusty plastic opening tool into the little groove on the side of the SIM tray.
– Give it a gentle nudge to pop the tray out of its cozy home.
Step 2

– Pop out the SIM tray with the SIM card from your phone. If you need help, you can always schedule a repair
Step 3


Pop that iOpener in the microwave for thirty seconds to give it a cozy warm-up!
– Give the front face of your phone a warm hug with the iOpener, a hair dryer, or a heat gun for about 60 seconds. This will help loosen up the adhesive around the glass edges, making it easier to get in there and do your thing!
Tools Used


Step 5


Be careful not to tug too hard, or you might end up with a broken display. If things feel a bit stubborn, just go back to Step 3 and let that iOpener hang out a little longer.
– With the suction cup in hand, give the lower half of the panel a gentle tug. You’ve got this!
Tools Used
Step 6


– After you’ve created a nice little gap, carefully slide a plastic tool in at the bottom, right between the glass and the frame of your phone. It’s like giving your device a gentle nudge!
– Now, take that plastic opening tool and glide it around the screen, gently prying the display away from the body. Think of it as giving your phone a little stretch!
Step 7

Just gently lift the lower part of the screen. It’s got a little clip that connects it to the top of the motherboard, and if you tug too hard, you might just give it a dramatic exit!
– Gently tug the lower half of the screen with a suction cup while holding down the phone’s frame to pop ’em apart. If you need help, you can always schedule a repair
Step 8


– Now that the glass is off, take a peek at the top of your phone. You’ll spot a little clip that’s keeping the screen connection cozy with the motherboard. Grab your trusty tweezers, gently pinch the clip by its side crease, and give it a little tug to set it free!
Tools Used


Step 10

– Time to give your device a makeover! Say goodbye to the display assembly (LCD and Digitizer) like a pro!
Step 11


– Grab your trusty Phillips Head Screwdriver PH000 and get ready to tackle this! It’s time to unscrew those sixteen 4mm screws from the frame. You’ve got this!
Step 12

Get ready to rock and roll as you listen for those satisfying clicks as the clips start to release on their own!
– Gently press around the top, bottom, and sides of your phone to coax that rear case apart. You’ve got this!


Step 14

– Grab a plastic opening tool, slide it along the side of the frame, and pop out the battery. If you need help, you can always schedule a repair.


Step 16

Alright, let’s do this! Three connections need to be unhooked.
– Time to rock and roll! Grab a plastic tool and start by gently undoing all the connections on the motherboard.
Step 17

– Gently slide the flat end of the spudger beneath the motherboard. Then, with a little twist of flair, lift the board up to reveal its secrets.
Step 18

– Gently lift the motherboard out of the back case, and give it a little wiggle if it’s feeling stubborn. You’ve got this!
Step 19

– Apply gentle pressure to the top, bottom, and sides of the phone to pop it out from the plastic cover. If you need help, you can always schedule a repair.
Step 20

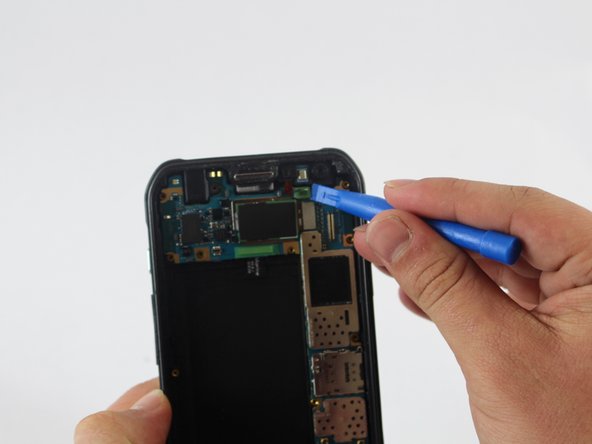
– As soon as you spot a nice, cozy gap, grab a plastic tool and gently slide it between the frame and the plastic cover. Give it a little tour around the phone to help separate those two components like a pro.
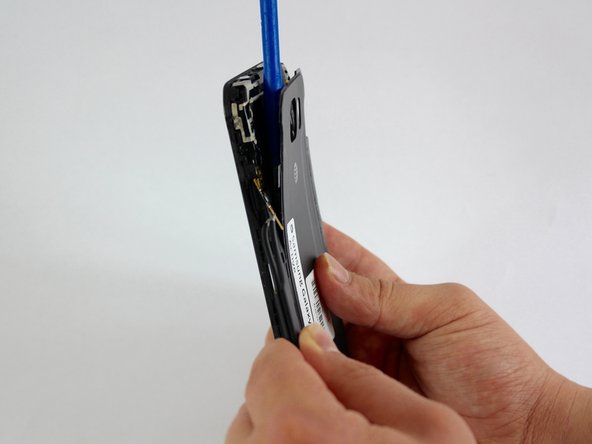
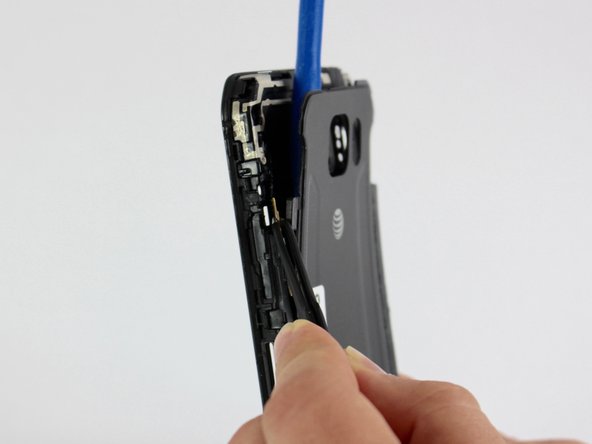
Step 21

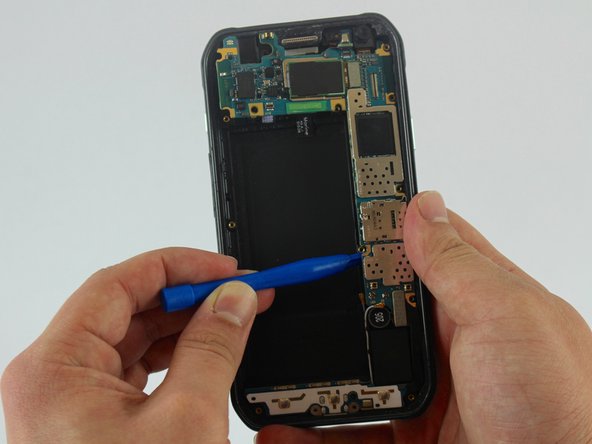
– Gently peel off the plastic cover from your phone like you’re unwrapping a present!
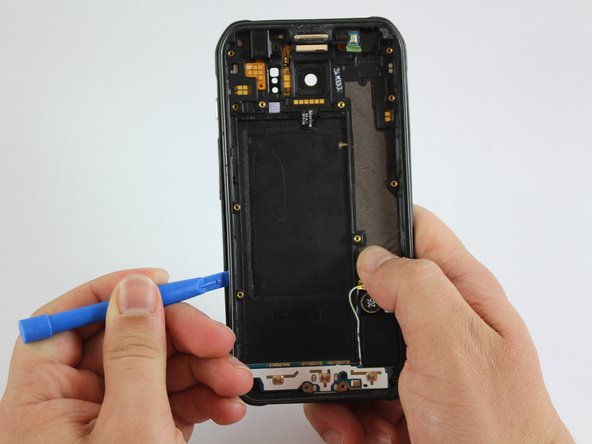
Step 22

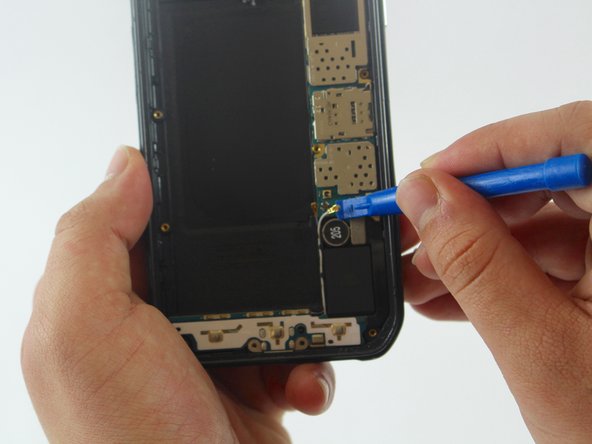
– Gently slide a plastic tool into the gap between the phone’s frame and the back cover at the top left corner. You’ve got this!

Step 24

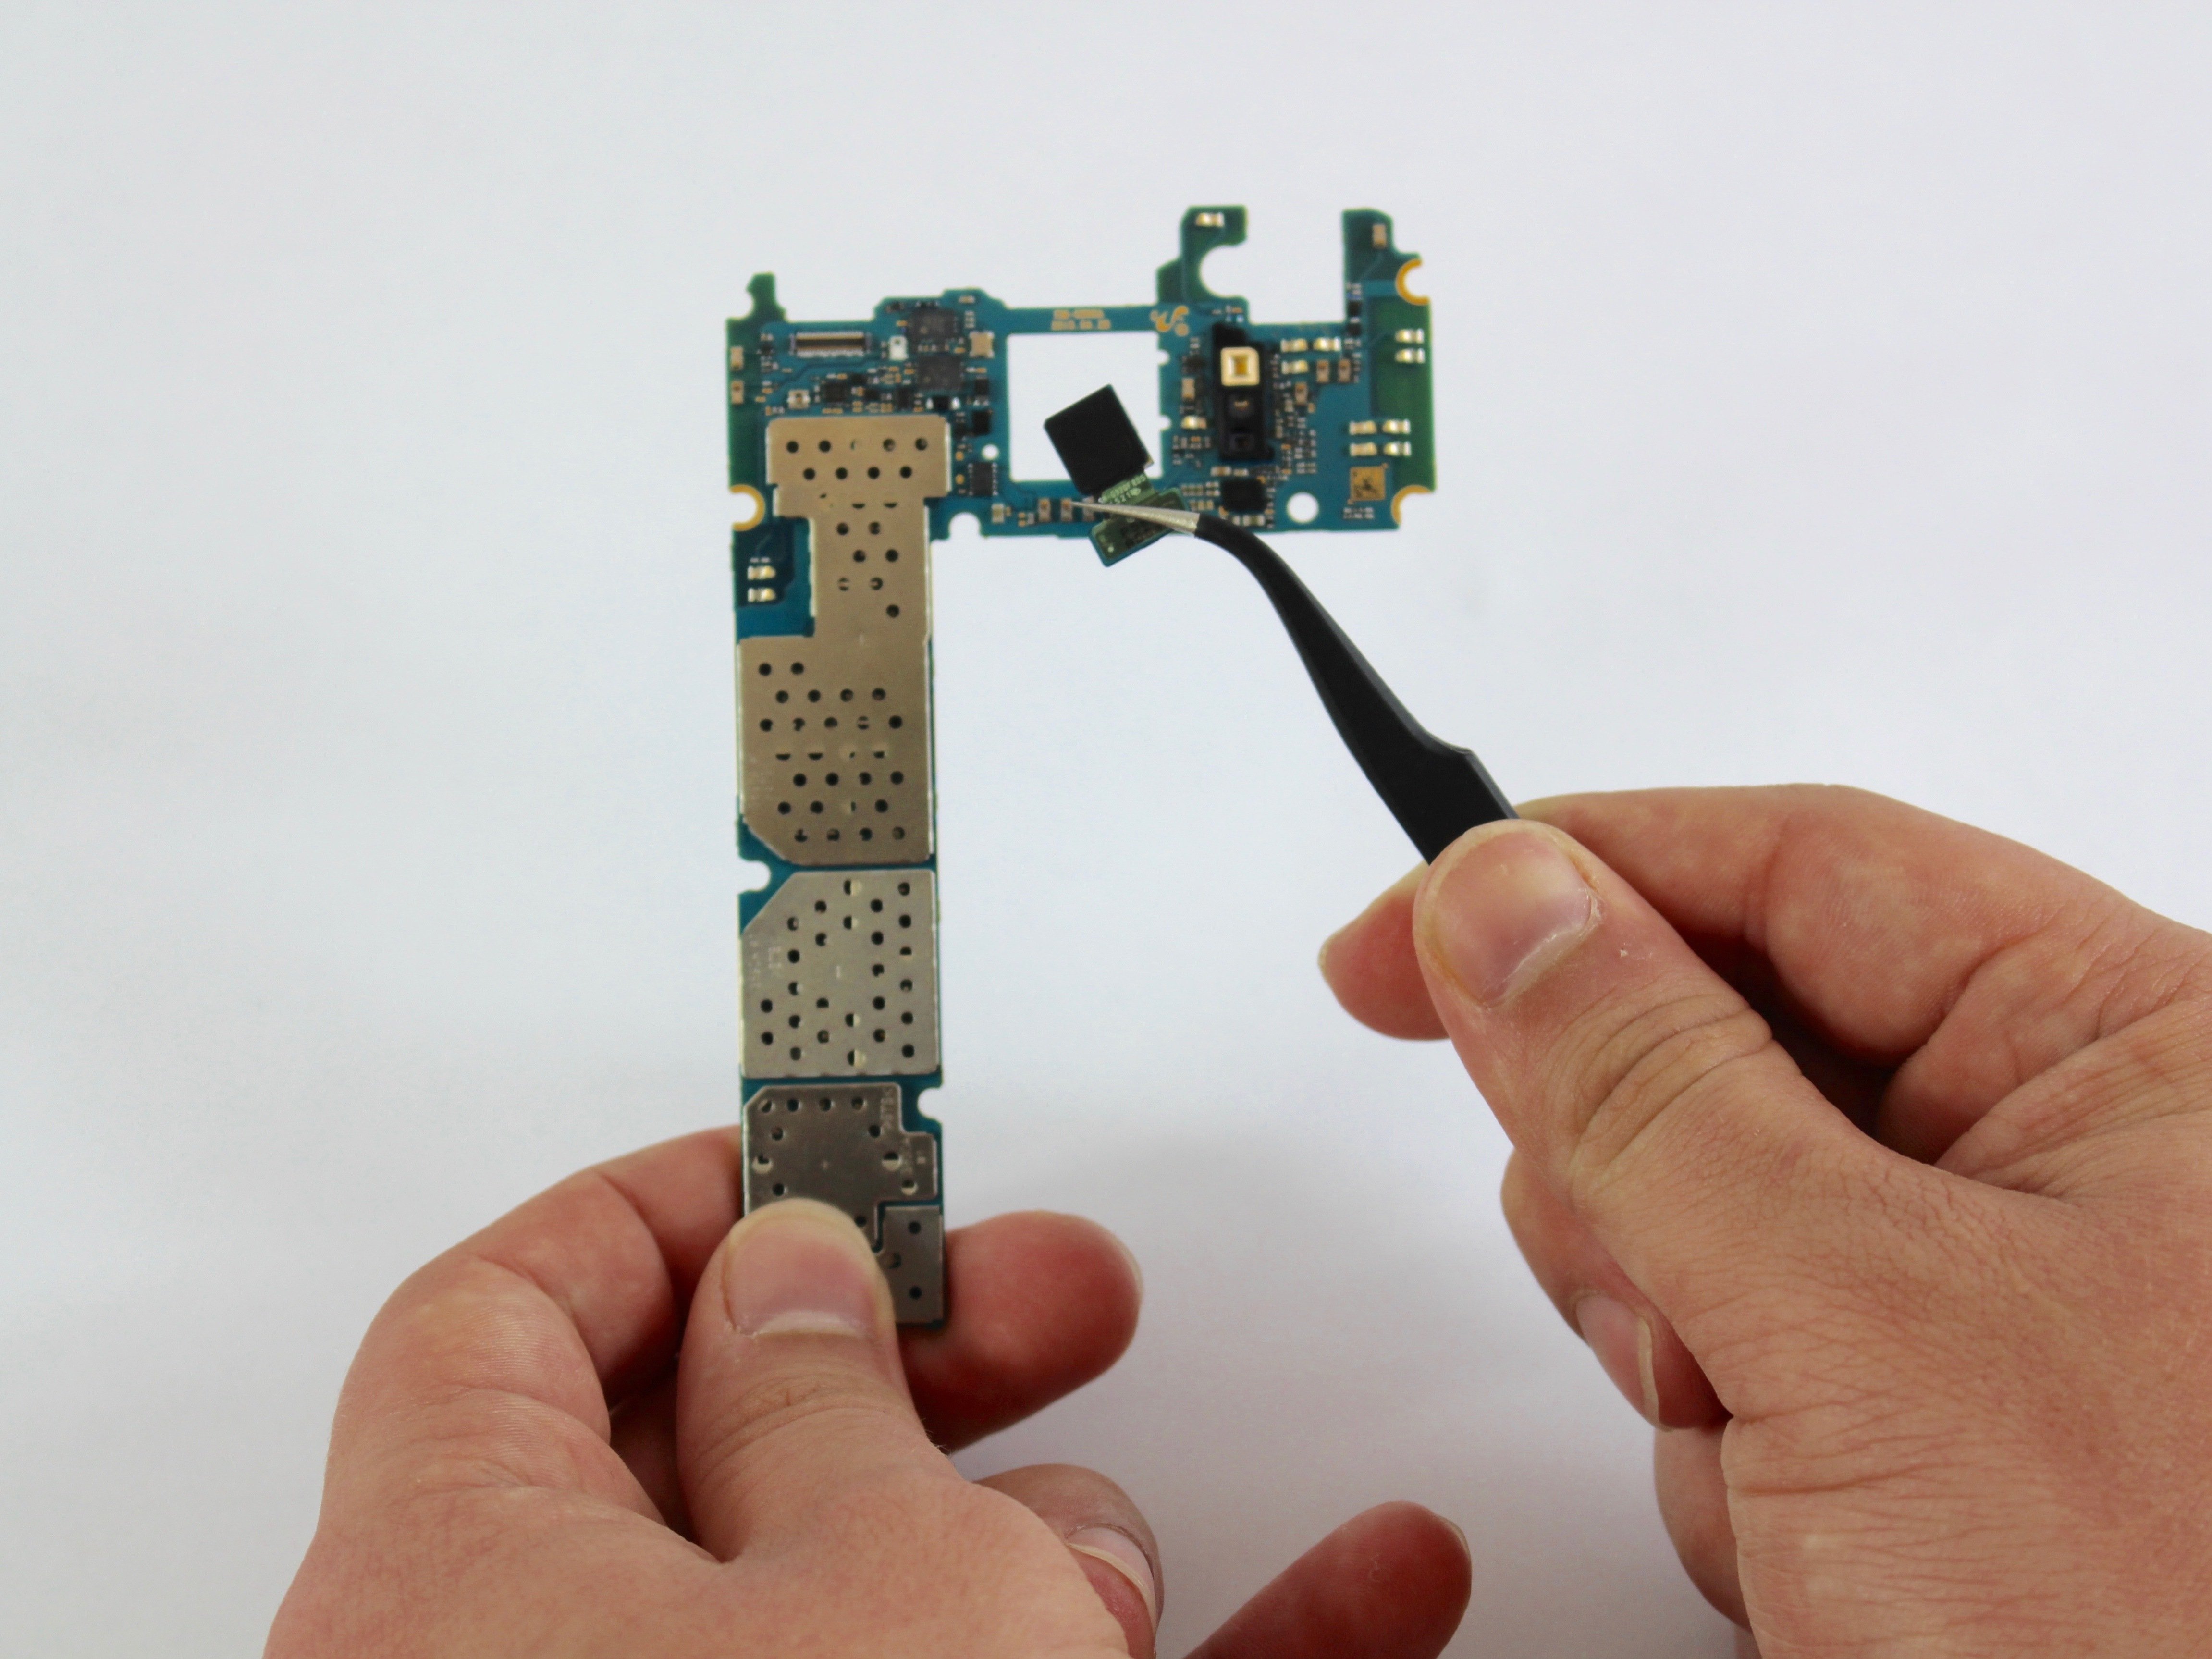
Be gentle with that ribbon cable! Yanking too hard might just invite some unwanted damage. Remember to keep the body of your device steady while you work your magic.
– Grab those tweezers and carefully lift the power button ribbon cable until just the contacts are left holding onto the frame.
Tools Used

Step 26

– Grab those tweezers and carefully lift out the power button bracket. If you need help, you can always schedule a repair
Tools Used
Step 27

– Guess what? The power button is right there on the plastic cover waiting for you to work your magic!
– Grab those trusty tweezers and gently coax the power button out of its cozy frame.
Tools Used