How to Replace Samsung Galaxy S6 Edge+ Step-by-Step Guide
Duration: 45 minutes
Steps: 7 Steps
Hey there! Need a hand with this step? Feel free to schedule a repair for expert assistance! You’ve got this!
Hey there! Ready to dive into the teardown process for the awesome Galaxy S6 Edge Plus? Let’s get cracking on this repair adventure together!
Step 1

– First things first, let’s power down that Galaxy S6 Edge Plus and pop out the SIM card tray. You’re on your way to a smooth repair journey!
Step 2


– Warm things up a bit to loosen that sticky adhesive holding the back cover in place.
– Gently tug at a corner to create a little opening for your trusty prying tool and a poker card.
– Slide the poker card and case opening tool along the edges to carefully detach the back cover.
Step 3


– Let’s get started by removing those 18 screws from the back housing. You’ve got this!
– Now, gently lift the rear housing away from the LCD assembly with the frame. Easy peasy!
Step 4
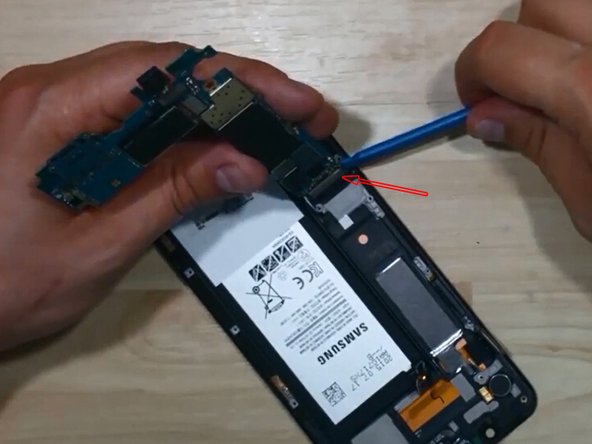


– Gently lift the screen flex connector, battery flex connector, ear speaker flex connector, and proximity sensor flex connector. You’ve got this!
– Carefully pop up the motherboard and flip it over to free the connector hiding behind it. Easy peasy!
– If needed, lift the connectors on the motherboard to detach the front-facing and rear-facing cameras. You’re doing great!


Step 6

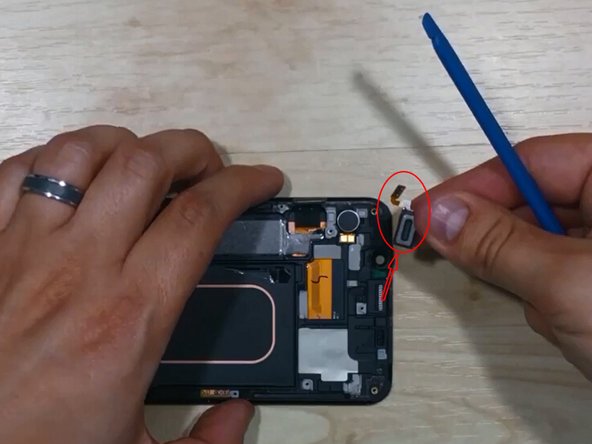
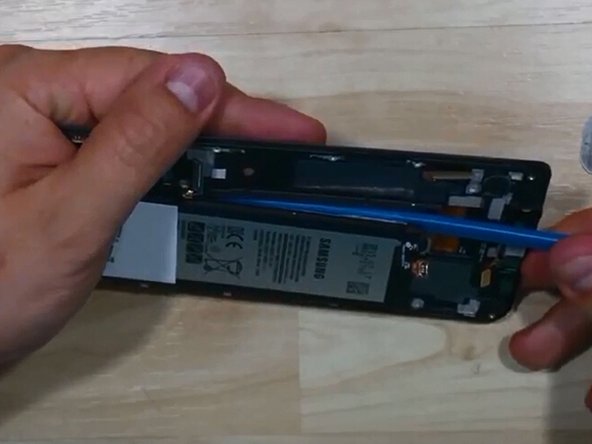
– Gently pry up to set the proximity sensor module free.
– Carefully pry up to detach the ear speaker.
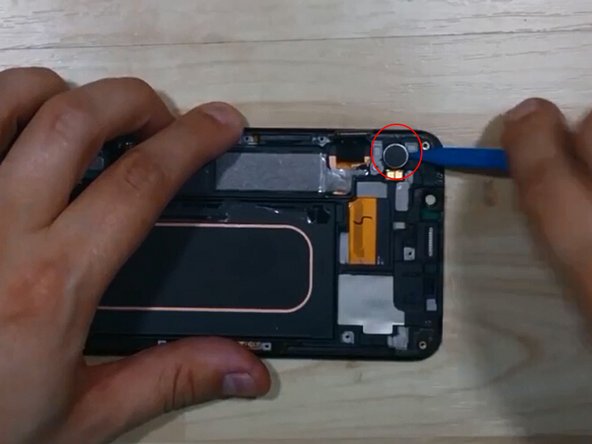
– Take a moment to pry up and liberate the vibrating motor.
Step 7

– According to the video, you can’t remove the charging port flex ribbon assembly until you’ve taken apart the front glass. It’s all tangled up with the navigator flex between the glass and the LCD. If you need help, you can always schedule a repair.


