DIY Samsung Galaxy S6 Edge Front-Facing Camera Replacement Guide
Duration: 45 minutes
Steps: 14 Steps
Heads up, techie! Make sure you back up all your data before you dive in. If things get tricky, don’t sweat it. You can always schedule a repair.
Ready to replace your front-facing camera on the Samsung Galaxy S6 Edge? Let’s dive in! This guide shows you how to remove the rear glass to get to that camera. Keep in mind, removing the rear glass will break the adhesive. No worries though, follow this guide to reinstall it. If you need help, you can always schedule a repair.
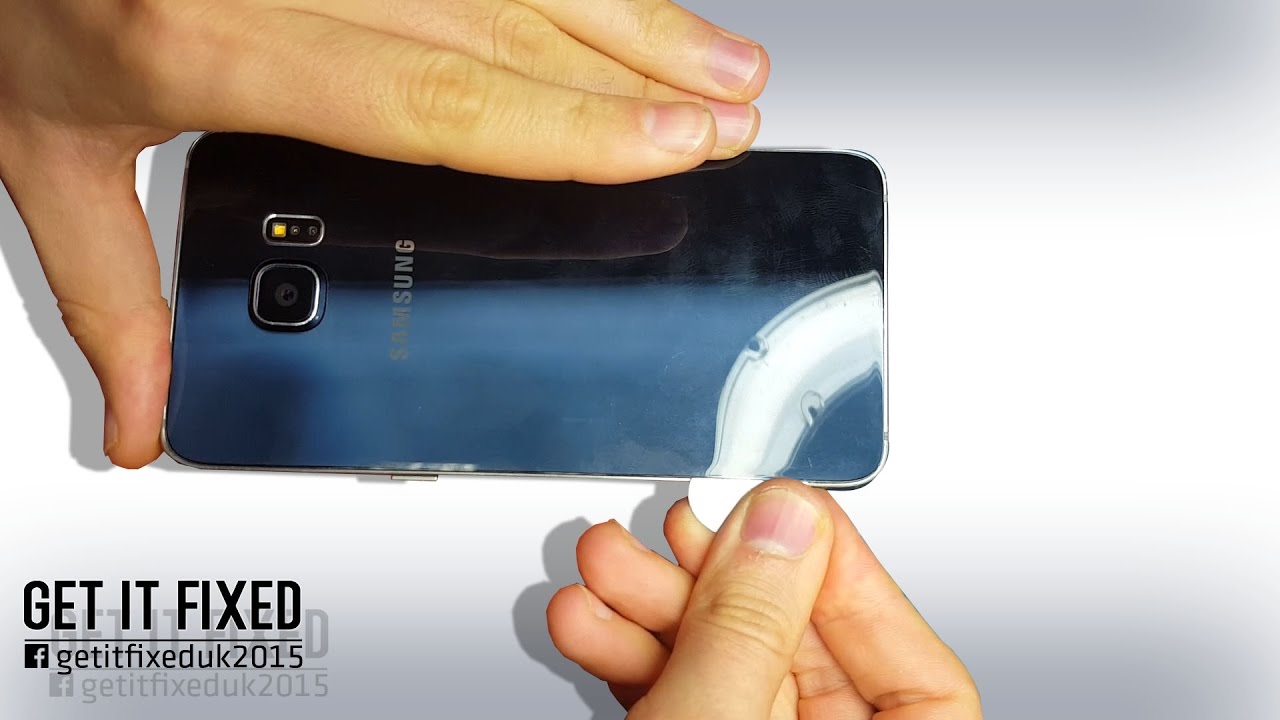
Step 1


Hey there! Before you insert that tool, double-check you’re looking for the SIM tray outline. No tinkering near the mic hole, okay? If you need a hand, our awesome repair crew’s got your back! Schedule a repair and let’s get your gadget rockin’ and rollin’ again!
– Grab a paper clip or your trusty SIM eject tool and slide it into the tiny hole at the top of your phone where the SIM card slot lives.
– Give it a gentle press to pop out the SIM card tray.
– Now, carefully pull out that SIM card tray from your phone and set it aside.
Step 2


Hey there! Make sure the plate in your carousel microwave spins like a dream. If you find your iOpener getting a bit stuck, it might get a little too warm, so exercise some caution. No worries, though – if you need help, you can always schedule a repair!
Before you dive into the repair, give your microwave a quick clean. Trust us, you don’t want any sticky stuff lingering on the bottom to hitch a ride on your iOpener.
– Center the iOpener in the microwave like it’s the star of the show.
Tools Used

Step 3

Keep an eye on that iOpener during your repair journey! If it gets too toasty, it might just pop! Aim to keep it under 100˚C (212˚F) for safety.
If your iOpener looks a bit puffy, give it a break and avoid touching it!
Is that iOpener still feeling too hot in the middle? No worries! Just hang tight and let it cool down a bit before giving it another go. A well-heated iOpener should keep the warmth for up to 10 minutes!
The iOpener should be heated just enough to make it a touch too warm. Adjust the time based on how powerful your microwave is.
– Pop the iOpener in the microwave for a quick 30-second warm-up!
– Throughout the repair journey, keep the iOpener toasty by giving it another spin in the microwave for 30 seconds at a time.
Tools Used
Step 4

Brace yourself, the iOpener is bringing the heat! Remember, hot stuff coming through – better grab an oven mitt if you want to stay cool.
– Carefully take the iOpener out of the microwave, grabbing it by one of the flat ends to keep your fingers away from the hot middle.
Tools Used
Step 5


The iOpener will be super toasty, so be extra careful when holding it – just keep it to those friendly end tabs!
If you find yourself without a microwave, try this method to warm up your iOpener by submerging it in hot water.
– Grab a pot or pan and fill it with enough water to fully submerge your iOpener.
– Get that water boiling, then turn off the heat.
– Gently drop your iOpener into the steamy water for a cozy 2-3 minutes. Just make sure it’s taking a nice warm bath.
– Use some tongs to rescue your now-toasty iOpener from its hot tub.
– Give your iOpener a good pat down with a towel to dry it off.
– Your rejuvenated iOpener is all set to go! In case it needs a warm-up later on, remember to bring the water to a boil, cozy up the iOpener in there for 2-3 minutes, and voila!
Tools Used
Step 6


You can use a hair dryer, heat gun, or hot plate, but be careful not to overheat your phone—both the OLED display and internal battery are sensitive to heat damage. If you need help, you can always schedule a repair.
Opening your phone? Just a heads up, you’ll be breaking those waterproof seals! Make sure you’ve got some replacement adhesive handy before diving in, or be extra careful about keeping your device away from any liquids if you’re reassembling without it.
Dealing with a shattered screen? No worries! Just slap some packing tape over the whole panel to keep things together while you work your magic.
You might find yourself reheating and reapplying the iOpener a few times to get your phone nice and cozy. Just remember to follow those iOpener instructions so you don’t accidentally overdo it!
– Place the warmed iOpener on the back panel for about two minutes to soften up the adhesive around the glass edges.
– Move the iOpener to warm up the remaining part of the panel for another two minutes.
Tools Used
Step 7


If you’re feeling adventurous, once you’ve slipped in that pick, why not sprinkle in a few drops of isopropyl alcohol? It’ll give that adhesive a little nudge to loosen up for the next steps!
– When the back glass is warm to the touch, stick a suction cup near the bottom edge of the glass.
– Gently pull up on the suction cup to create a little gap underneath the rear glass, and slide an opening pick into that gap.
Step 8


To keep things rolling smoothly, consider leaving the pick in place while you grab a second one for the next step. This little trick can help ensure that the glue you just tackled doesn’t decide to stick around again.
Feel free to reheat that rear glass as needed to keep the glue nice and pliable. We want to avoid any cool-downs that might make things a bit too stiff!
– Gently glide the nifty pick along the lower edge of your device to smoothly separate the sticky glue holding the back glass in place.
Step 9


– Now, let’s keep the momentum going! Warm up that adhesive and gently slice away at the other three sides of your phone.
– Remember to tuck an opening pick under each edge to keep that adhesive from getting cozy again.
Step 10


– Grab your trusty opening pick and carefully work your way through any stubborn adhesive that’s still hanging on.
– Gently remove the rear glass and reveal the inner workings of your device.
Step 11


– To slap on a new rear glass:
– Got your old rear glass or one without adhesive? Follow this guide.
– Grab your tweezers and pick off any leftover adhesive from the phone’s chassis.
– Wipe the adhesion areas with some high-concentration isopropyl alcohol (90%+ preferred) and a lint-free cloth. Swipe in one direction for a clean prep.
– Peel off the backing from the new rear glass, line up one edge with your phone chassis, and press that glass firmly into place. If you need help, you can always schedule a repair.
Tools Used

Step 12

– Pop out the thirteen 3.3 mm Phillips #00 screws from the midframe. If you need help, you can always schedule a repair.
Step 13


– Push down gently on the battery’s back, then lift up the midframe’s edges to separate it from the phone. If you need help, you can always schedule a repair.
Step 14


– Grab your trusty spudger and gently pop the front-facing camera off the motherboard.
– Carefully take out the front-facing camera.
Tools Used