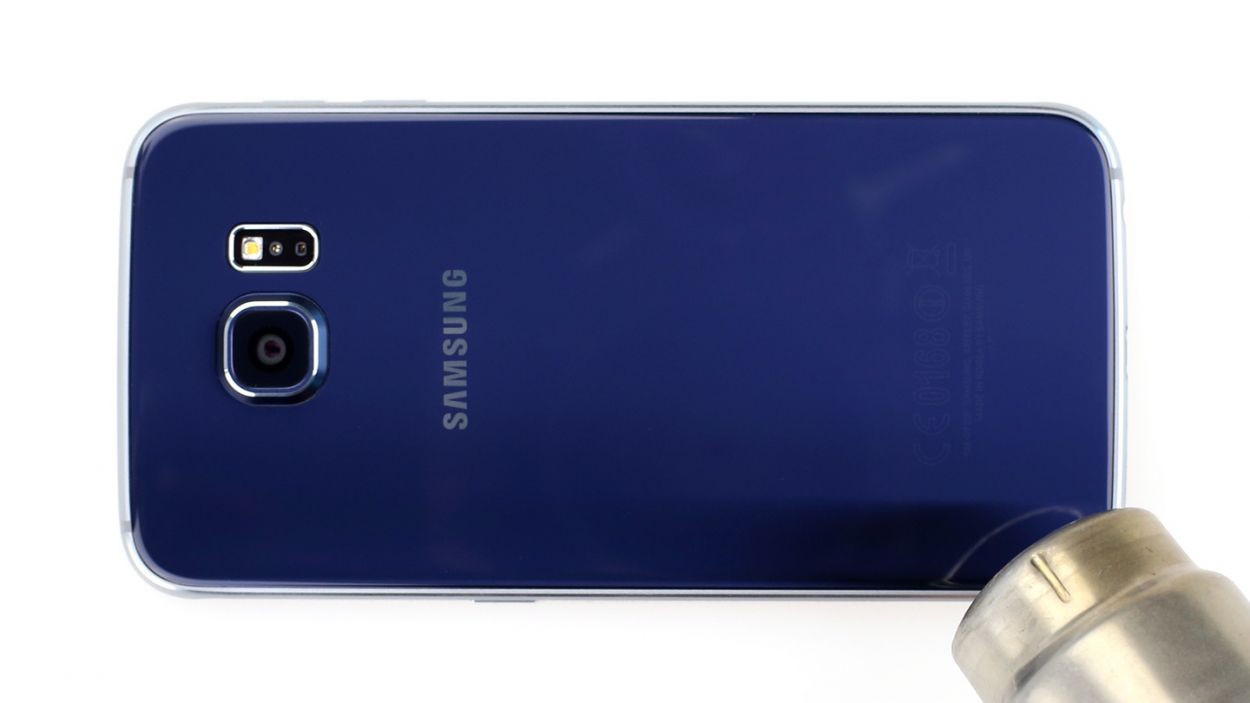
Samsung Galaxy S6 Rear Facing Camera Replacement DIY Guide – Fix & Repair Tutorial
Duration: 45 minutes
Steps: 24 Steps
Hey there, repair rockstar! Just a friendly heads-up: when you’re diving into this repair adventure, keep an eye out for those sneaky screws and delicate components. They can be a bit shy, so handle them with care! If you need help, you can always schedule a repair.
Ready to swap out the rear-facing camera on your Samsung Galaxy S6? Let’s get started! First, you’ll need to remove the rear glass, but heads up – doing so will destroy the adhesive holding it in place. No worries, we’ll show you how to reattach the glass once you’re done. If you need help, you can always schedule a repair.
Step 1


Give the SIM card tray a gentle touch—too much pressure and it might not be happy!
– Grab a paper clip or that handy SIM eject tool and gently slide it into the little hole on the SIM card slot located on the power button side of your phone.
– Give it a gentle press to pop out the SIM card tray like a pro!
Step 2

– Gently pop out the SIM card tray from your phone. You’ve got this!
Step 3


– Pop that iOpener right in the middle of your microwave and let it warm up!
Hey there! Don’t forget to give that plate a good spin to make sure it’s moving freely. If your iOpener gets a bit stuck, just remember it’s like a dance – keep it groovin’ to prevent overheating and burning. Got any issues? You know where to find us – just schedule a repair and we’ll get you back in rhythm!
Make sure to give your microwave a little TLC before you begin. Trust us, you don’t want any icky stuff on the bottom making friends with the iOpener.
Tools Used

Step 4

Hey there! Just a quick heads-up: keep an eye on that iOpener during your repair. If it gets too hot, it might just decide to burst into action—literally! So, let’s keep it under 100˚C (212˚F).
If your iOpener looks a bit puffy, steer clear! Safety first, my friend.
Still feeling the heat? If the middle of the iOpener is too hot to handle, hang tight and let it cool down a bit before you give it another go. A well-heated iOpener should stay cozy for about 10 minutes.
Depending on your microwave’s wattage, you might need to tweak the time a bit. The iOpener is good to go when it’s just shy of too hot to handle.
– Give that iOpener a warm-up in the microwave for thirty seconds. It’s like a spa day for your repair tool!
– As you work through the repair, keep an eye on the iOpener. When it starts to cool down, pop it back in the microwave for another thirty seconds. Repeat as needed to keep the good vibes going!
Tools Used
Step 5

Careful there! The iOpener can get pretty toasty, so handle it with care. An oven mitt might be your new best friend!
– Grab the iOpener out of the microwave, using one of the flat ends to steer clear of the hot center.
Tools Used
Step 6


Watch out! The iOpener gets super hot, so handle it by the end tabs to keep it cool.
No microwave? No problem! Just heat your iOpener in boiling water. Simple as that.
– Get yourself a pot or pan and fill it up with enough water to fully dunk an iOpener.
– Let the water have a little bubble party by heating it up. Once it’s all riled up, turn off the heat.
– Drop that iOpener into the hot tub for 2-3 minutes. Just make sure it’s fully submerged in the steamy goodness.
– Bust out the tongs and rescue the warmed-up iOpener from its spa treatment.
– Give that iOpener a good rub-a-dub-dub with a towel until it’s dry as a bone.
– Your rejuvenated iOpener is now ready for action! If it ever needs a pick-me-up, just heat up the water, send it to a boil, turn off the heat, and let the iOpener soak in the warmth for another 2-3 minutes.
Tools Used
Step 7


– Place the warm iOpener on the back panel for about two minutes to help loosen up that stubborn adhesive around the glass edges.
– Move the iOpener to heat up the rest of the panel for another two minutes, giving it some extra love.
You can use a hair dryer, heat gun, or hot plate to help out, but watch out for overheating your phone! The OLED display and internal battery are both a bit sensitive to heat, so keep it cool and steady.
Hey, don’t worry – we totally got this! Opening up your phone may affect its water-resistance, so make sure to have some adhesive ready, or use the schedule a repair feature if you’re not sure. As for those broken screens, just slap on some packing tape while you work, like aCertified Pro! And remember – keep calm and heat on with the iOpener. You’ve got this! If you need help, you can always schedule a repair.
Tools Used
Step 8


If you’d like to give your repair a little boost, feel free to drop a few drops of isopropyl alcohol into the gap after inserting the pick. It’ll help loosen up that pesky adhesive for the next steps.
– Once the back glass is warm to the touch, grab a suction cup and stick it near the bottom edge of the glass.
– Give the suction cup a lift to make a small gap under the back glass, and slide an opening pick into the gap.
Step 9


To keep the momentum going, consider leaving the pick in place while you grab a second one for the next step. This little trick can help stop that pesky glue from re-sticking.
Give the rear glass a little love with some heat as needed to keep the glue from cooling down and setting up like a stubborn traffic jam.
– Glide the little pick smoothly along the lower edge of the phone to effortlessly cut through the sticky adhesive, releasing the hold on the rear glass panel.
Step 10


– Now, let’s keep the momentum going! Just like before, repeat the heating and cutting magic on the other three sides of your phone.
– And remember, slide an opening pick under each edge to keep that pesky adhesive from sticking back together.
Step 11


– Grab your trusty opening pick and gently slice through any stubborn adhesive that’s still hanging on.
– Carefully lift off the rear glass and set it aside.
Step 12


– Steps to install new rear glass:
– If you’re reinstalling the old rear glass or using rear glass without pre-installed adhesive, follow this guide.
– Use tweezers to remove any leftover adhesive from the phone’s chassis.
– Clean the adhesion areas with high concentration isopropyl alcohol (at least 90%) and a lint-free cloth. Swipe in one direction only, not back and forth, to prep the surface for the new adhesive.
– Peel off the adhesive backing from the new rear glass, carefully align one edge of the glass against the phone chassis, and firmly press the glass onto the phone.
Tools Used

Step 13

– Let’s get those thirteen 3.5mm Phillips #00 screws out of there, holding the midframe to your phone. You’ve got this!
Step 14


Before diving into this step, don’t forget to pop out that SIM card tray!
Watch out! We don’t want that opening pick sneaking between the glass and display.
– Hey there! Ready to get started? Firmly grab the edge of the midframe assembly.
– Lift up on the midframe while gently pushing down on the battery to separate it from the rest of the phone.
– If things get sticky, a little heat from an iOpener on the display edges should help soften that adhesive.
– As you lift the midframe, just watch out for any snags on the audio jack or charging port.
– Once you’ve got a bit of separation, take an opening pick around the edges to free up the top of the midframe.
– To keep that headphone jack safe, pop off the top of the midframe first, then give it a gentle push downwards to disengage it.
Tools Used
Step 15

– Gently lift the midframe assembly to detach it from the rest of the phone. You’ve got this!
Step 16


– Grab that trusty spudger and gently pop the battery connector out of its little socket on the motherboard.
Tools Used

Step 17


– Grab your trusty spudger and use its pointed edge to gently disconnect the Bluetooth and Wi-Fi antenna cable connectors from their cozy little homes on the motherboard. You’ve got this!
Tools Used
Step 18


– Grab the flat end of your trusty spudger and gently disconnect the home button connector. You’ve got this!
Tools Used
Step 19


– Grab your trusty spudger and use its flat end to gently unplug the display assembly cable from the motherboard. You’ve got this!
Tools Used
Step 20


– Dance your way to disconnect the earpiece speaker assembly cable connector from the motherboard.
Step 21


Hold your horses! Don’t yank the motherboard out just yet—it’s still cozy with the daughterboard, connected by a ribbon cable on the underside. Let’s keep it together for now!
As you lift the motherboard, you might need to gently nudge some of those ribbon cables out of the way. If the board is putting up a bit of a fight, double-check that it’s completely disconnected and not tangled up with any cables.
– Gently lift the camera-side end of the motherboard to free it from the display frame. You’ve got this!
Step 22


– Grab your trusty spudger and pop that daughterboard ribbon cable connector out of its socket on the motherboard. If you need help, you can always schedule a repair
Tools Used
Step 23


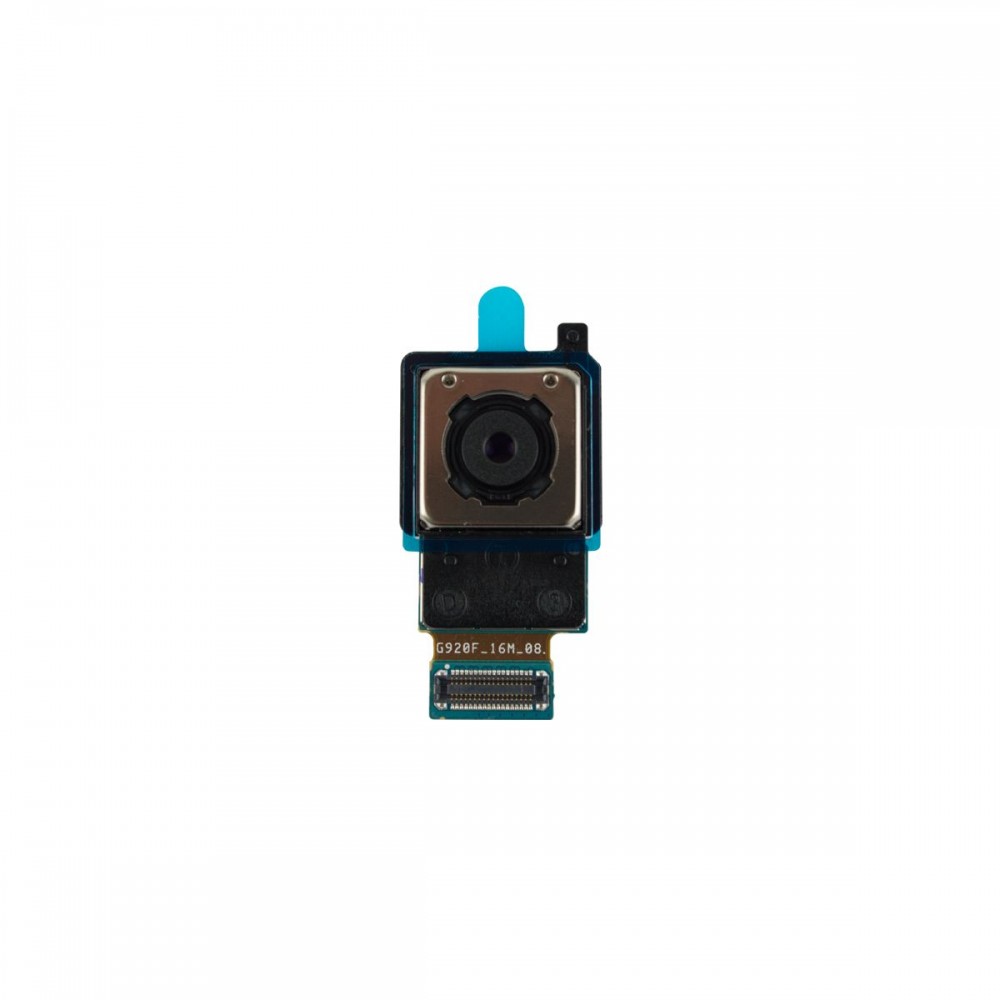
– Grab that trusty spudger and gently pop the rear-facing camera connector out of its spot on the motherboard. If you need help, you can always schedule a repair
Tools Used
Step 24

– Take out the rear-facing camera with care.