Asus VivoTab RT TF600T Webcam Replacement
Duration: 45 minutes
Steps: 6 Steps
Got a flickering or dead webcam on your Asus VivoTab? No worries — this guide will walk you through replacing the camera with a fresh one. Follow these straightforward steps, and you’ll have your device snapping selfies again in no time. If you need a hand along the way, you can always schedule a repair.
Step 1


Power down your tablet before getting started. No surprise reboots on our watch!
To take off the keyboard, just press the switch on the left side of the screen and gently pull the tablet part away. It’s that simple!
– Gently lift the tablet away from the keyboard attachment. Keep it steady and careful to avoid any slips or surprises. If you need help, you can always schedule a repair.
Step 2


Grab your Phillips #000 screwdriver and twist out those two 1.59 mm screws. Easy does it!
– Flip the device so it’s upside down, and take out the two tiny 1.59 mm screws hanging out at the bottom.
Step 3
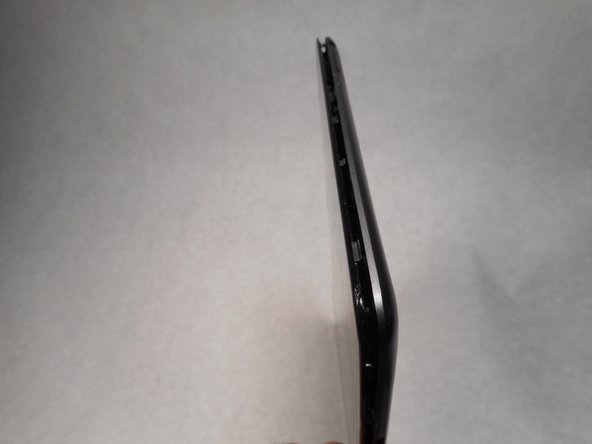

Grab a plastic opening tool and gently work around the edges to loosen the screen from the back panel. Keep it steady and patient—slow and steady wins the repair race! If you need a hand, you can always schedule a repair.
– Grab your plastic opening tool and slide it into the bottom right corner—easy does it! Start prying the screen up with a little gentle pressure.
– Once you see the screen starting to lift away, keep that momentum going. Work the tool all the way around the edges until the screen pops off completely.
Step 4


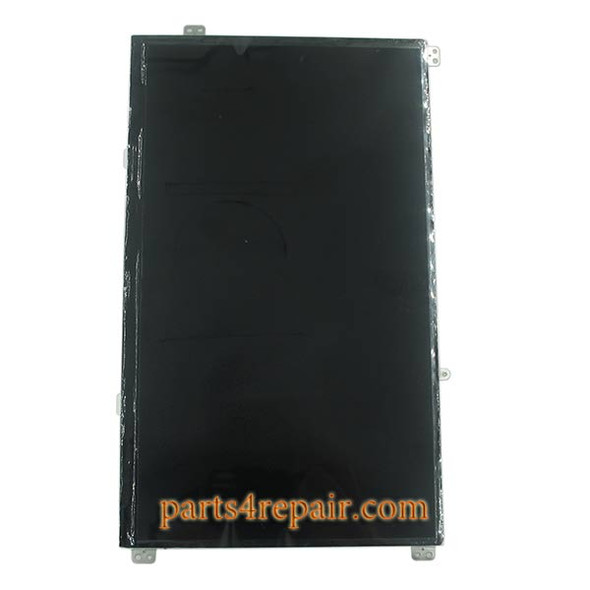
– Now that the screen is completely detached, lay the back panel flat on a smooth surface.
– Lift the screen to view the inside of the tablet.
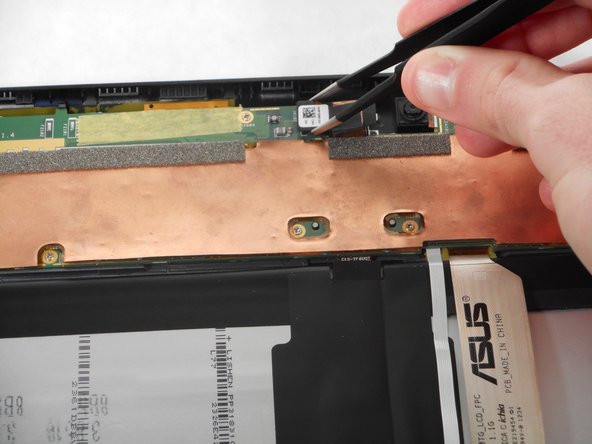
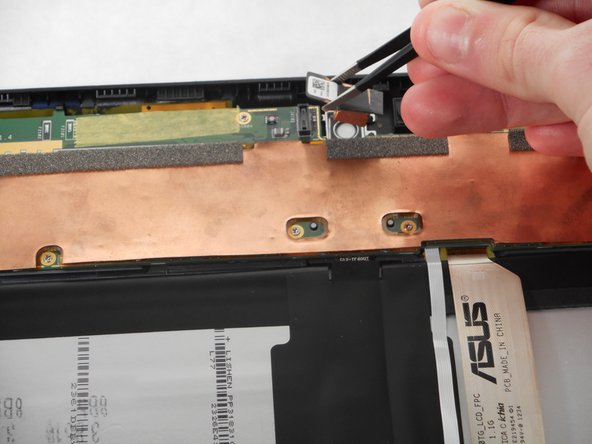
Step 5

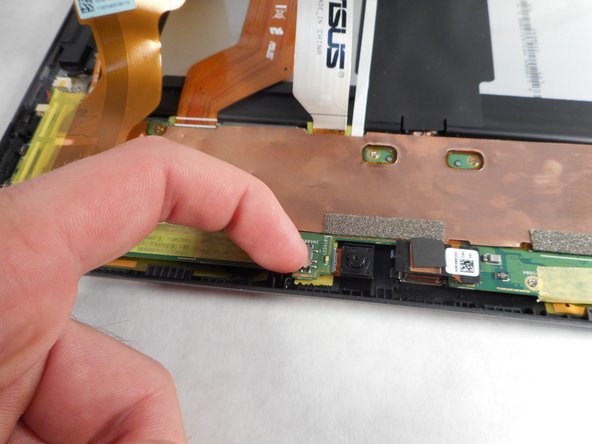
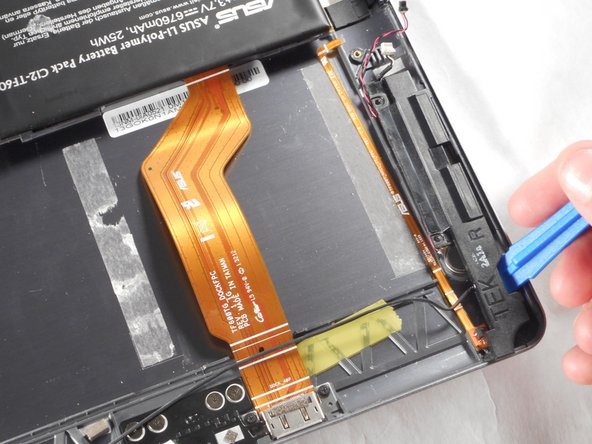
The battery hooks up to the motherboard, so let’s keep things chill—flip that DIP switch to OFF before you dive in. This helps avoid any surprise sparks or short circuits. Safety first, superhero!
– Before unplugging the display cables, check out the picture and flip the switch labeled DIP to the off position; this switch is your way to cut power to the system. If you need a hand, you can always schedule a repair.
Step 6

– Now, just follow these steps in reverse to put everything back together. Piece by piece, you’ll be back in action!
– If things get tricky along the way, no worries – you can always schedule a repair.
Tools Used

Success!