Samsung Galaxy S21 Plus Front Facing Camera Replacement Guide Tutorial
Duration: 45 minutes
Steps: 21 Steps
SM-G996B/DS
Hey there! You’re in for a fun adventure as you replace the front-facing camera on your Samsung Galaxy S21 Plus. Have no fear, we’re here to help! Schedule a repair if you need a hand.
Step 1

– Grab your trusty iOpener and give it a warm hug on the back cover for at least three minutes. This little heat party will help loosen up that pesky adhesive hiding underneath.
Tools Used

Step 2


– Grab a suction handle and stick it to the bottom edge of the back cover—aim for that sweet spot near the edge.
– Gently pull up on the suction handle to create a little gap between the back cover and the frame, like popping a lid!
– Slide an opening pick into the tiny space you’ve just made.
– Now, glide that opening pick over to the bottom left corner to cut through the sticky stuff.
– Leave the opening pick snug in there to keep that adhesive from playing tricks on you and resealing.
Tools Used

Step 3


– Time to bust out a second opening pick for your phone.
– Gently slide that pick towards the bottom right corner to give that adhesive a good slice.
– Keep those picks handy to make sure that adhesive doesn’t sneakily seal back up.
Step 4


If the glue seems tough to cut through, it’s probably just a little chilly. Simply warm it up by giving it a spa treatment with your iOpener for a couple of minutes.
– Time to spice things up with a third opening pick dance party at the bottom right corner of your phone!
– Gently slide the opening pick along the right edge of your phone like a smooth operator to slice through that adhesive.
– Don’t forget to leave the opening pick chillin’ in the top right corner to make sure that adhesive doesn’t try any sneaky resealing moves.
Tools Used
Step 5


When you’re working near the camera assembly, just slide in the tip of the opening pick (about 4-5 mm) to keep that camera safe and sound—no smudges or damage here!
– Slide a fourth opening pick under the top right corner of your phone like a pro.
– Gently glide the opening pick along the top edge to cut through that sticky adhesive.
– Pop the opening pick into the top left corner to keep that adhesive from sealing back up.
Step 6


– Gently place a fifth opening pick underneath the bottom left corner.
– Carefully slide the opening pick along the left edge of the back cover to slice the remaining adhesive.


Step 8


Hey there repair pro! Remember, gentle hands are the key to success. Avoid any battery acrobatics with your tool to prevent a chemical show or a fiery surprise!
Keep an eye out for the sneaky cable beneath the charging coil. Slow and steady wins the race. If your pick hits a snag, just give it a little wiggle. You got this!
– Slip an opening pick right under the lower left side of the NFC antenna and charging coil unit.
– Gently glide the opening pick along the lower left edge of the unit to detach it from the battery.
Step 9


– Gently slide an opening pick under the lower edge of the NFC antenna and charging coil assembly. You’re on your way!
– With a steady hand, glide that opening pick along the bottom of the assembly to free it from the loudspeaker. You’re doing great!
Step 10


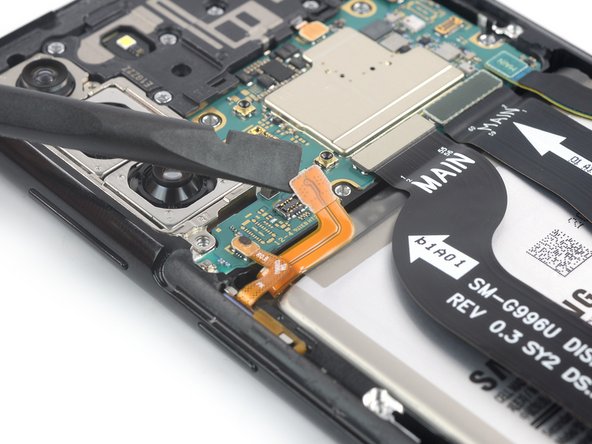
– Grab your trusty spudger and gently pry that charging coil connector straight up from its socket. You’re on the right track!
Tools Used


Step 12

– Grab your trusty Phillips screwdriver and let’s tackle those five 3.9 mm-long screws holding down the NFC antenna and charging coil assembly. You’ve got this!
Step 13


– Grab a trusty pair of tweezers or simply use your fingers to gently lift out the NFC antenna and charging coil assembly. You’ve got this!
Tools Used


Step 15

– Grab your trusty Phillips screwdriver and get ready to tackle those seven 3.9 mm-long screws holding the earpiece speaker assembly in place. You’ve got this!
Step 16

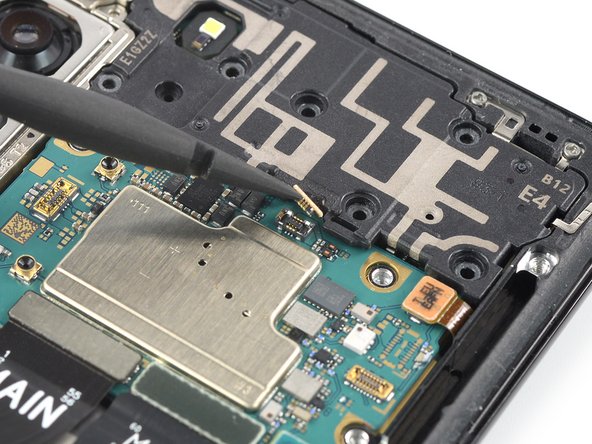
– Grab your trusty spudger and gently lift the earpiece speaker cable connector straight up from its socket. You’re doing great!
Tools Used
Step 17


– Gently slide a spudger under the bottom left corner of the earpiece speaker assembly.
– Carefully use your spudger to lift the earpiece speaker assembly up.
Tools Used
Step 18


– Grab a trusty pair of tweezers or just your fingers, and gently lift out the earpiece speaker assembly. Take your time—it’s a delicate operation!
– When you’re putting everything back together, don’t forget to add some fresh adhesive where needed. Just make sure to clean those areas first with some isopropyl alcohol (>90%) for a smooth finish.
Tools Used

Step 20

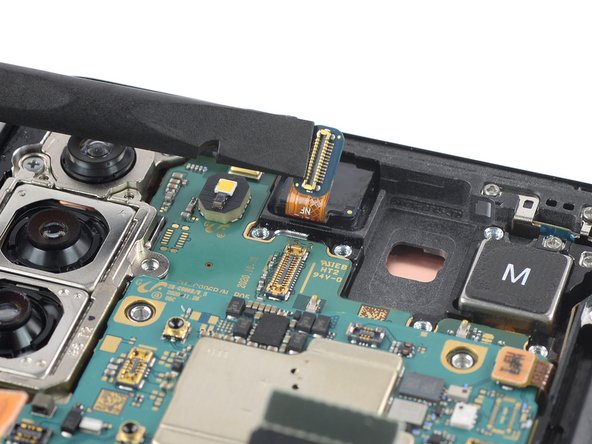
The Galaxy S21 Plus camera might be glued in place by an adhesive seal. Not a big deal if you skip it, but the camera won’t stick out as much!
– Grab your iOpener and place it on the screen right where that front-facing camera hangs out. Give it at least two minutes to work its magic and loosen up that stubborn adhesive lurking underneath.
Tools Used
Step 21
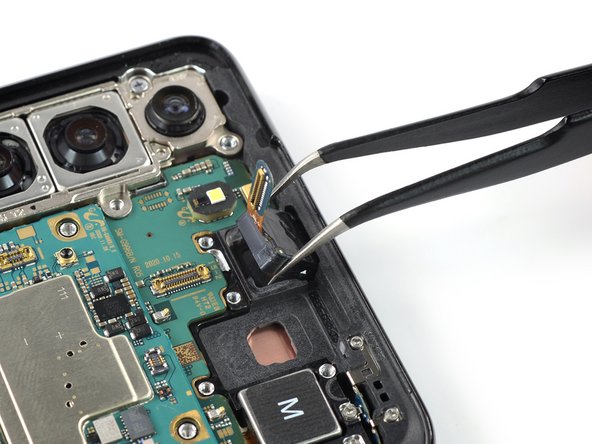
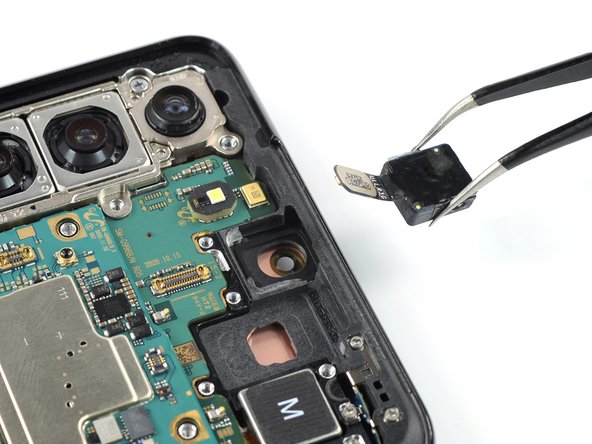

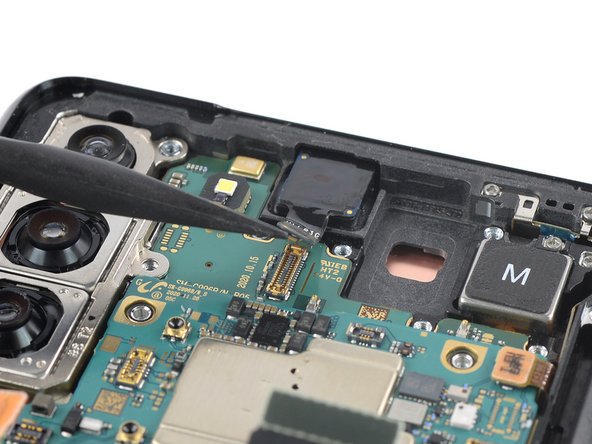
– Get those tweezers ready and delicately lift the front camera out of its spot. Carefully remove it.
– When putting things back together, show some love by adding fresh adhesive in the right places after cleaning them up with isopropyl alcohol (>90%).
Tools Used


