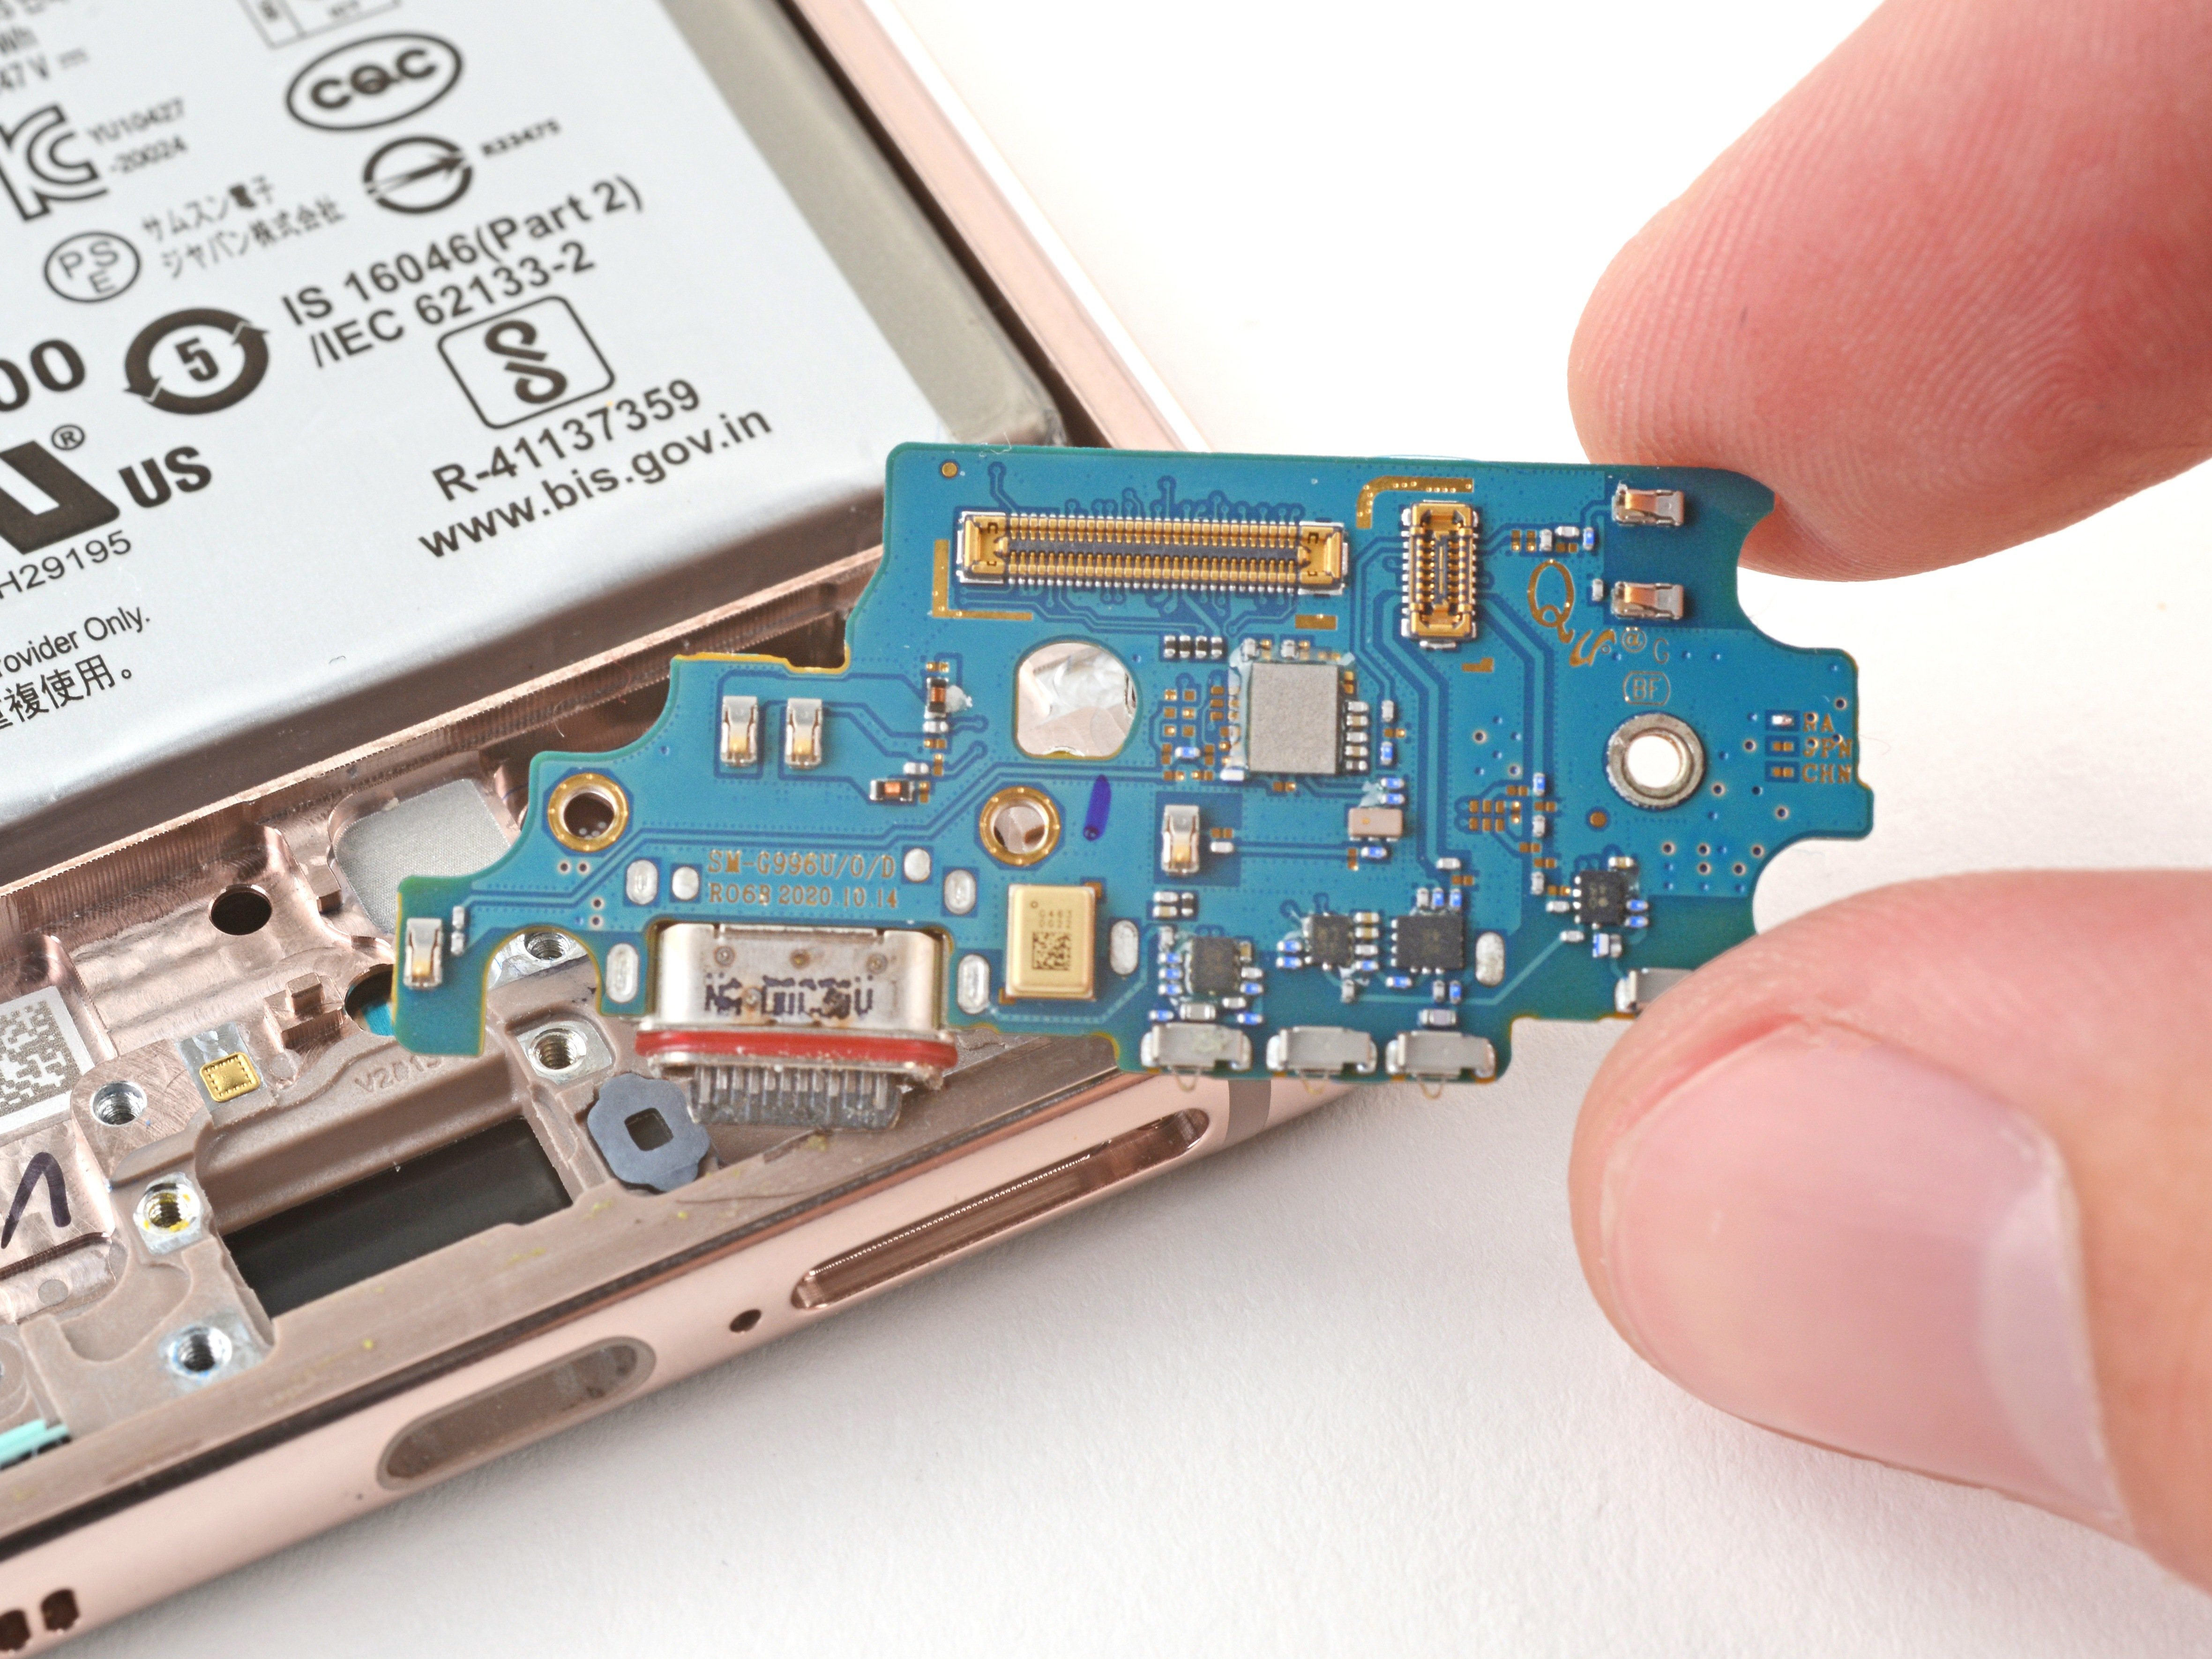
Samsung Galaxy S21+ Display Cable Replacement Guide
Duration: 45 minutes
Steps: 19 Steps
Heads up, superstar! You’re working on the SM-G996B/DS, and it’s time to roll up those sleeves. If you hit a snag or need a hand, remember, you can always schedule a repair. Let’s keep that device in top shape!
Follow this easy-peasy guide to swap out the display cable on your Samsung Galaxy S21 Plus. The Salvation Repair crew tackled the job on the SM-G996B/DS model from overseas. Keep an eye out, some models sport an extra antenna cable chilling in the midframe’s edge. Remember, if you skip out on changing the sticky seals during reassembly, your device will work fine, but it might bid adieu to its water resistance. Make sure you grab replacement adhesive to stick everything back together when putting the puzzle back.
Step 1
– Grab your trusty iOpener and give it a warm hug on the back cover for at least three minutes. This will help loosen that pesky adhesive hiding underneath, making your repair journey a breeze!
Tools Used
Step 2
– Grab a suction handle and attach it to the bottom edge of the back cover, aiming for that sweet spot right by the edge.
– Gently lift the back cover using the suction handle to create a little gap between it and the frame.
– Slide an opening pick into the gap you’ve just made.
– Carefully glide the opening pick over to the bottom left corner to slice through that pesky adhesive.
– Leave the opening pick in there to keep the adhesive from sealing back up on you.
Tools Used
Step 3
– Pop in a second opening pick at the bottom edge of your phone.
– Gently glide that opening pick over to the bottom right corner to cut through the adhesive.
– Keep those opening picks right where they are to stop the adhesive from sticking back together.
Step 4
If the adhesive is giving you a tough time and feels like it’s turned into a rock, it probably just needs a little warmth to get back in the game. Grab your iOpener and give it a cozy two to three minutes to warm up.
– Pop in a third opening pick at the bottom right corner of your phone like a pro.
– Gently glide that opening pick along the right edge of your phone to tackle that adhesive.
– Keep the opening pick snug in the top right corner so the adhesive doesn’t play hide and seek!
Tools Used
Step 5
When you’re slicing near the camera assembly, just pop in the tip of the opening pick (about 4-5 mm) to keep that camera safe and sound—no smudges, no damage!
– Pop in a fourth opening pick at the top right corner of your phone like a pro.
– Gently glide that opening pick along the top edge to cut through the sticky stuff.
– Keep the opening pick snugly in the top left corner to stop that adhesive from sticking back together.
Step 6
– Slide a fifth opening pick under the bottom left corner—it’s like tucking your phone in for a cozy night!
– Gently glide that opening pick along the left side of the back cover to cut through the remaining adhesive. You’re almost there!
Step 7
– Alrighty, let’s unwrap this fun little gadget of yours! Crack that back cover open and get ready to dive into some excitement. When you put it all back together again, just remember – our friends at schedule a repair are always here to help if you need a little extra nudge!
Step 8
Handle the battery with care—nobody wants a surprise leak of dangerous chemicals or a thermal event! So keep your tool away from puncturing or bending it.
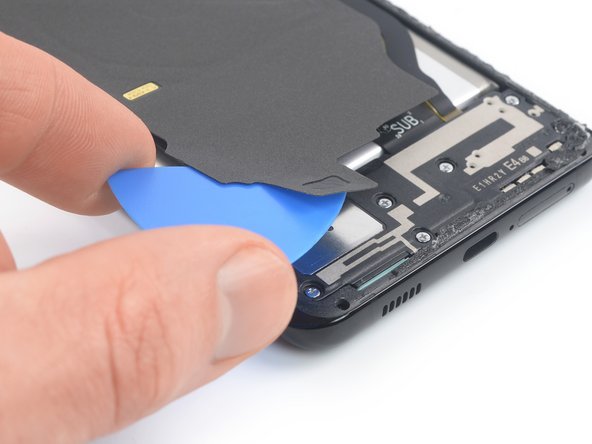
Watch out for that sneaky cable hiding beneath the charging coil! Take your time and ease up on the sliding if you feel it snagging. Slow and steady wins the race!
– To get started, gently slip an opening pick underneath the left bottom part of the NFC antenna and charging coil assembly.
– Then, proceed by carefully gliding the opening pick along the lower left edge of the assembly to detach it from the battery.
Step 9
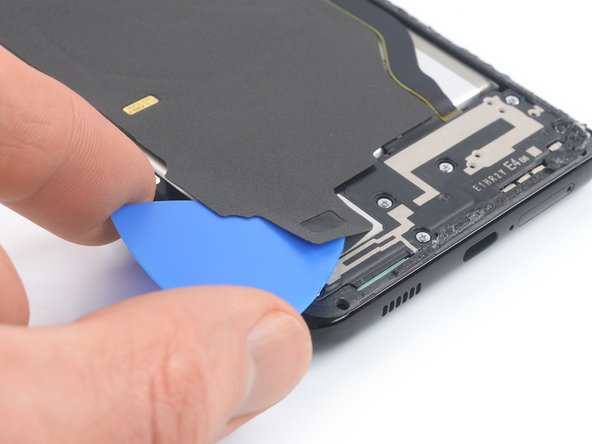
– Gently slip an opening pick under the lower end of the NFC antenna and charging coil set.
– Slowly glide the pick along the lower part of the set to detach it from the loudspeaker.
Step 10
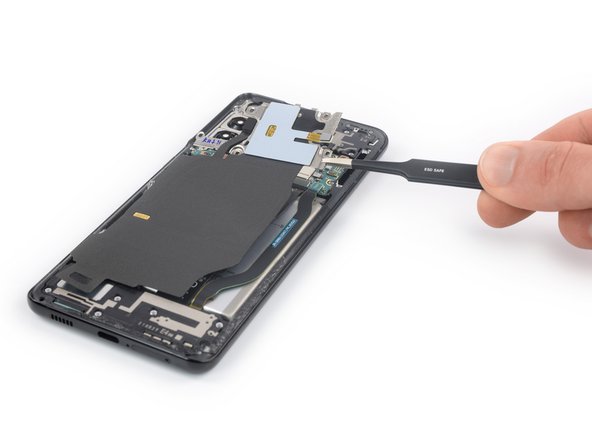
– Use a spudger to disconnect the charging coil by gently prying the connector straight up from its socket.
Tools Used
Step 12
– Grab your trusty Phillips screwdriver and tackle those five 3.9 mm screws holding the NFC antenna and charging coil assembly in place. You’re doing great!
Step 13
– With a gentle touch, grab some tweezers or use your fingers to gracefully lift out the NFC antenna and charging coil assembly. You’re doing great!
Step 15
– Grab your trusty Phillips screwdriver and get ready to tackle those six 3.9 mm-long screws holding the loudspeaker assembly in place. You’ve got this!
Step 16
– Slide an opening pick into the little gap at the top of the loudspeaker assembly and the midframe. It’s like giving it a gentle nudge!
– Now, use that trusty pick to lift the loudspeaker assembly by angling it downward. You’re doing great—just a bit of finesse and it’ll pop right up!
Step 17
– Go ahead and detach the loudspeaker assembly. You’re doing great!
– When it’s time to put everything back together, make sure to use some fresh adhesive in those spots that need it, but first, give the necessary areas a good wipe down with isopropyl alcohol (>90%). It’s all about that clean slate!
Step 18
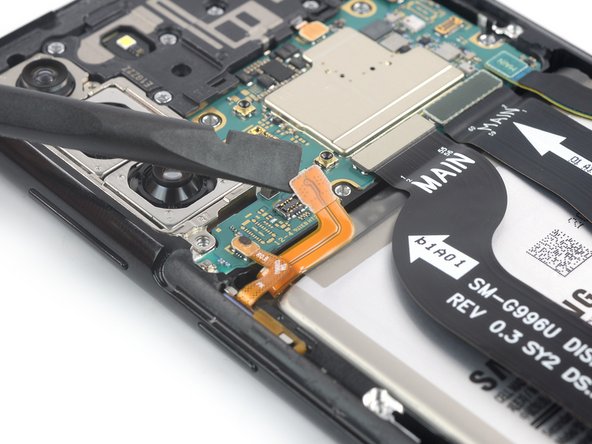
– Get your handy spudger ready and gently disconnect the display flex cable. Simply pry its upper connector straight up from its socket.
Tools Used
Step 19
– Grab your trusty spudger and gently nudge that display flex cable connector upwards from its cozy socket. It’s like giving it a little hug to say goodbye!
– Next up, with your fingers or a pair of tweezers, carefully ease out the display flex cable. Treat it like a delicate flower – gentle and steady wins the race!
Tools Used


