Samsung Galaxy S21 5G Screen Protector Replacement Guide – DIY Tutorial
Duration: 45 minutes
Steps: 9 Steps
Hey there, don’t stress about it! Just follow the steps and you’ll have your device back up and running in no time. If you need help, you can always schedule a repair.
Let’s dive into the exciting world of screen protectors! Today, we’ll walk you through the simple process of swapping out or installing a new screen protector on your trusty Samsung Galaxy S21. Say goodbye to pricey screen repairs that can cost an arm and a leg. Our nifty little trick will not only spruce up your phone but also shield it from the everyday wear and tear. Follow along as we bid farewell to the old screen protector and welcome a fresh one with open arms.
Step 1
– Take off that phone case and find a nice flat spot. Make sure the screen is looking up at you like a superstar!
Step 2
You got this! Using your nails is a great start, but if it’s a tough one, go ahead and use a plastic card – that’s what the pros do!
– Gently peel off that worn-out screen protector, like unwrapping a present—easy does it!
Step 3
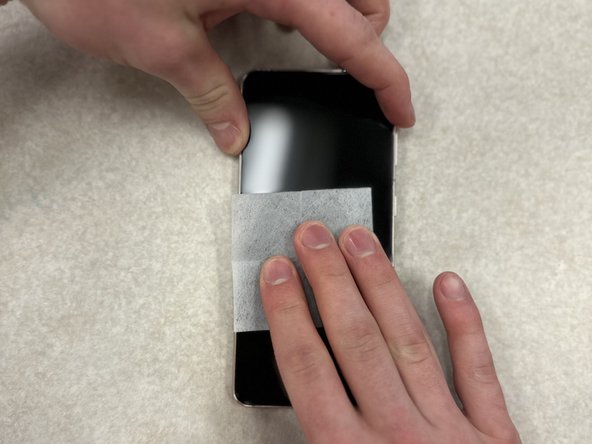
– Let’s give that phone screen some love and attention! Grab an alcohol wipe and gently clean the screen to help banish any fingerprints and dust. Your phone will thank you! If you need help, you can always schedule a repair.
Step 4
– Hey there! Time to give your phone’s screen some love. Grab a microfiber cloth and get ready to make it sparkle! Gently wipe and dry your screen, and watch as it shines like a brand new device. If you need a little extra help, you know what to do – you can always schedule a repair with the friendly folks at Salvation Repair!
Step 9
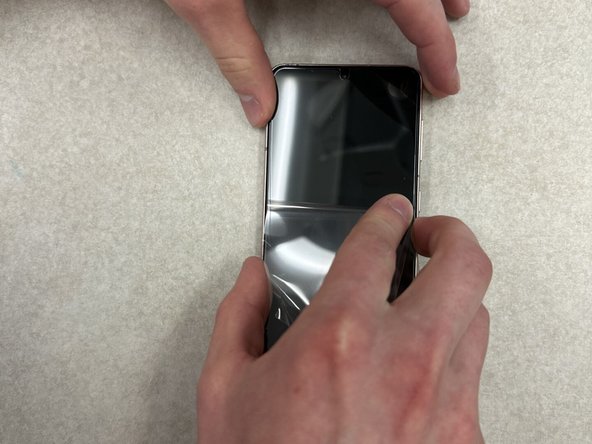
– Gently coax out any pesky bubbles using your trusty scraper or card. Just apply some steady pressure on the screen protector and glide it towards the nearest edge. You’ve got this!


