Asus VivoTab RT TF600T LCD Screen Replacement
Duration: 45 minutes
Steps: 9 Steps
Got a cracked, scratched, or damaged screen? No worries! This guide will walk you through how to safely disassemble your device and swap out that old screen for a shiny new one. Let’s get your device looking brand new again!
Step 1


Before you get started, make sure the tablet is powered down. Safety first!
To detach the keyboard, just press the switch on the left side of the screen and gently lift the tablet part away. If you need help along the way, you can always schedule a repair.
– Gently detach the tablet from the keyboard. You got this!
Step 2


Grab your trusty Phillips screwdriver, size #000, and gently remove the two tiny 1.59 mm screws. It’s a small step, but it’s crucial for what’s coming next!
– Flip the device upside down (180° turn), and go ahead and unscrew the two 1.59 mm screws at the bottom. Easy peasy!
Step 3

Grab your plastic opening tool and gently work around the screen to separate it from the back panel. Take it slow, and you’ll have it off in no time!
– Grab a plastic opening tool and gently wedge it into the bottom right corner of the device, then softly pry up the screen.
– As the screen starts to give, carefully work the tool around the edges, easing the display away until it’s completely free from the frame.
Step 4


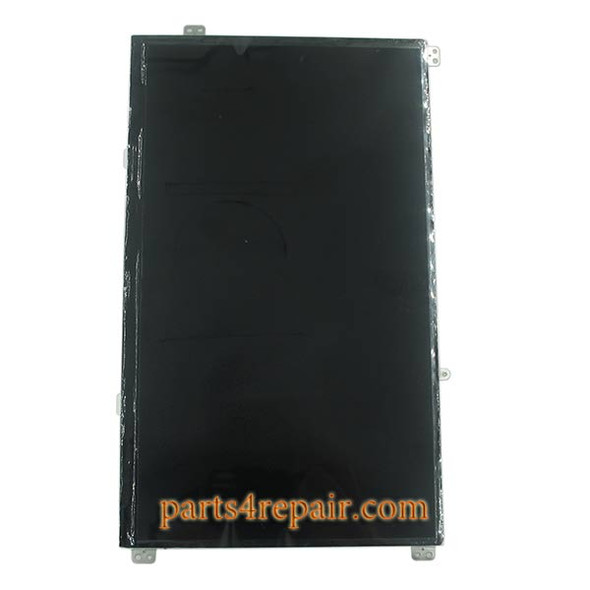
– Now that the screen is fully off, place the back panel down on a flat, smooth surface – nice and steady.
– Gently lift the screen to take a look inside the tablet. You’re almost there!
Step 5


The battery is connected to the motherboard. To prevent any accidental short circuits, make sure to flip the DIP switch to the OFF position. Safety first, always!
– Before unplugging the display cables, take a quick glance at the image and flip the switch labeled DIP to the off position. This little guy helps power down the system, making everything safe and sound before you proceed.
Step 6
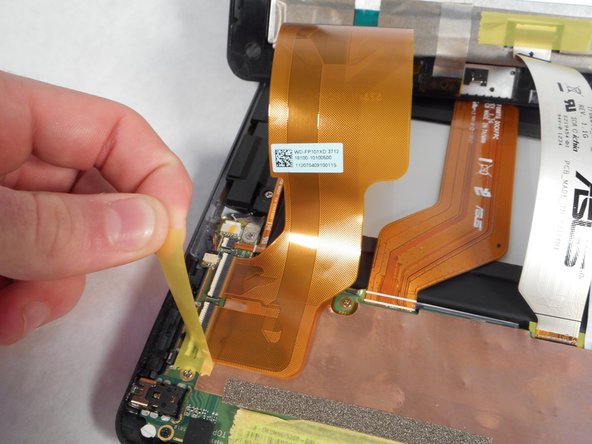


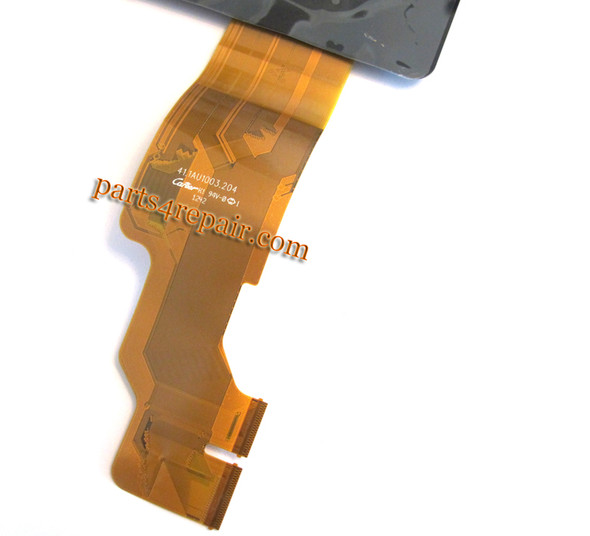
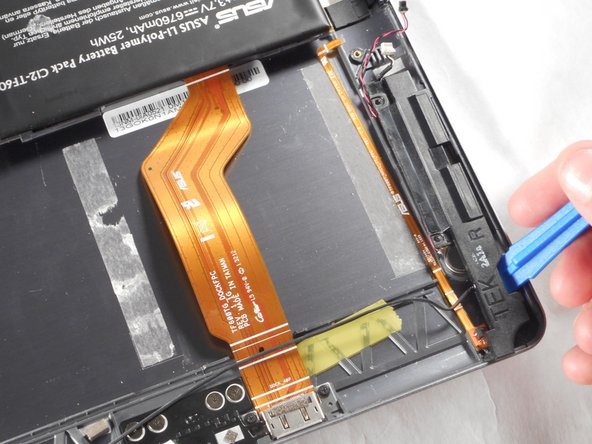
– Peel off that yellow tape at the end of the cables—it’s time to let those connectors breathe!
Step 7
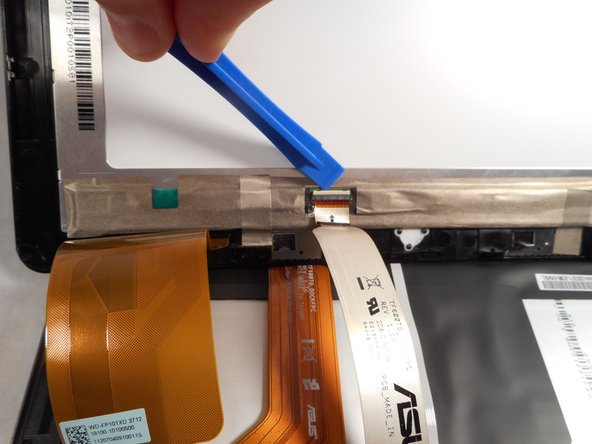

Grab a plastic opening tool and gently wedge it into the seams to unlock the clips. Keep a cool head and work your way around—patience is key to a smooth opening. If you need help, you can always schedule a repair.
– Once you’ve peeled back the yellow tape, a white strip will come into view—think of it as a little lever waiting to be played with. That’s your cue to get ready for the next step. If you need help along the way, you can always schedule a repair.
Step 8
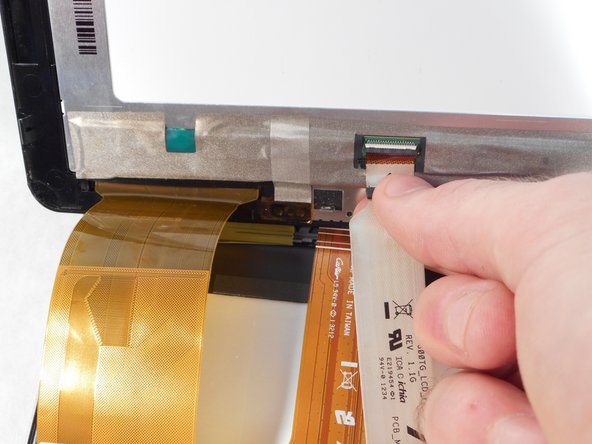

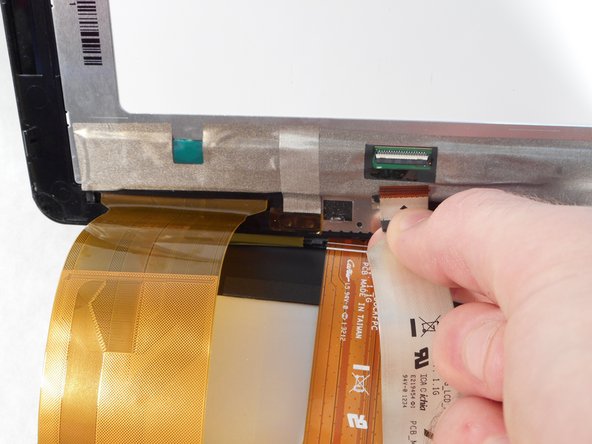
– Now, with all three white levers pushed in, give each display cable a gentle pull. They’ll disconnect without any hassle!
Step 9

– Gently lift the screen upwards to take it off. Easy does it, just a little nudge and it should come right off.
Success!