Asus VivoTab RT TF600T Battery Replacement
Duration: 45 minutes
Steps: 13 Steps
If your tablet battery just can’t keep up anymore, follow these 13 straightforward steps to swap it out and bring your device back to life. If things get tricky, you can always schedule a repair.
Step 1


Make sure to power off the tablet before you dive in.
– Gently detach the tablet from its keyboard buddy. To do this, just press the switch on the left side of the screen and give the tablet a little pull to separate it from the keyboard. Easy peasy!
Step 2


– First, gently rotate your device 180°. Then, carefully locate and remove the two 1.59 mm screws at the bottom of the device using a Phillips screwdriver size PH000.
– Next, take your trusty Phillips screwdriver size PH000 and carefully remove the two 1.59 mm #000 screws.
Step 3

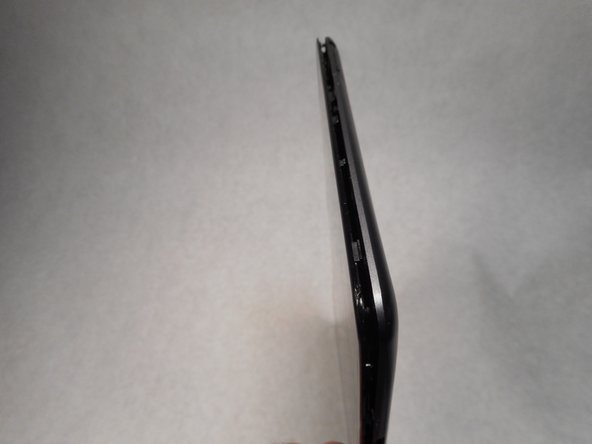
Grab that plastic opening tool and gently work your way around to free the screen from the back panel. Patience is key!
– Grab a plastic opening tool and gently insert it into the bottom right corner of the screen. Carefully start prying it away from the frame.
– As the screen begins to loosen, keep working the tool around the edges until the entire screen pops free from the device body.
Step 4

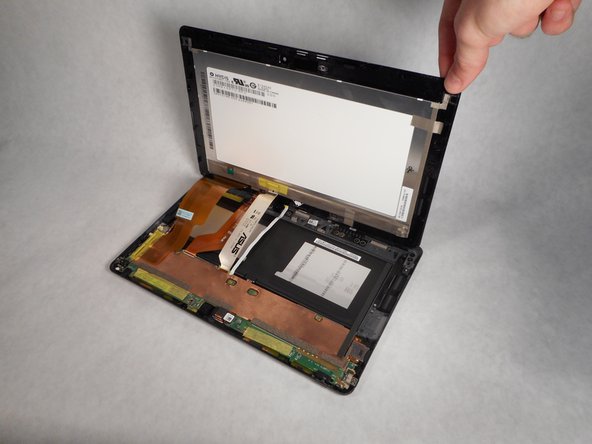
– With the screen now fully separated, place the back panel down on a clean, flat surface.
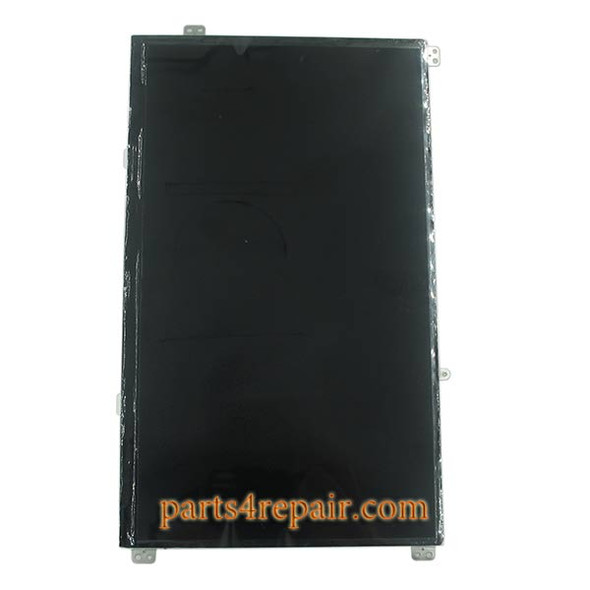
– Gently lift up the screen to get a peek at the inner workings of your tablet.
Step 5


Since the battery is plugged into the motherboard, make sure to flip the DIP switch to OFF to prevent any accidental shorts. Safety first, folks—keep it cool and keep it safe! If you need help, you can always schedule a repair.
– Before you disconnect those display cables, don’t forget to flip the DIP switch off. It’s there to shut down the system and make sure everything stays safe while you work. A quick flip, and you’re ready to go!
Step 6
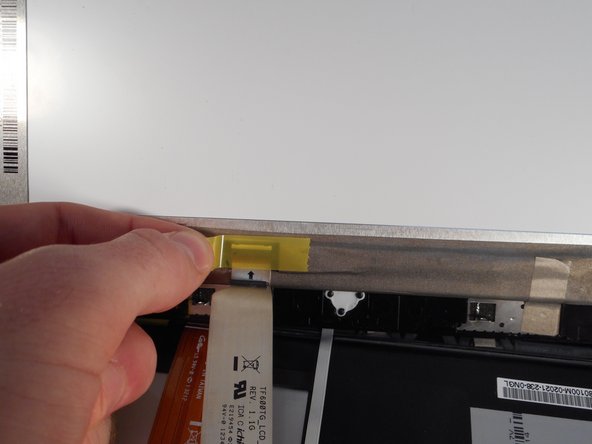

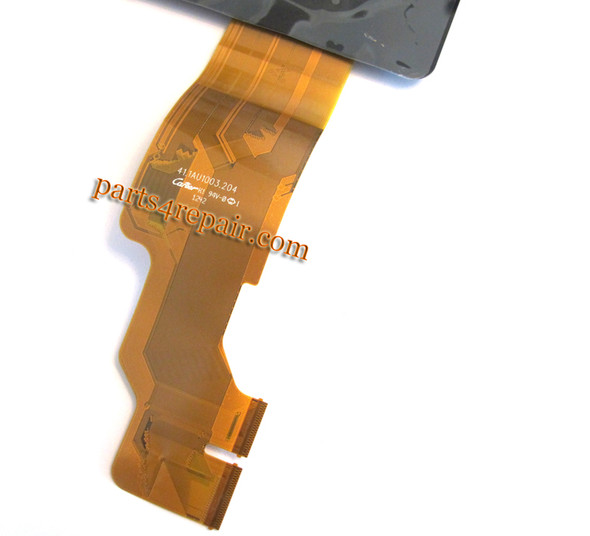
– Peel off the yellow tape from the end of the cables. It’s like a little present waiting to be unwrapped!
Step 7


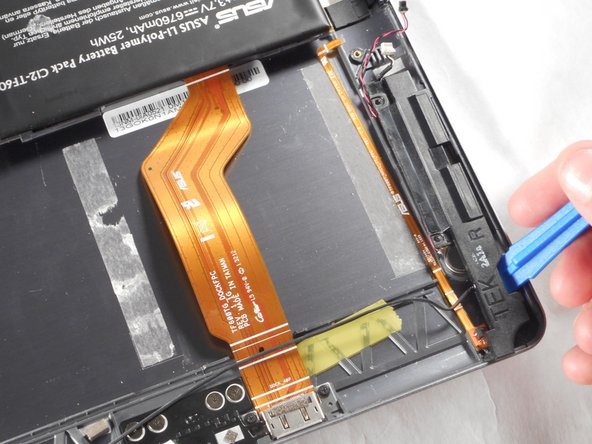
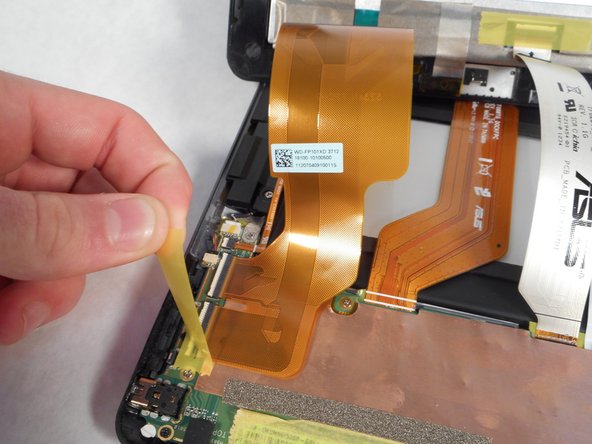
Grab your trusty plastic opening tool and gently press on those levers. It’s like giving them a little nudge to get things moving. Keep it steady, and you’re on the right track!
– Lift the yellow tape to reveal a cleverly hidden lever – the white strip you’ll see is the key to moving forward with your repair.
Step 8


– Once all three white levers are clicked in, give each display cable a gentle wiggle and pull until they pop free.
Step 9

– Gently lift the screen upwards to detach it from the device. Keep a steady hand and go slow to avoid any damage. If you need help along the way, you can always schedule a repair.
Step 10


Heads up: those precision tweezers are seriously sharp—handle them with care!
– Turn your tablet clockwise so the motherboard is pointing away from you—think of it as giving the tech side some space.
– Grab your Phillips #000 screwdriver and take out the eleven tiny 0.79 mm screws that are holding the motherboard in place.
– Use pointed precision tweezers to gently disconnect the two wire connections on the right side of the tablet.
Step 11


– Grab your trusty nylon or metal spudger and gently pry the motherboard away from the back panel.
– Once you’ve loosened the glue holding the motherboard in place, carefully lift it up with your hand and swing it away from the back panel to finish the job.
Tools Used

Step 12


– Grab your nylon or metal spudger and carefully pop the battery out from the back panel. Take your time—steady hands win the day!
Tools Used
Step 13


– With both hands, carefully lift the battery up and away from its connector prongs—steady wins the race!
– Take out the battery and pop in the new one. You’re almost there!
Success!