Samsung Galaxy S20 USB-C Charging Port and Daughterboard Replacement DIY Tutorial
Duration: 45 minutes
Steps: 25 Steps
Hey there! Looks like we have a little hiccup on our hands, but fret not, we’ll have it all sorted out in no time. Remember, if you need a hand, you can always schedule a repair with Salvation Repair. Let’s get this device back to tip-top shape together!
Ready to give your Samsung Galaxy S20 a little TLC? In this guide, we’ll walk you through replacing the USB-C charging port and daughterboard. Since the USB-C port is soldered right onto the daughterboard, you’ll need to swap out the whole board. Just a heads-up: how well you seal everything back up will determine your device’s water resistance, so make sure to reapply that adhesive like a pro! Keep in mind, though, your device will lose its IP (Ingress Protection) rating post-repair. If you need help, you can always schedule a repair.
Step 1

Hey, before you get crackin’ on that repair, make sure you’ve totally unplugged and powered down your device, ya dig? If you need help, you can always schedule a repair.
– Warm up an iOpener and place it on the bottom edge of the back cover for a solid two minutes.
Tools Used

Step 2


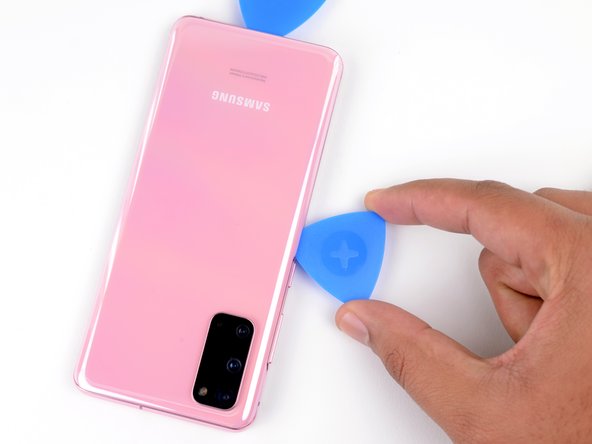
– Grab a suction cup and place it right near the center of the bottom edge on the back of your phone. We’re creating some magic here!
– Now, give that suction cup a strong, steady pull to open up a little gap between the back cover and the frame. You got this!
– Take the tip of an opening pick and slide it into that newly created gap. Let’s keep going!
Step 3


– Gently glide the pick back and forth along the bottom edge to cut through the sticky stuff.
– Keep your opening pick snugly in the gap to stop that adhesive from rejoining the party.
Step 4

– Warm up a heated iOpener and place it on the left edge of the back cover for two minutes to get things nice and cozy.
Tools Used
Step 5


Hey there! Just a heads up, gently handle the pick to avoid any accidental cracks on the back cover glass. We’ve got this under control!
Hey there, don’t worry if it takes a few tries with those precise measurements! You’ve got this.
– Grab a suction cup and stick it on the back of your phone, aiming for the center of the left edge!
– Now, channel your inner superhero strength and give that suction cup a good, firm tug. We’re creating a gap between the back cover and the frame!
– Take an opening pick and slide it into the gap. Precision is key here, you’ve got this!
Step 6


– Gently slide the pick underneath the edge of the glass, then give it a little tilt downwards and slide it in further – you’re on the right track! Keep going until you completely detach the back cover’s adhesive.
Step 7


– Glide the spudger gently down the left side of the phone to loosen up the back cover’s sticky situation.
– Keep your spudger snug beneath the left side of the glass, up near the top left corner, to keep that adhesive from getting clingy again.
Step 8

– Give the right edge of the back cover a warm hug with a heated iOpener for two minutes. It’s like a cozy spa day for your device!
Tools Used
Step 9


– Get ready to rock and roll with this repair, gang! Grab a suction cup, and place it on that sweet medium of your phone, close to the right edge, baby. Now, let’s get lifting! Pull that cup with an amazing force to open up a gap between the back cover and the frame. With your awesome pick, insert it into that gap, and you’re almost there! If you need any help, don’t hesitate. You can always schedule a repair with the best repair company around!
Step 10


– Glide the pick smoothly along the right edge of the phone to gently peel off the adhesive on the back cover.
– Keep your pick snug under the right edge of the glass near the top of the device to prevent the adhesive from sticking back.
Step 11

– Get those good vibes going by gently warming up the top edge of the back cover with a heated iOpener for a cozy two minutes.
Tools Used
Step 12


Hey there! When handling the back cover, remember that the glass near the corners is a bit delicate. Treat it with care to avoid any unwanted cracks or damage. You got this!
– Gently slide the pick from the right edge of your device, making your way around the top right corner like a pro.
– Keep that slicing action going along the top edge all the way to the top left corner to completely free the back cover from its adhesive grip.
Step 13


– Gently lift up the back cover with a smile. Grab your trusty opening picks and smoothly cut through any leftover adhesive.
– Say goodbye to the back cover.
– When putting things back together, remember:
Step 14


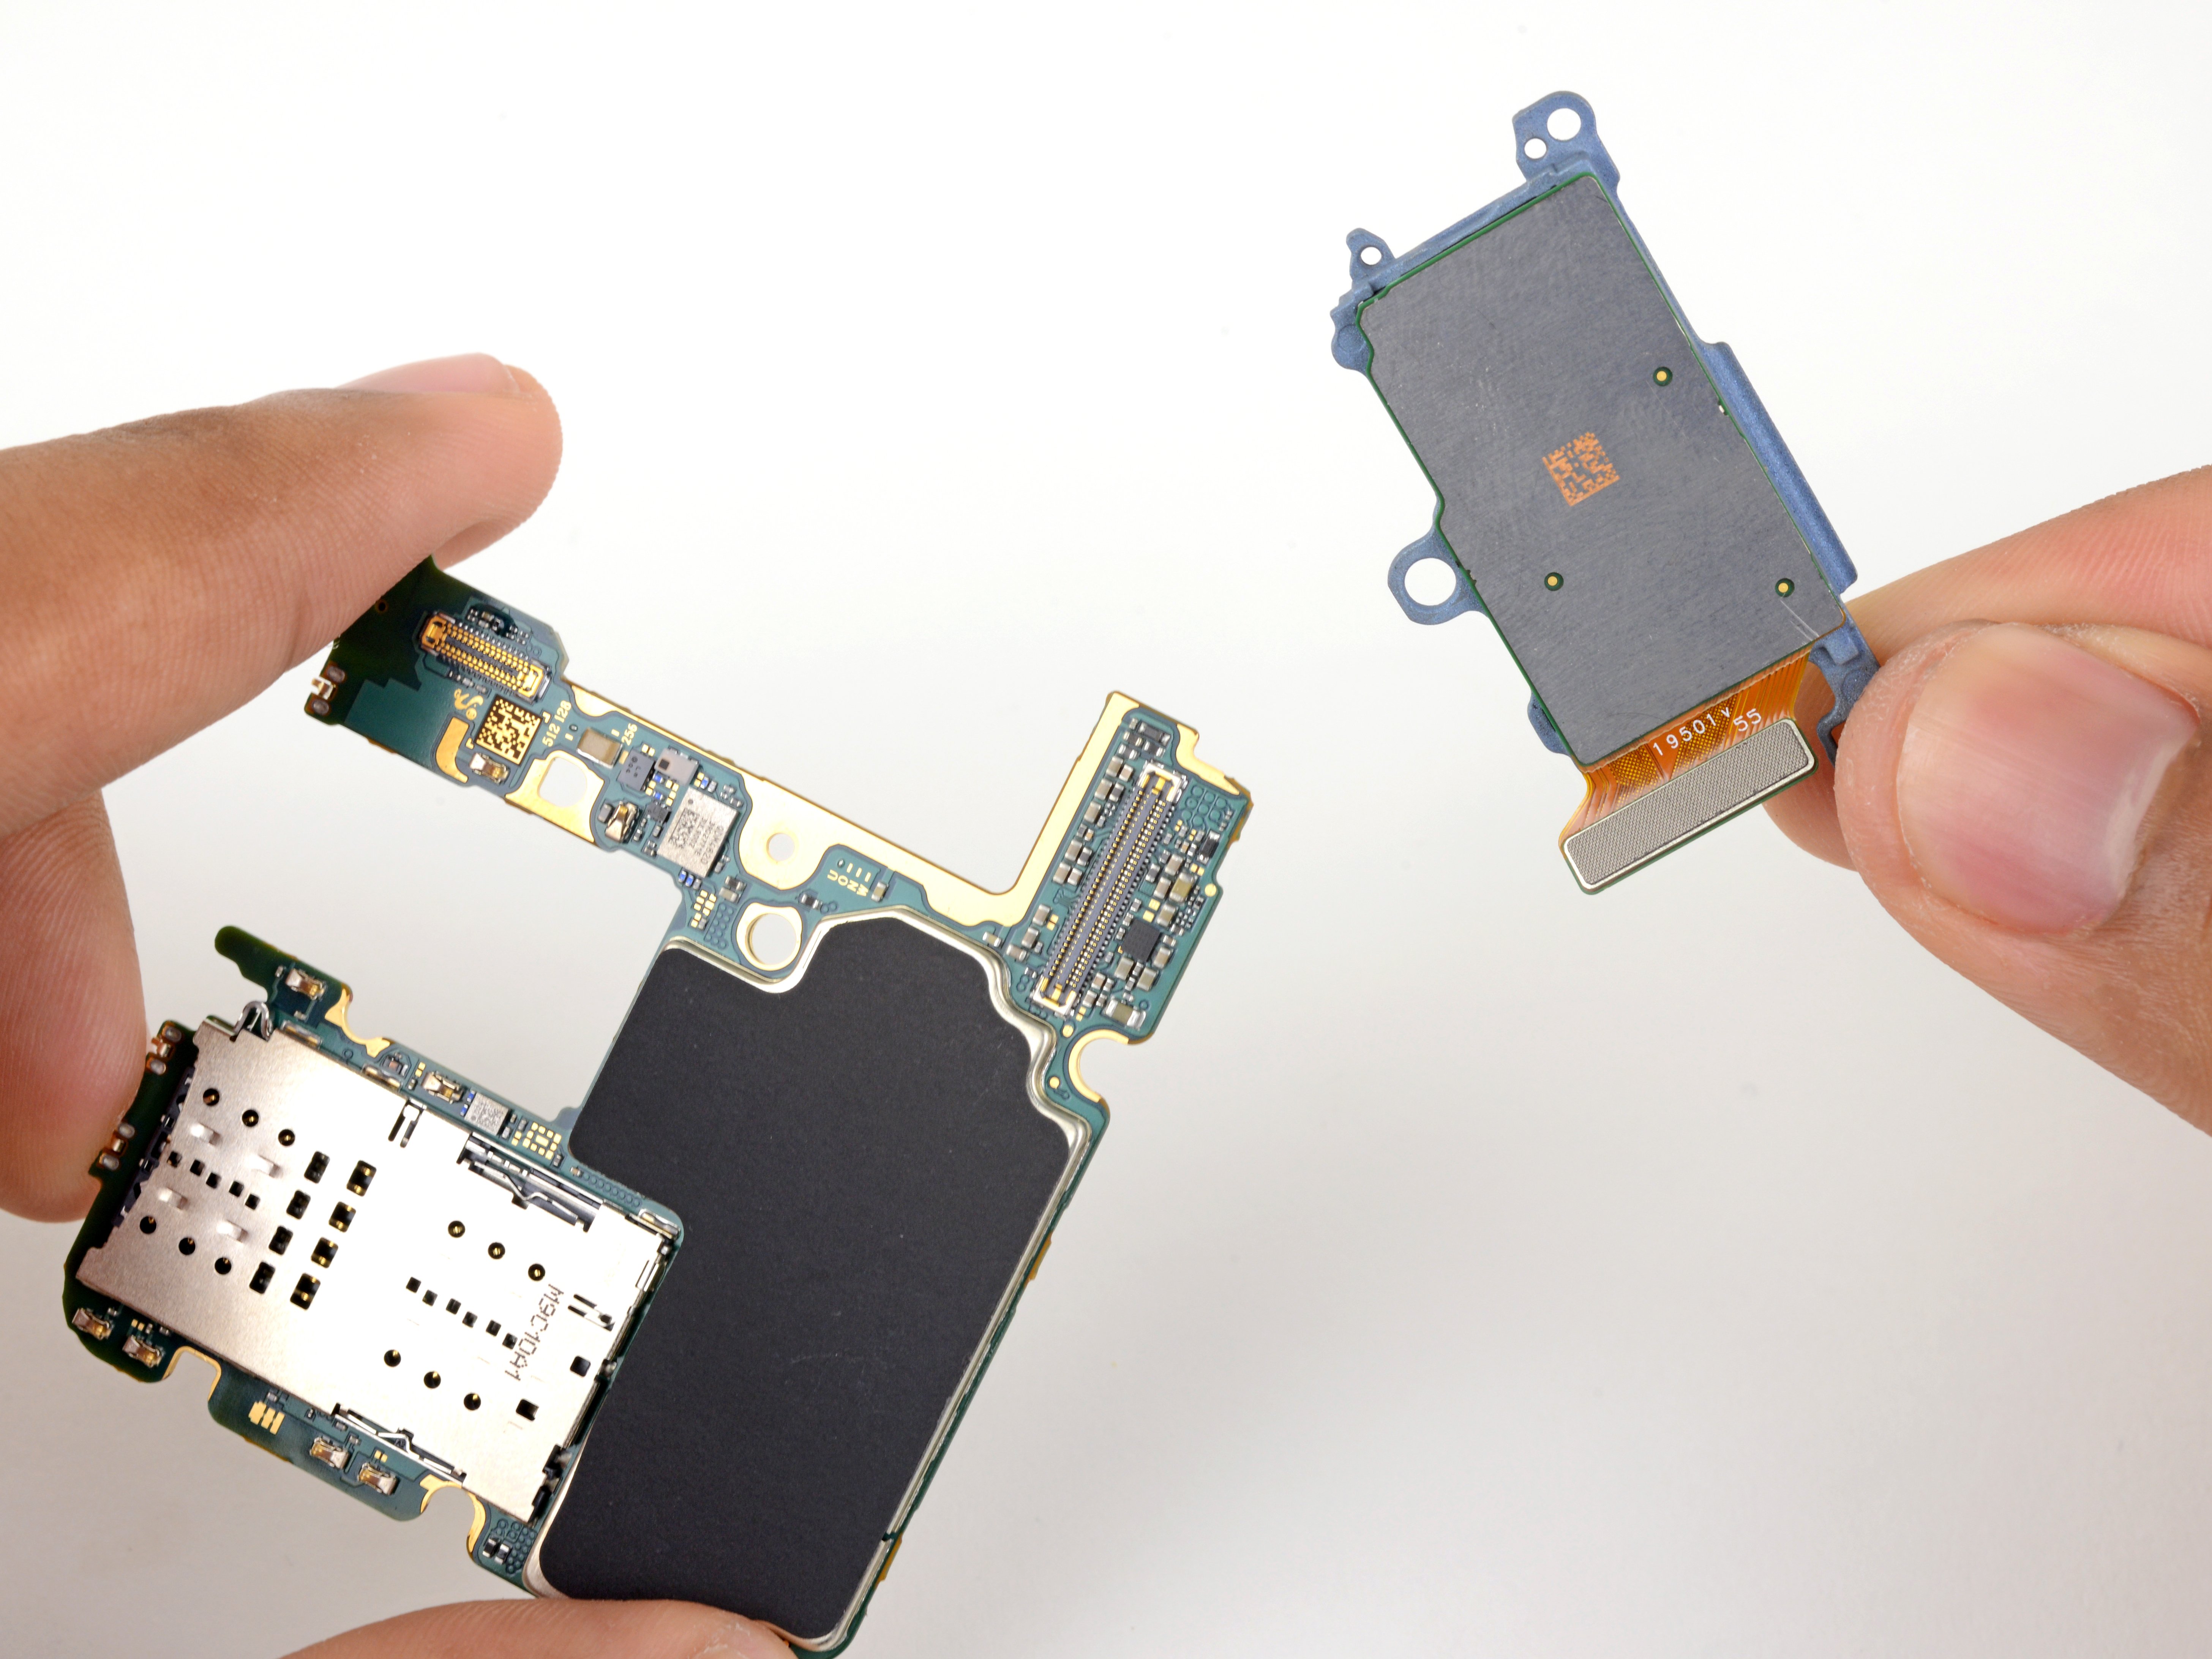
– Grab your trusty spudger and gently pop the press connector for the wireless charging coil off the motherboard.
Tools Used

Step 15

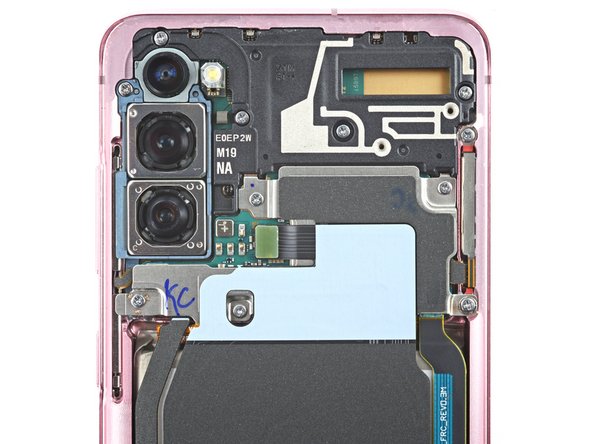
– Grab your trusty Phillips #00 screwdriver and bid farewell to those five 4 mm-long screws holding the motherboard bracket in place!
Tools Used

Step 16


– Grab a pair of friendly blunt-nose tweezers and give that motherboard bracket a little lift, unclipping it from the plastic midframe with a smile.
Tools Used

Step 17
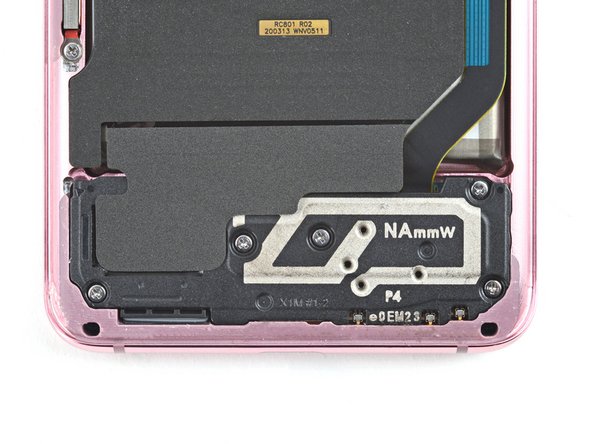

– Grab your trusty Phillips #00 screwdriver and tackle those five 4 mm-long screws holding the loudspeaker and lower midframe in place.
Tools Used

Step 19

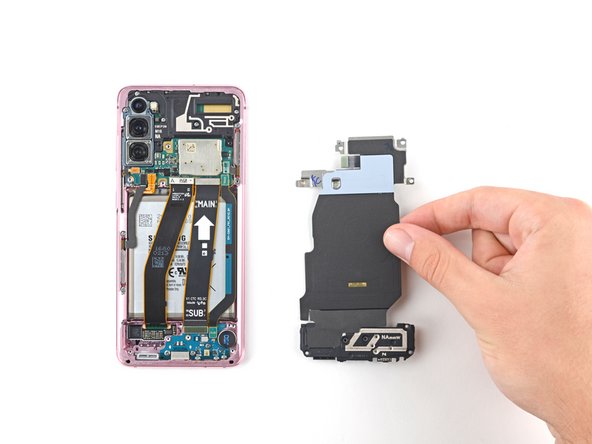
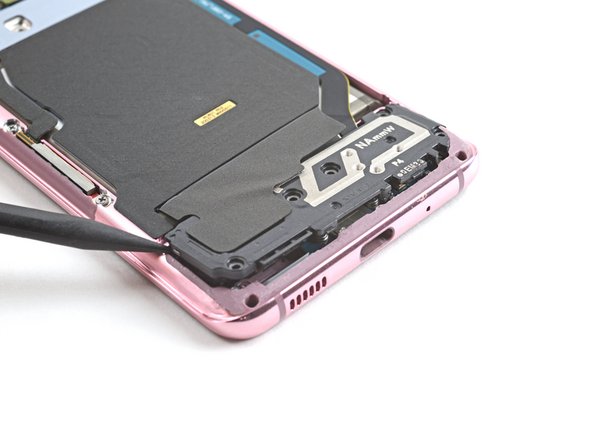
– Slip the tip of a spudger into the notch at the top left corner of the midframe and pop it up to free the clips holding it.
– Take out the wireless charging coil.
Tools Used
Step 20

– Grab your trusty spudger and gently lift up to disconnect the battery’s press connector from the motherboard. You’re doing great!
Tools Used
Step 21


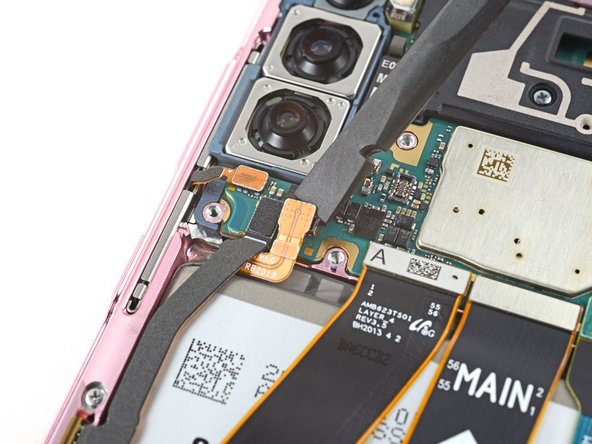
– Grab a spudger and gently lift and disconnect the primary and secondary flex cables from the motherboard.
Tools Used
Step 22
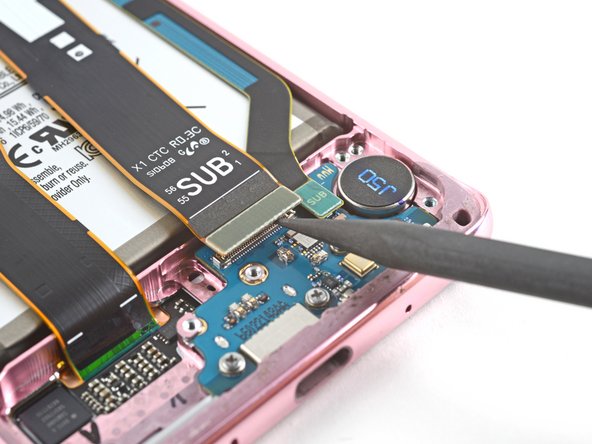

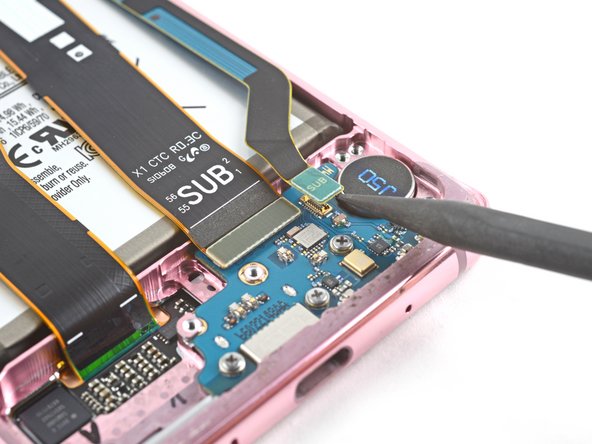
– Grab a spudger and gently pry up those primary and secondary flex cables from the daughterboard at the bottom of your device. You’ve got this!
– When it’s time to reattach, take your connectors and align them carefully. Press down on one side until you hear that satisfying click, then do the same on the other side. Remember, no need to press down in the middle! If things get misaligned, that could bend the pins and nobody wants that drama. Just keep it cool and take your time!
Tools Used
Step 23
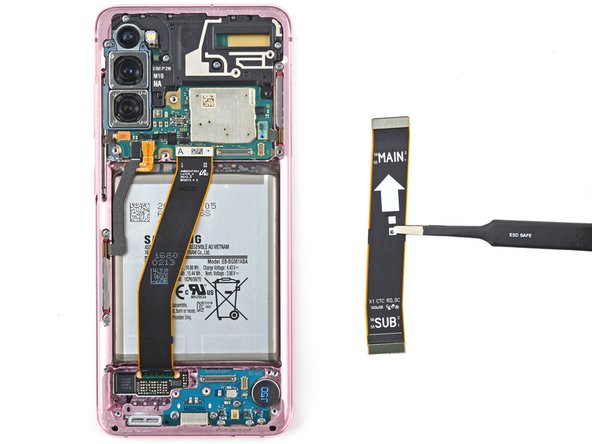
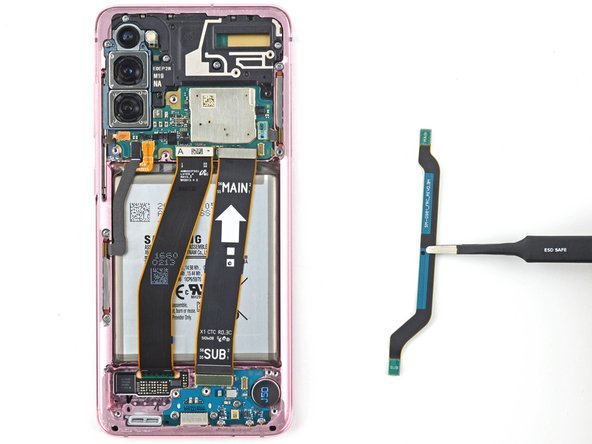

– Gently detach the primary and secondary flex cables.
– Place those cables to the side for now. We’ll be putting them back to work when it’s time to reassemble!
Step 24


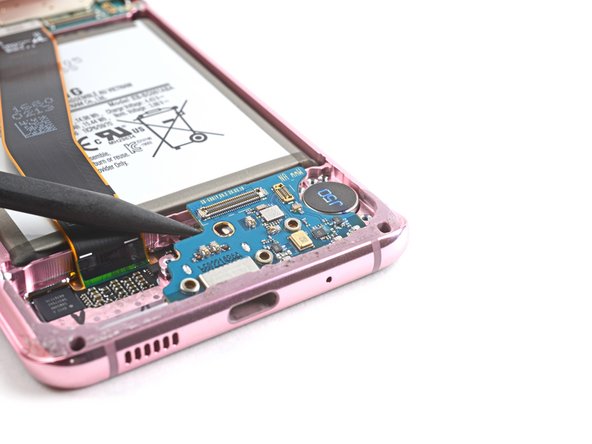
– Grab your Phillips #00 screwdriver and twist out those three 3.4 mm screws holding down the USB-C port and daughterboard. If you need help, you can always schedule a repair.
Tools Used
Step 25
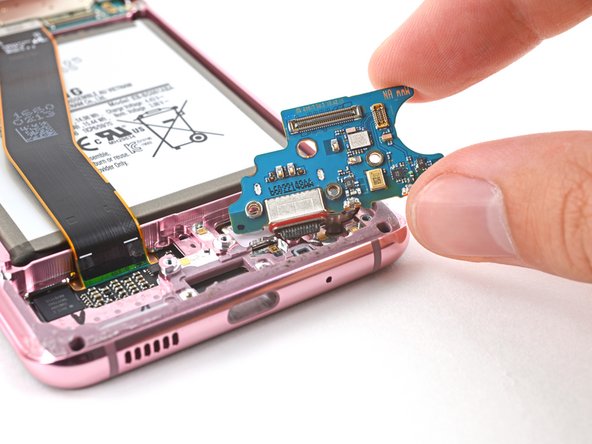

– Slide the pointed end of a spudger under the left edge of the daughterboard and gently pop it up from its snug spot.
– Grab your trusty tweezers and lift the daughterboard up and out from the bottom of the device. Boom, you’re done! If you need help, you can always schedule a repair