ASUS VivoTab Note 8 Motherboard Replacement
Duration: 45 minutes
Steps: 7 Steps
Step 1

– Take out the pen and memory card if you have them; they might get in the way when opening the device.
– Use the plastic opening tool to gently pry open the edges of the cover. The memory card slot is a handy spot to start!
Step 2


– Gently slide the opening tool along the edges of the tablet, giving it a little nudge wherever possible. You might need to work your way around all the sides to get that panel off.
– Carefully pull apart the sides of the casing with your hands, making sure everything is loosened up.
Step 3

– Once you’ve removed the panel, set it aside safely. We’re getting closer, hang in there!
Step 4

– Disconnect the battery from the motherboard.
– Slip something (your fingernail works great) under the connector and gently pry straight up—think vertical, not sideways.
Step 5

– Grab your Phillips #000 screwdriver and unscrew the black plastic restraint that’s keeping the motherboard in place. It’s a small job, but an important one.
– Now, gently lift off that black plastic restraint from the motherboard. It’s just waiting to be removed!
Tools Used

Step 6

– Grab your Phillips #000 screwdriver and carefully unscrew the six screws that are keeping the motherboard snug in its spot. Keep track of those tiny screws—they’re important! If you need a hand, you can always schedule a repair.
Tools Used
Step 7

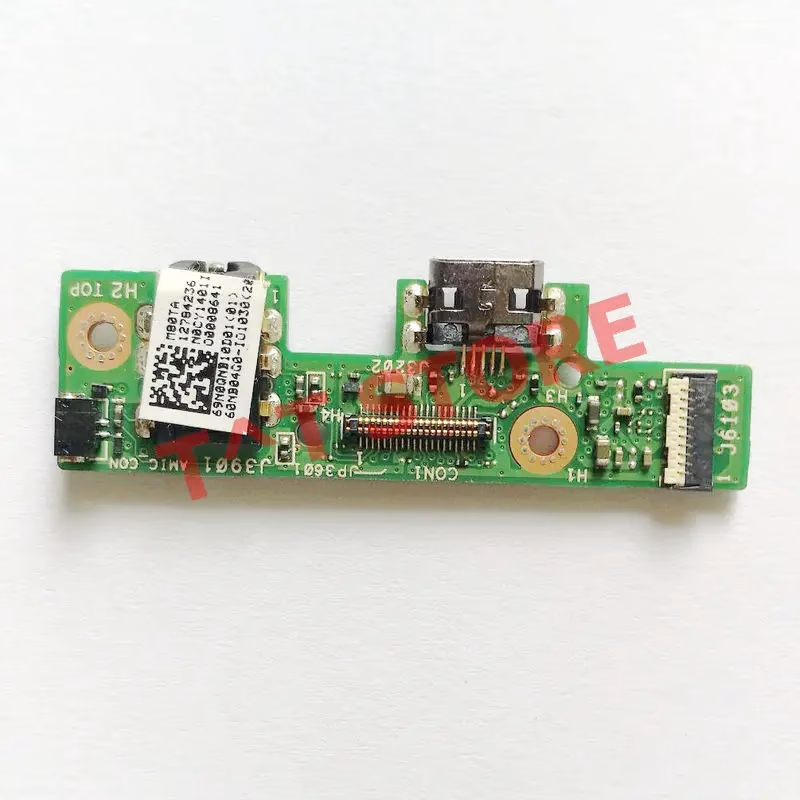
– Carefully disconnect any remaining ribbons and cords still connected to the motherboard.
– Now, gently lift the motherboard out of the device.
Success!