Samsung Galaxy S20 FE 5G USB-C Port & Charging Board Replacement Guide
Duration: 45 minutes
Steps: 25 Steps
Time to tackle this step like a repair ninja! Remember, you’ve got this – Salvation Repair has your back! If you need help, you can always schedule a repair.
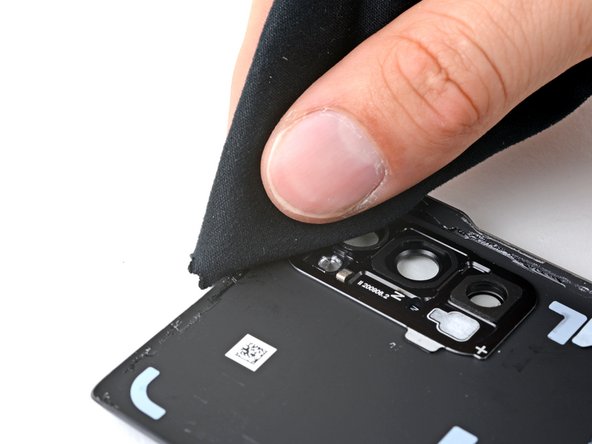
No sweat, buddy! Time to fix that Samsung Galaxy S20 FE 5G of yours. You might need to change the USB-C port and charging board if your phone’s like, ‘Yo, I can’t charge!’ Sometimes a little dust-clearing does the trick, but if that’s not enough, you’ll have to replace both at the same time. And let’s not forget about that new back cover adhesive! No worries, we got this. If you need help, you can always schedule a repair!
Step 2

– Warm up a snuggly iOpener and gently place it on the lower edge of the back cover for a quick two-minute cozy session.
Tools Used

Step 3


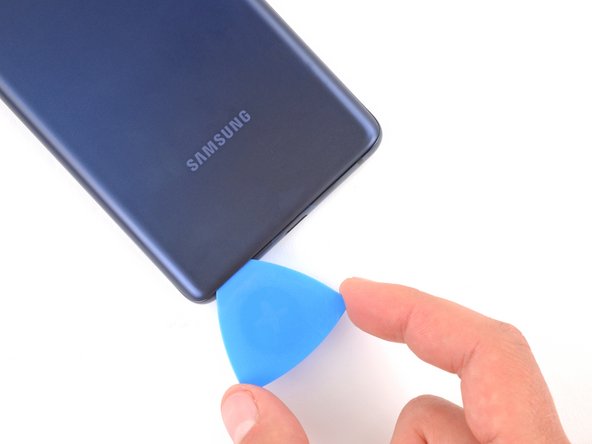
– Stick a suction cup right in the middle of the bottom edge of the back cover, getting as close to the edge as you can.
– Give that suction handle a good, firm tug upwards to create a nice little gap between the cover and the frame.
– Slide in an opening pick into that gap.
Tools Used

Step 4


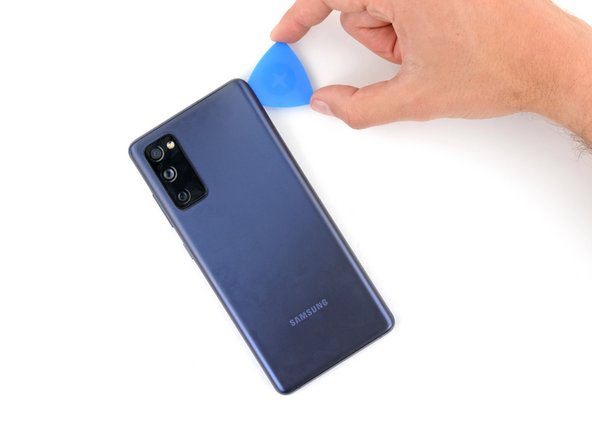
– Gently glide the opening pick along the bottom edge to swiftly cut through the adhesive holding the back cover in place.
– Pop that opening pick into the bottom right corner and keep it snug to thwart any attempts by the sticky stuff to seal back up!
Step 5

– Give that back cover a warm welcome by applying a heated iOpener to its right edge for a cozy two minutes.
Tools Used
Step 6


– Gently slide the opening pick around the bottom right corner, making your way up the right edge to confidently slice through the adhesive.
– Let’s keep that opening pick snug in the top right corner for now.
Step 7

– Warm up the iOpener and place it on the top edge of the back cover for a cozy two minutes.
Tools Used
Step 8


– Gently glide the opening pick around the top right corner and along the top edge to effortlessly slice through the adhesive.
– Don’t forget to keep the pick snug in the top left corner, it’s doing great!
Step 9

– Warming up the iOpener and gently applying it to the left edge of the back cover for a couple of minutes can help loosen things up.
Tools Used
Step 10


– Gently glide the opening pick along the upper left corner and all the way down the left edge to smoothly cut through the remaining adhesive.


Step 12


– When putting your device back together, take a moment to power it up and test out all the features. Make sure to turn it off again completely before you keep going.
– If you’re putting the old back cover back on:
– If you’re using a new back cover, remove the protective layers and firmly press around the edges to attach the cover to the device.
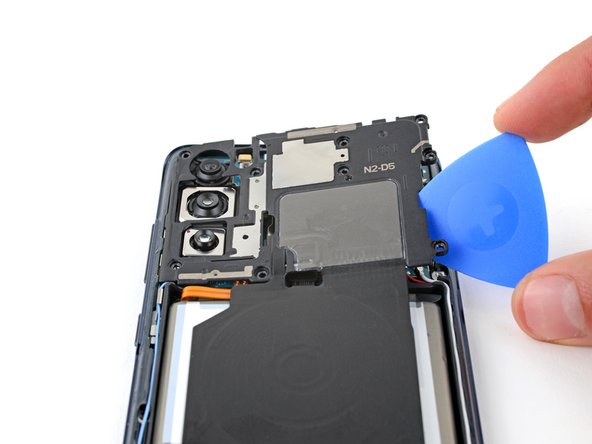
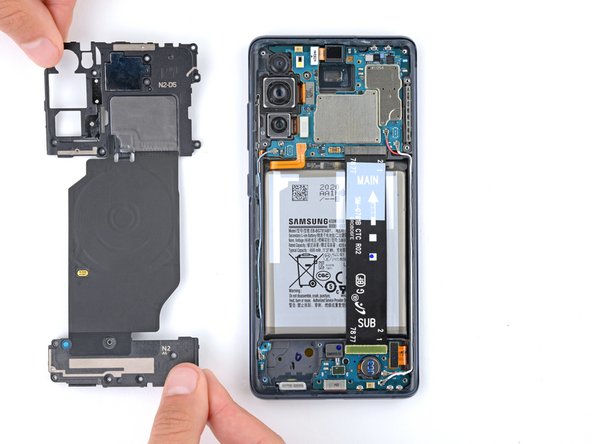
Step 13

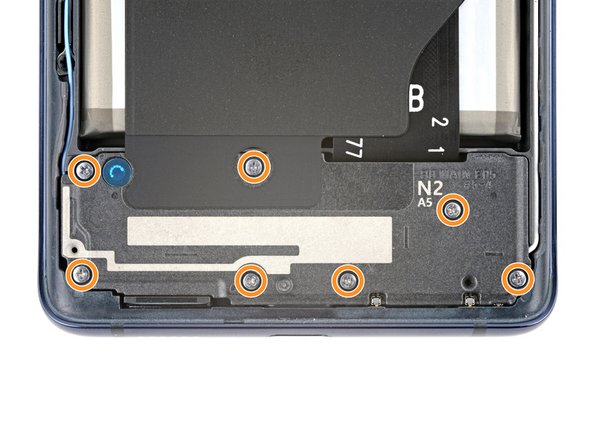
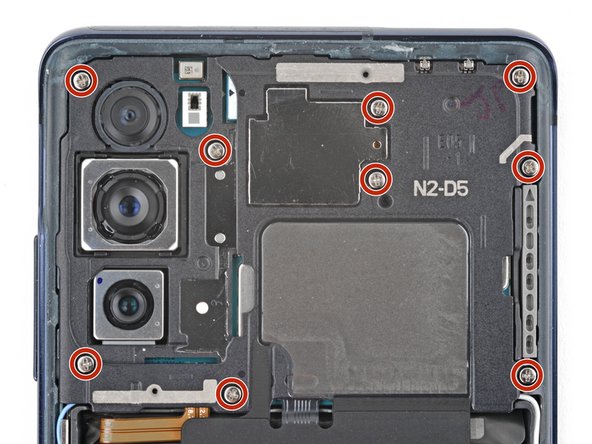
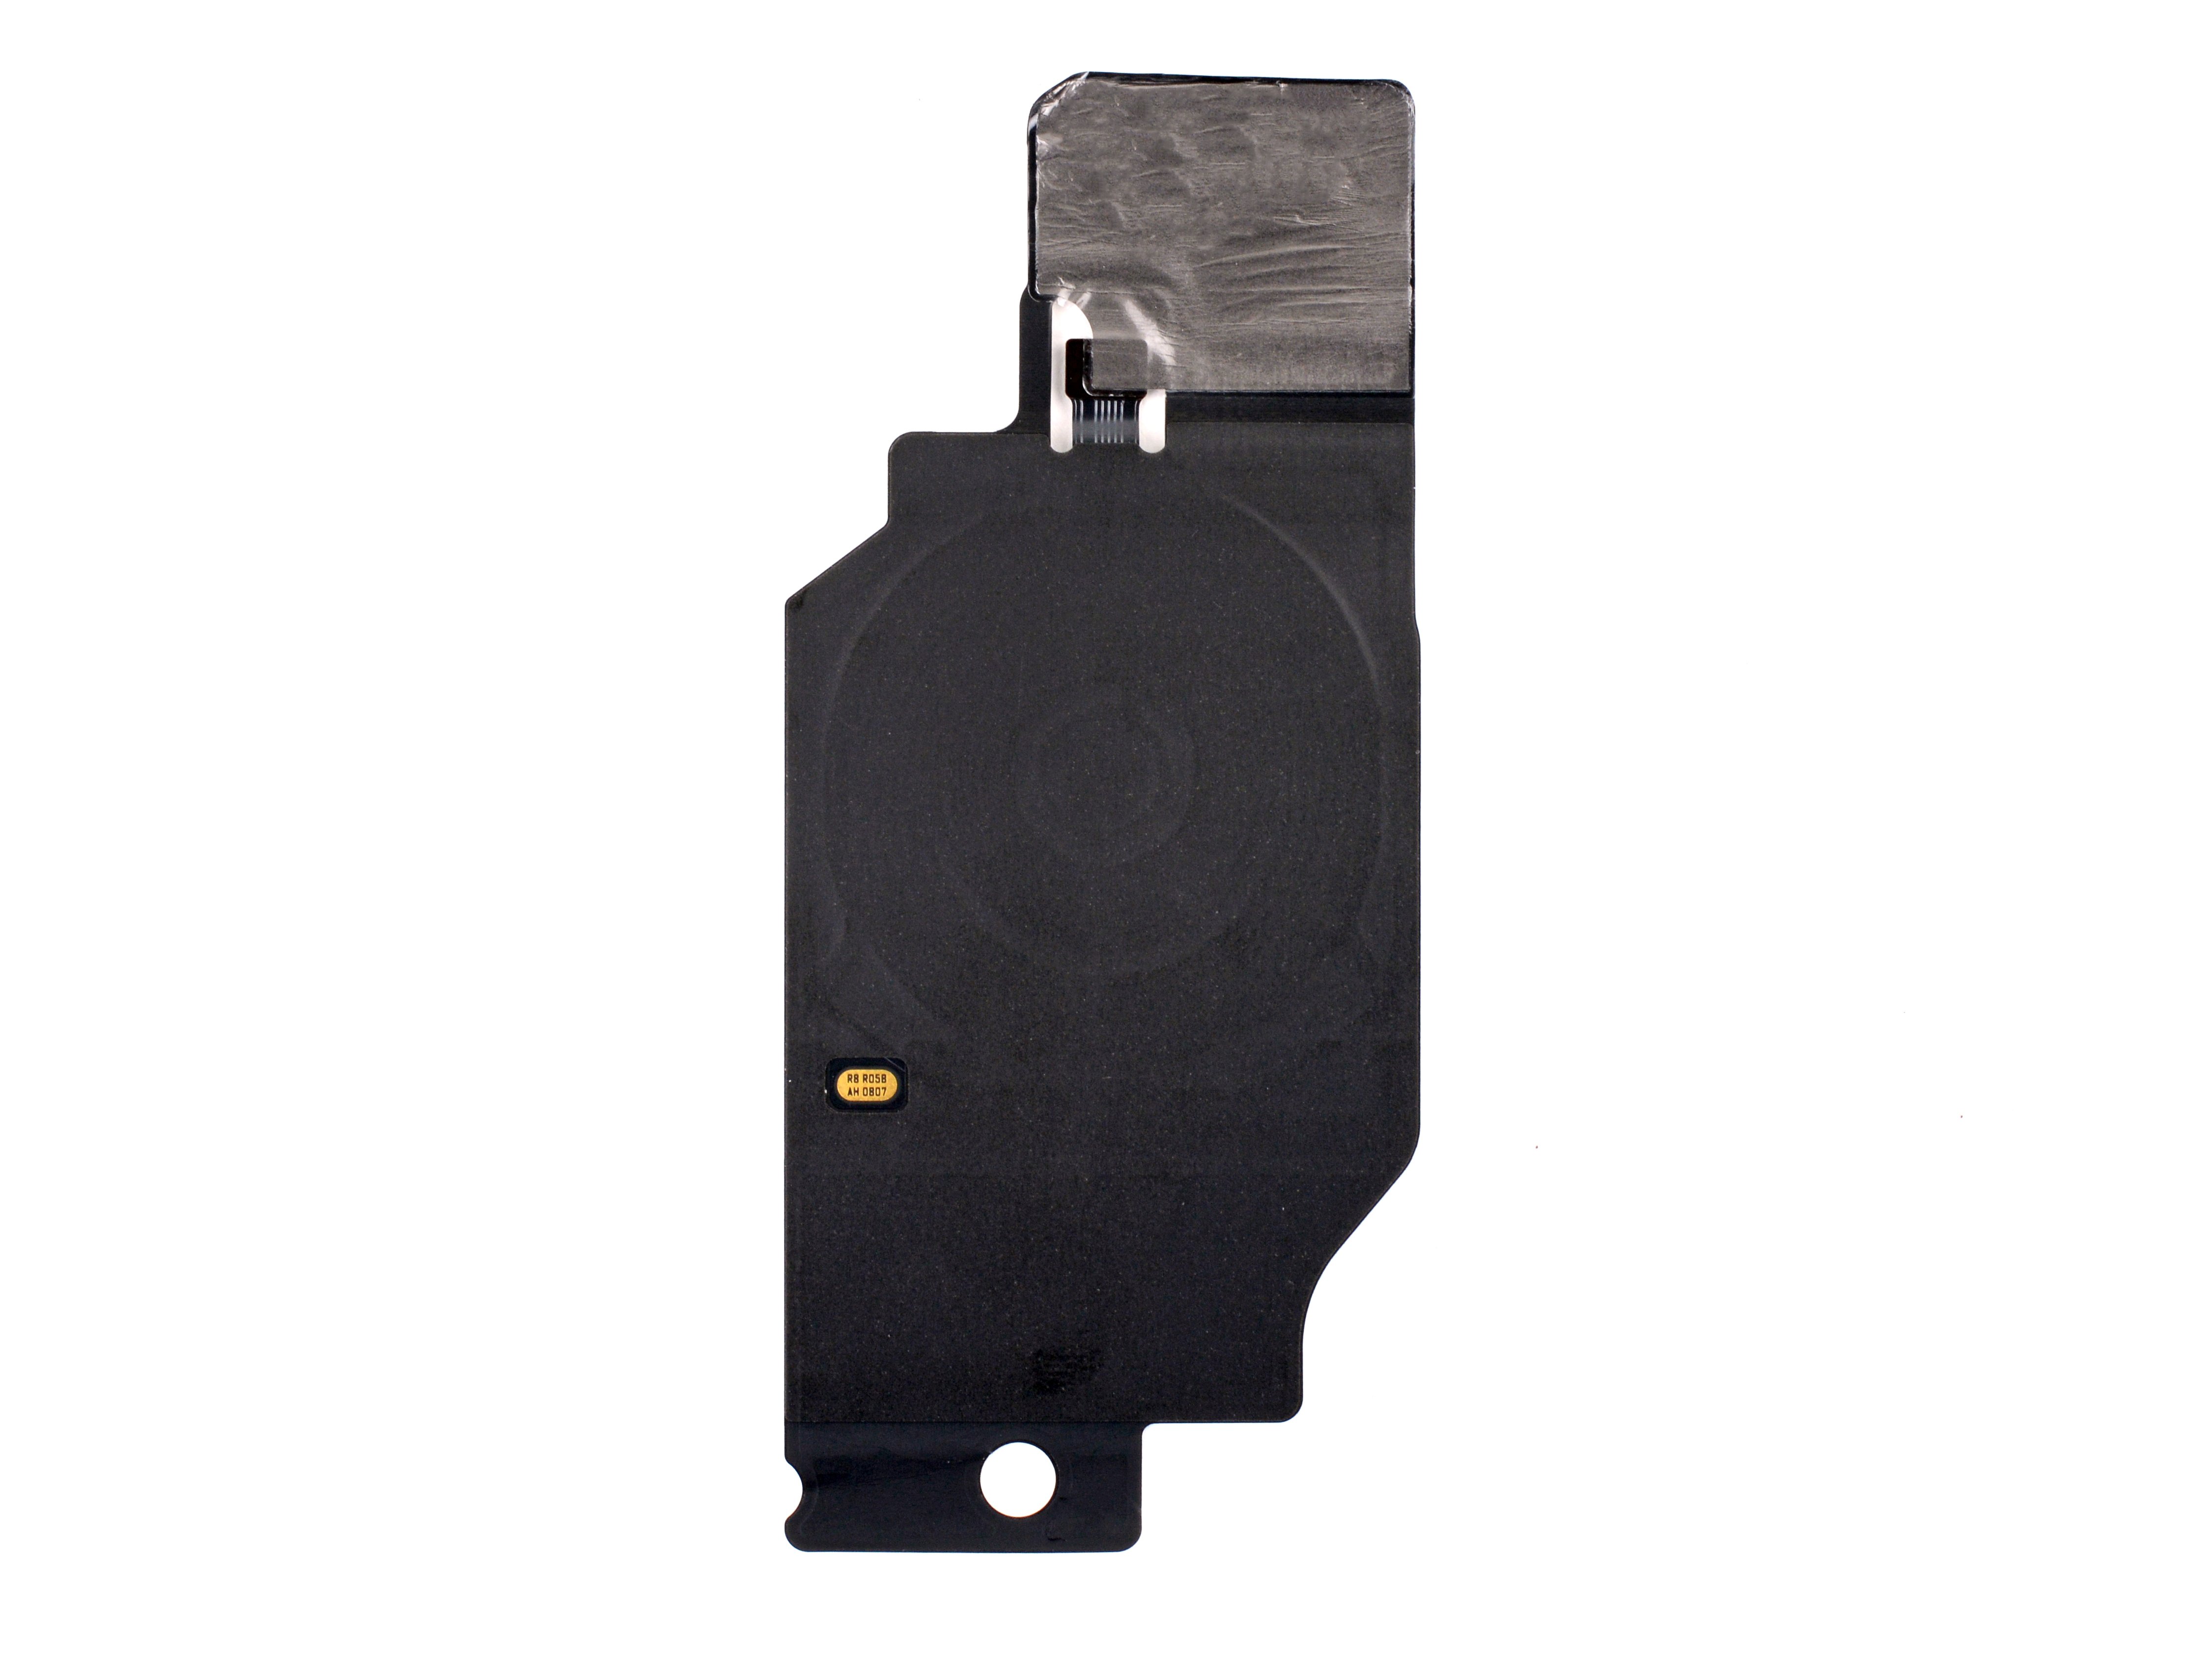
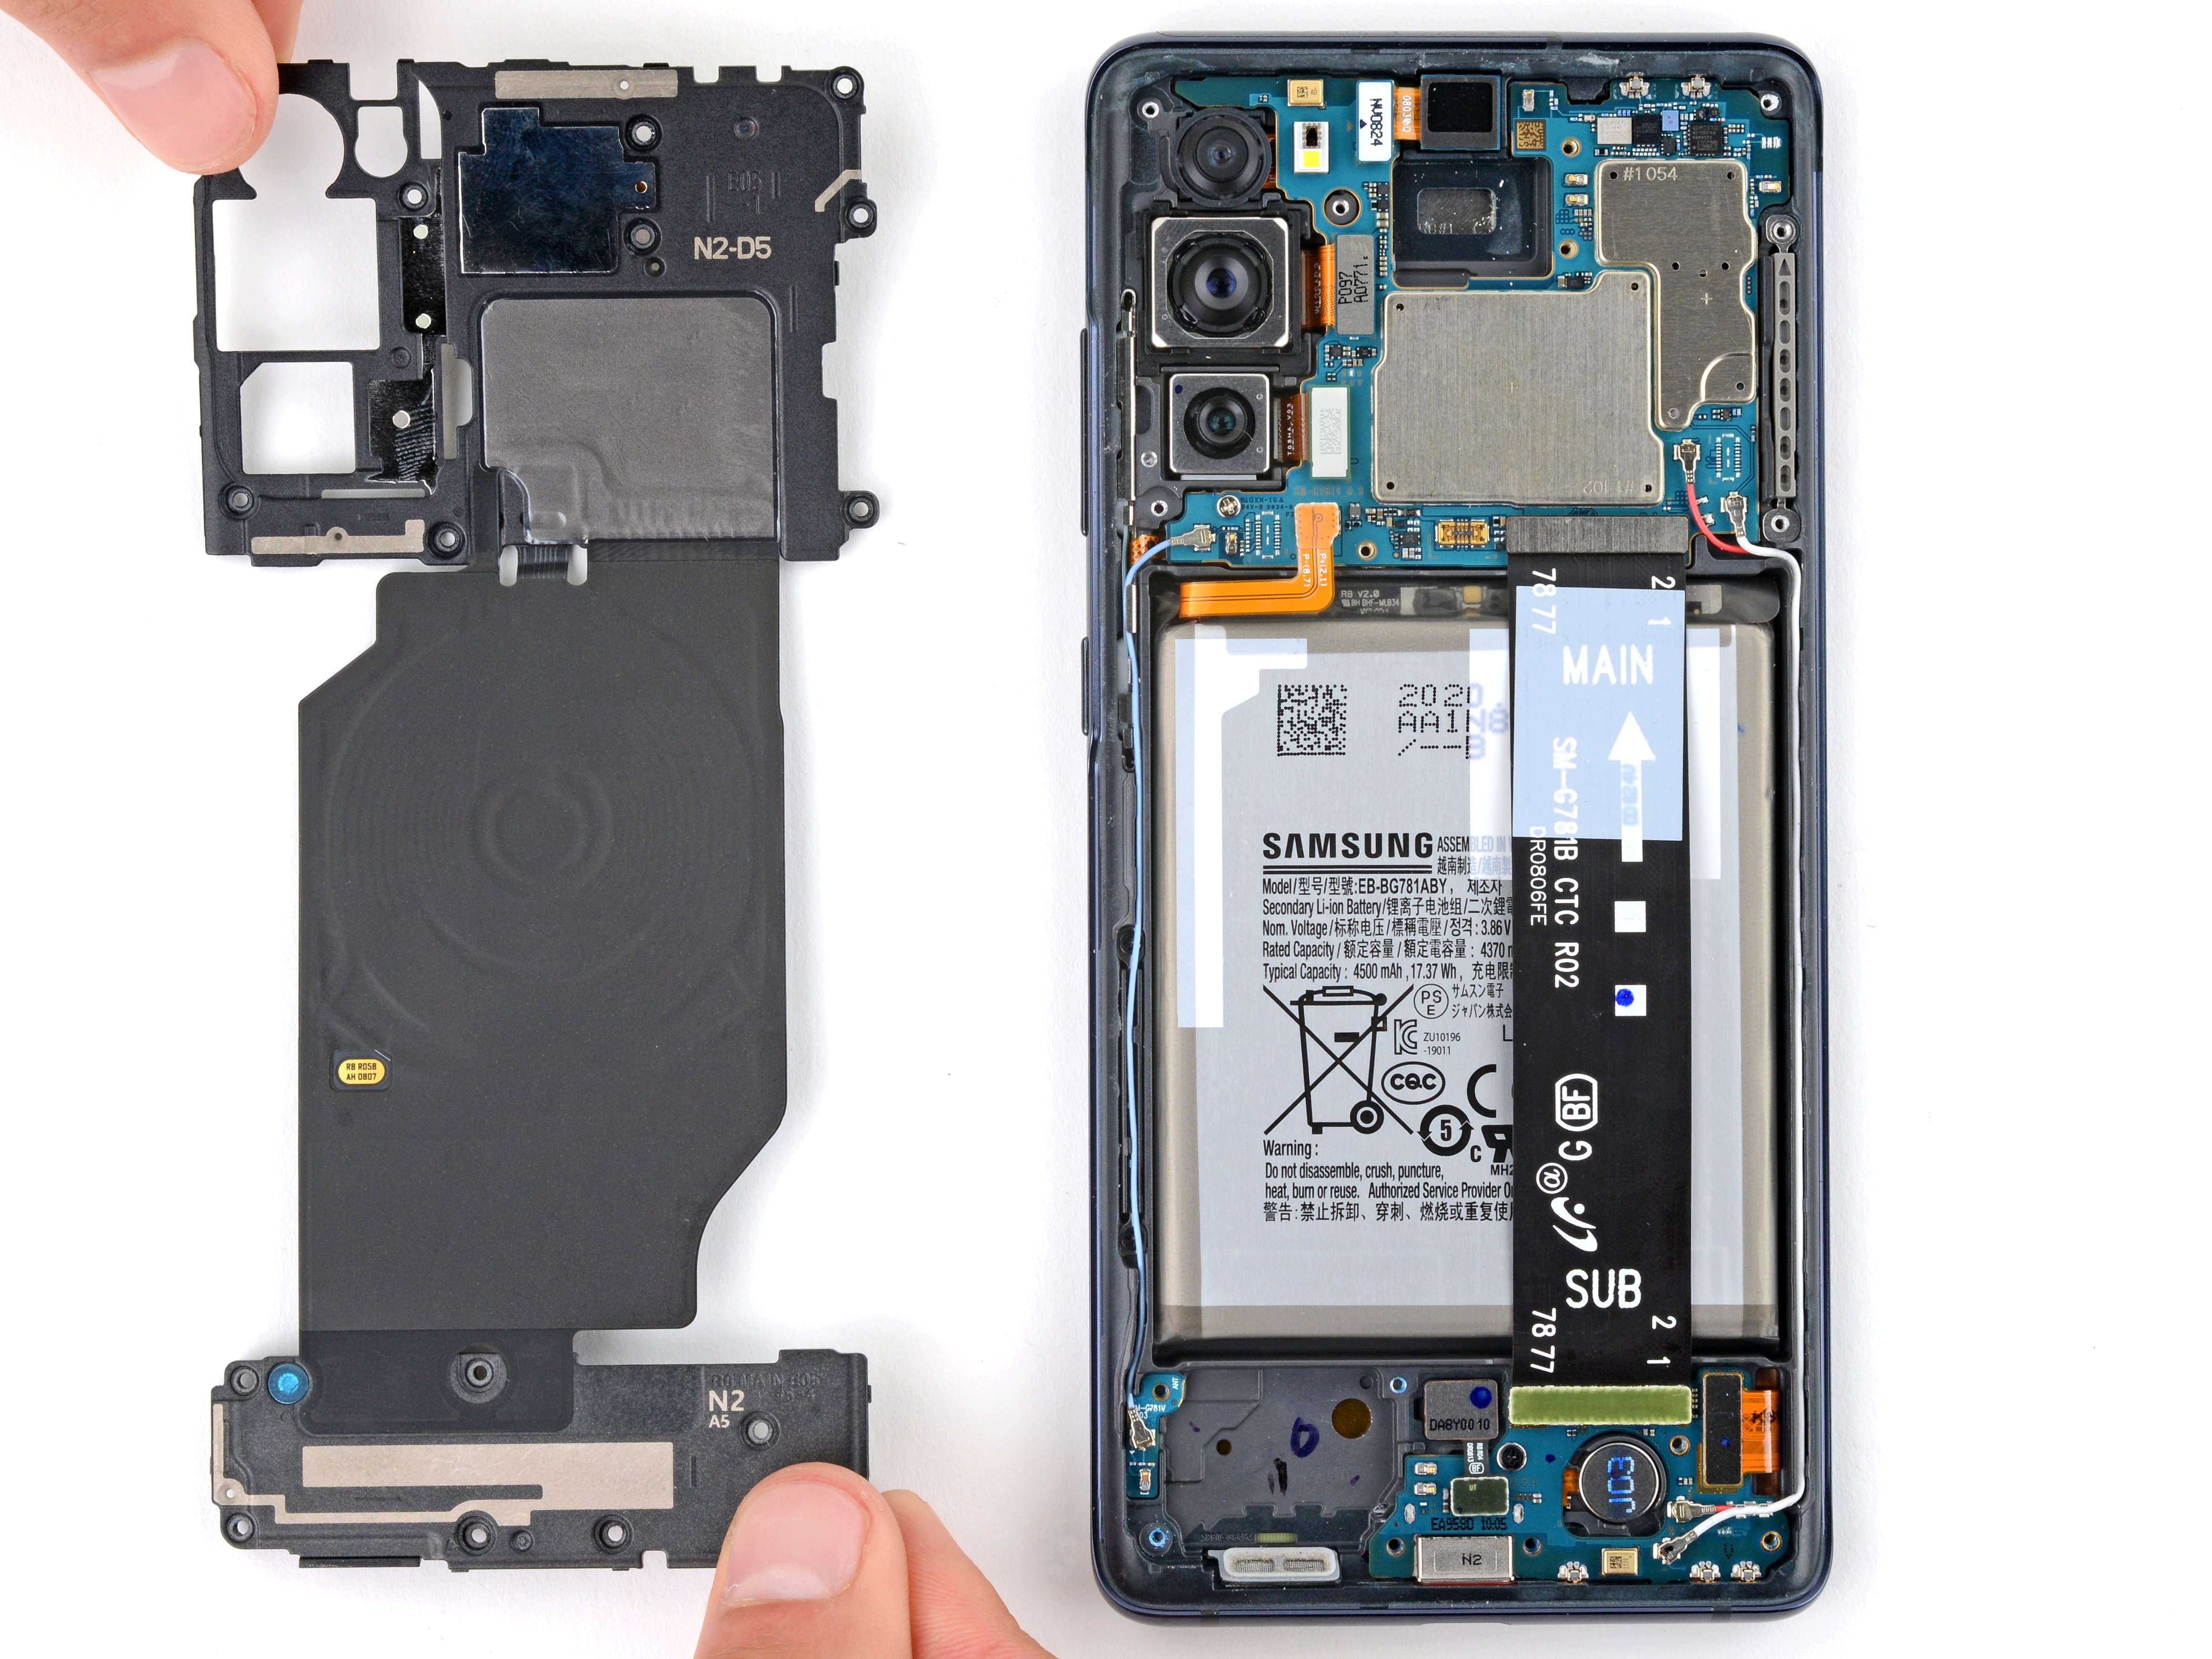
Hey there repair rockstar! The wireless charging assembly is like a little tech orchestra featuring the motherboard cover, wireless charging coil, and loudspeaker all dancing together. They’re best buds held together with trusty graphite tape, so make sure to give them a group hug and remove them as a squad!
– Grab a Phillips screwdriver and get ready to tackle those 16 screws holding down the wireless charging assembly. You’ve got this!
Step 14

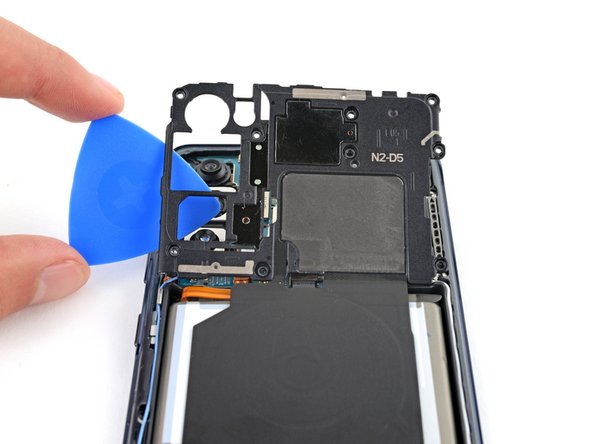
– Start by sliding a pick underneath the bottom right corner of the motherboard cover.
– Give that pick a little twist to pop open the clips holding the cover snugly in place.
– Now, move to the bottom left edge and insert another pick, twisting it to free up the last of those pesky clips.
– When you’re putting everything back together, don’t be shy! Press down firmly around the entire edge of the motherboard cover to snap those clips back into action.
Step 15

– Shift the motherboard cover to reveal the battery and wireless charging connectors chilling at the bottom edge of the motherboard. Easy peasy!
Step 16

To get those connectors back in action, gently line them up and give one side a little press until you hear that satisfying click. Once that’s done, show the other side some love and do the same! Just remember, no pressing down in the middle, okay? If things don’t line up just right, those little pins could bend and that would be a real bummer. If you need help, you can always schedule a repair.
– Gently use the flat end of a spudger to lift up and unplug the battery and wireless charging connectors from the motherboard. You’ve got this!
Tools Used

Step 17

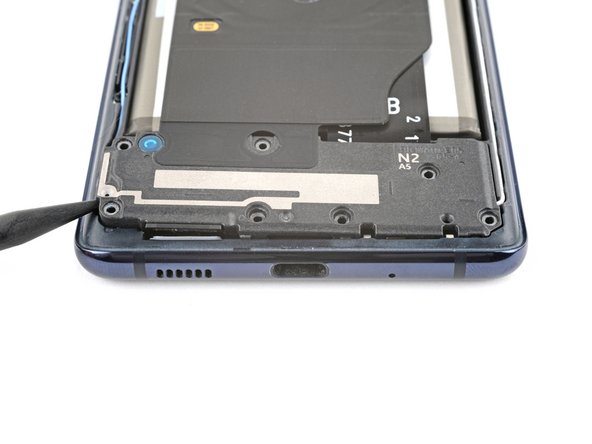
– Slide the spudger’s tip into the bottom left corner of the loudspeaker, right between it and the frame. You’ve got this!
– Gently pry upwards to pop those clips loose on the left edge of the loudspeaker. Keep it steady!
– Now, give a little upward nudge to the bottom right corner of the loudspeaker to free the last of those clips. Almost there!
– When you’re putting it all back together, remember to press firmly around the edges of the loudspeaker to snap those clips back in place. You’re doing great!
Tools Used
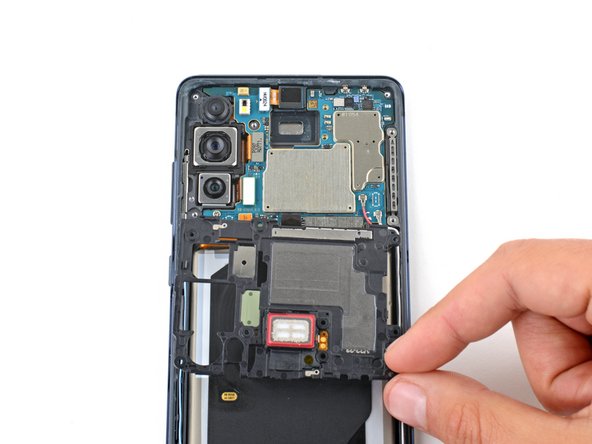
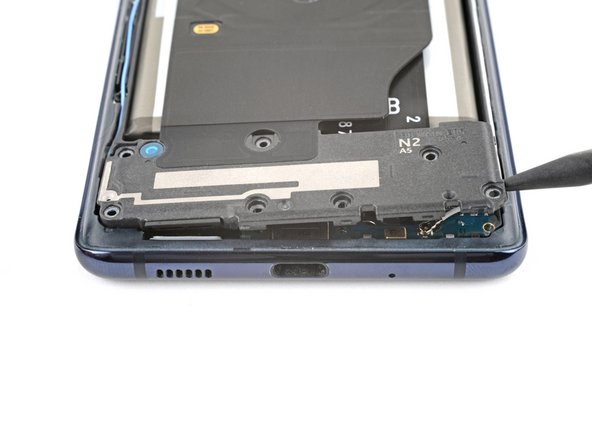
Step 18
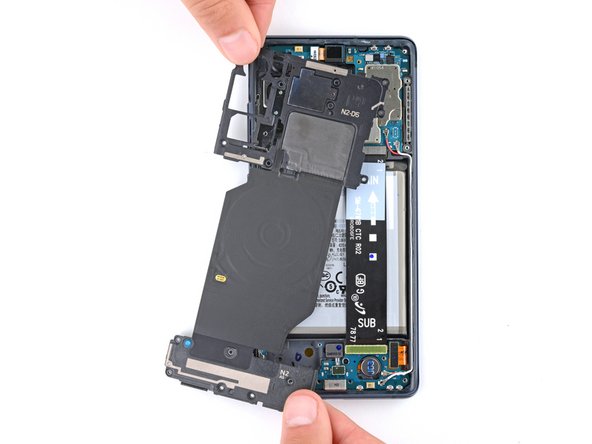

– Go ahead and take out the wireless charging assembly. You’ve got this!

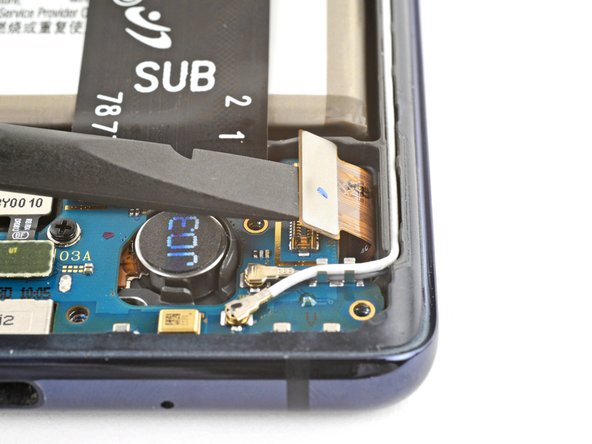
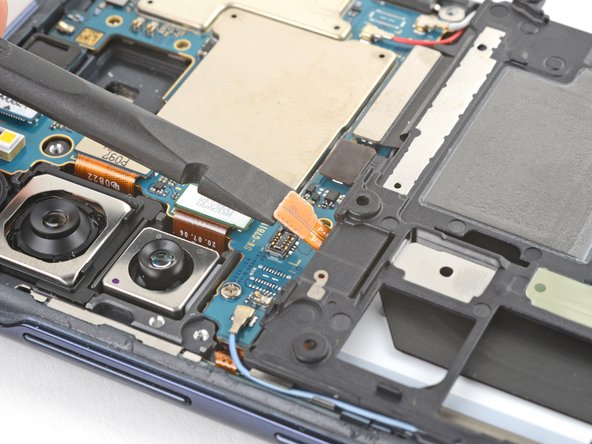
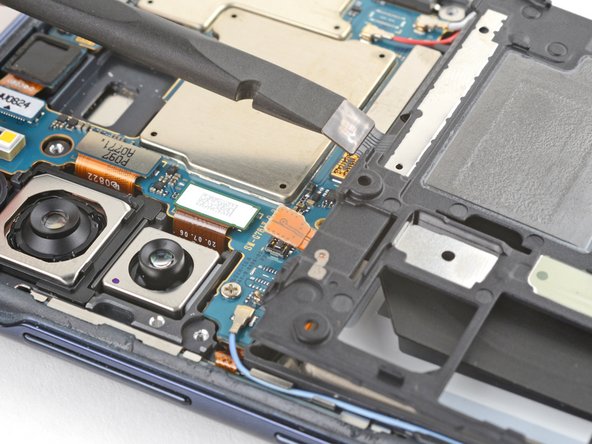
Step 20
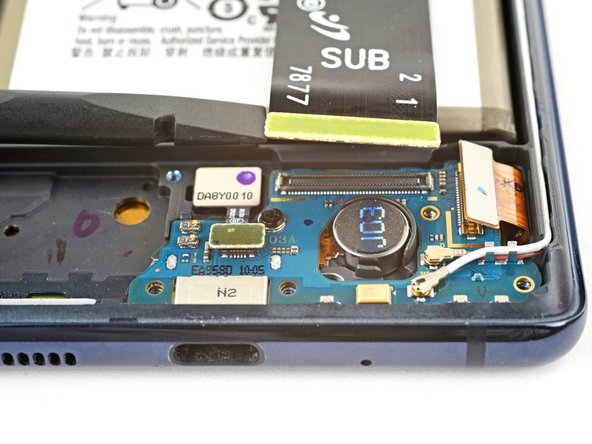

– Grab a spudger, and gently disconnect the fingerprint sensor and interconnect cable connections with a touch of finesse.
Tools Used
Step 21
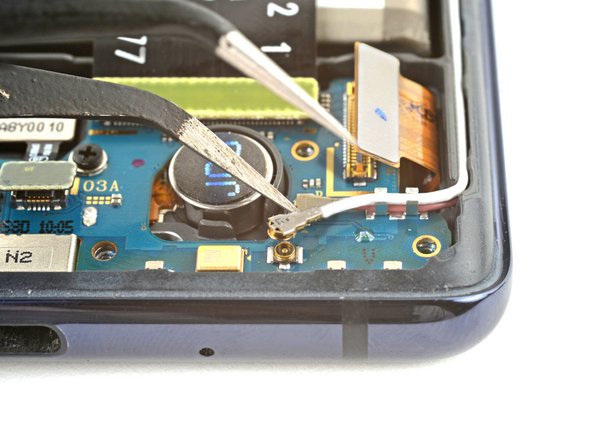

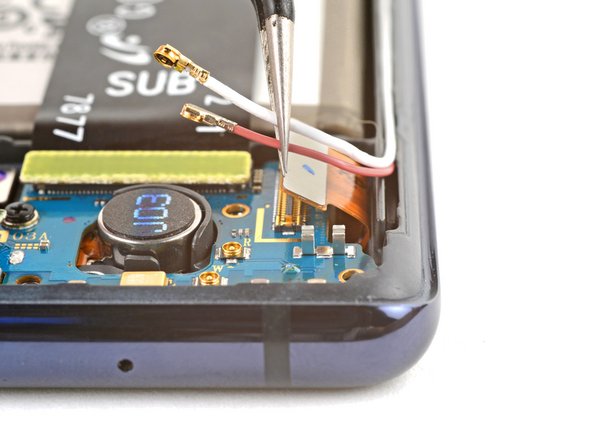
To reconnect those antenna connectors, simply line them up with their sockets and give a gentle push with the flat end of a spudger. You’ll hear a satisfying snap when it’s secure. It might take a couple of attempts, so don’t sweat it—just keep at it!
– Gently slide your trusty angled tweezers under the head of the white antenna cable.
– Give it a little lift straight up to graciously disconnect the cable.
– Apply the same cool process to disconnect the red antenna cable.

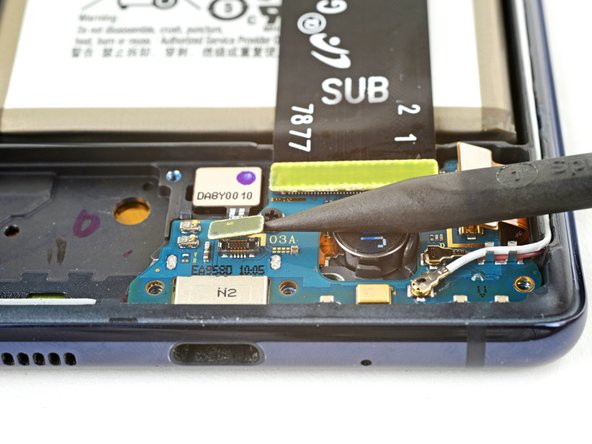
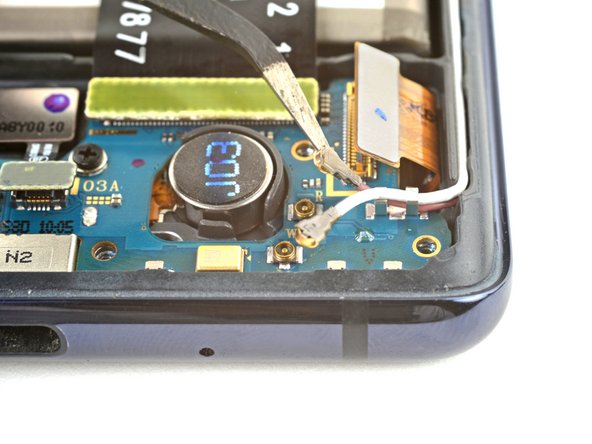
Step 22

– Carefully lift the red and white antenna cables out of their cozy little clips on the charging board. They need some fresh air!
– When you’re putting everything back together, give a little nod to the antenna cables. Make sure they’re snug in their channels on the right edge of the phone before you press them back into their clips.
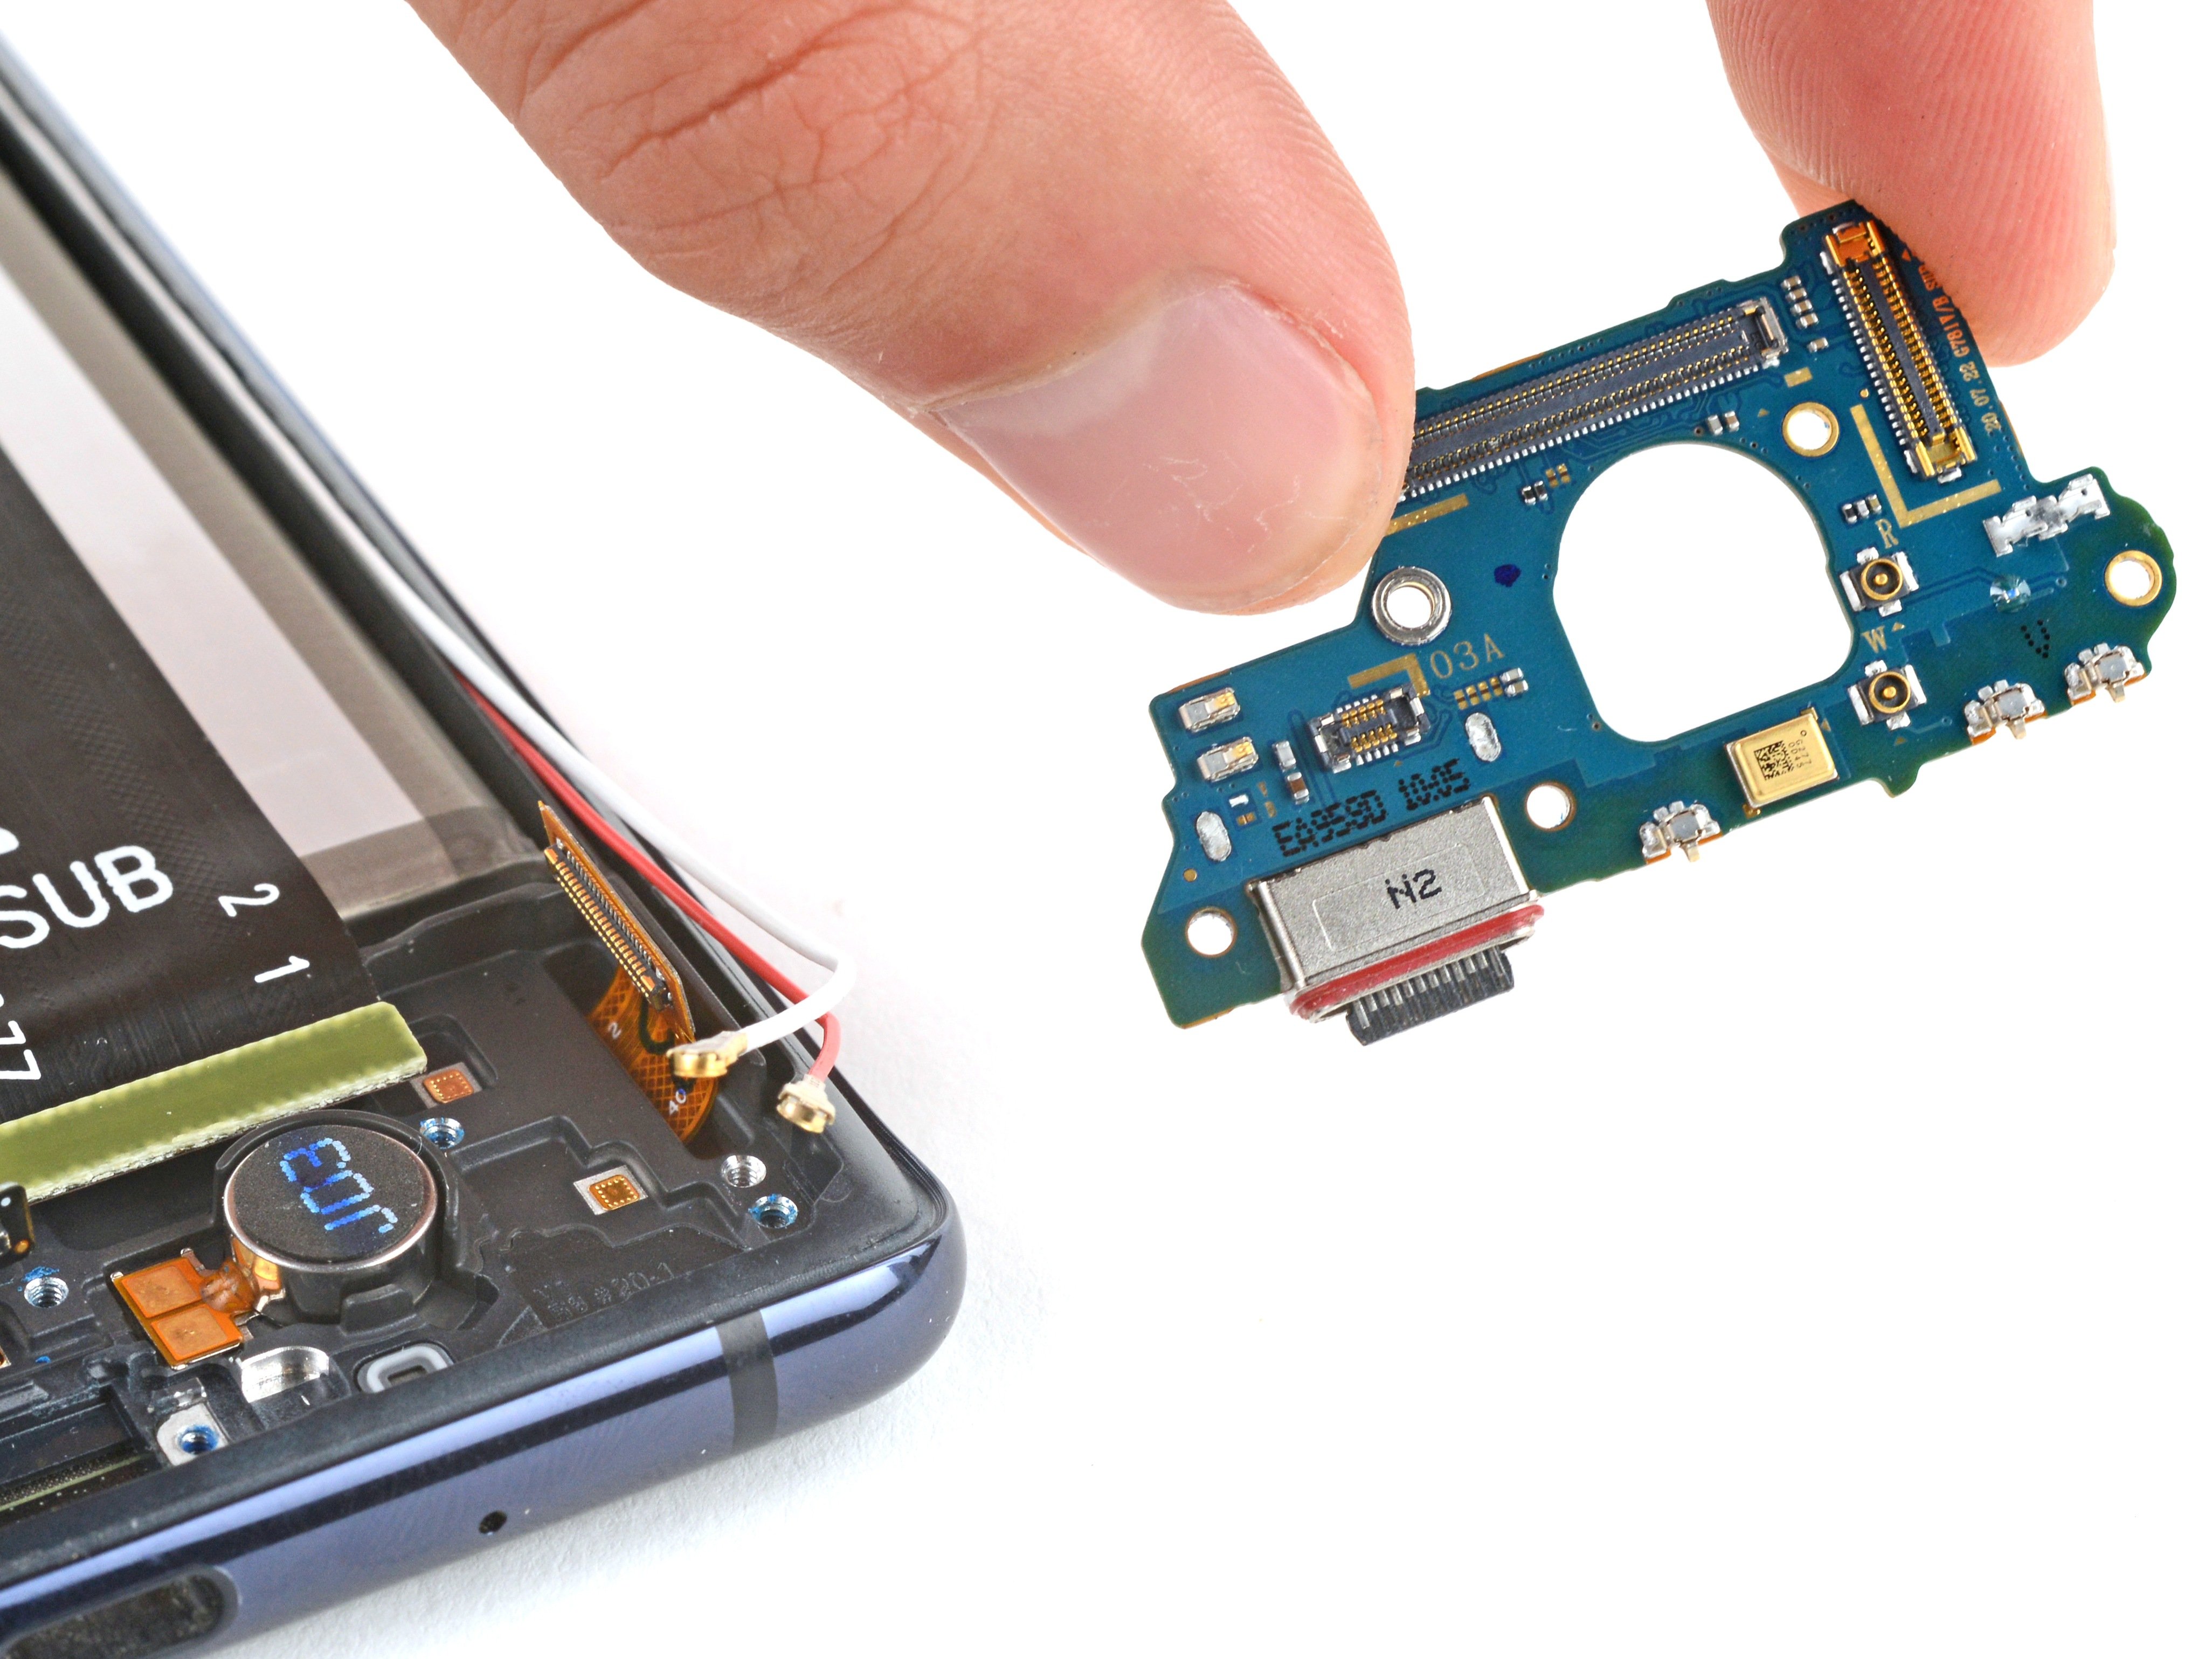
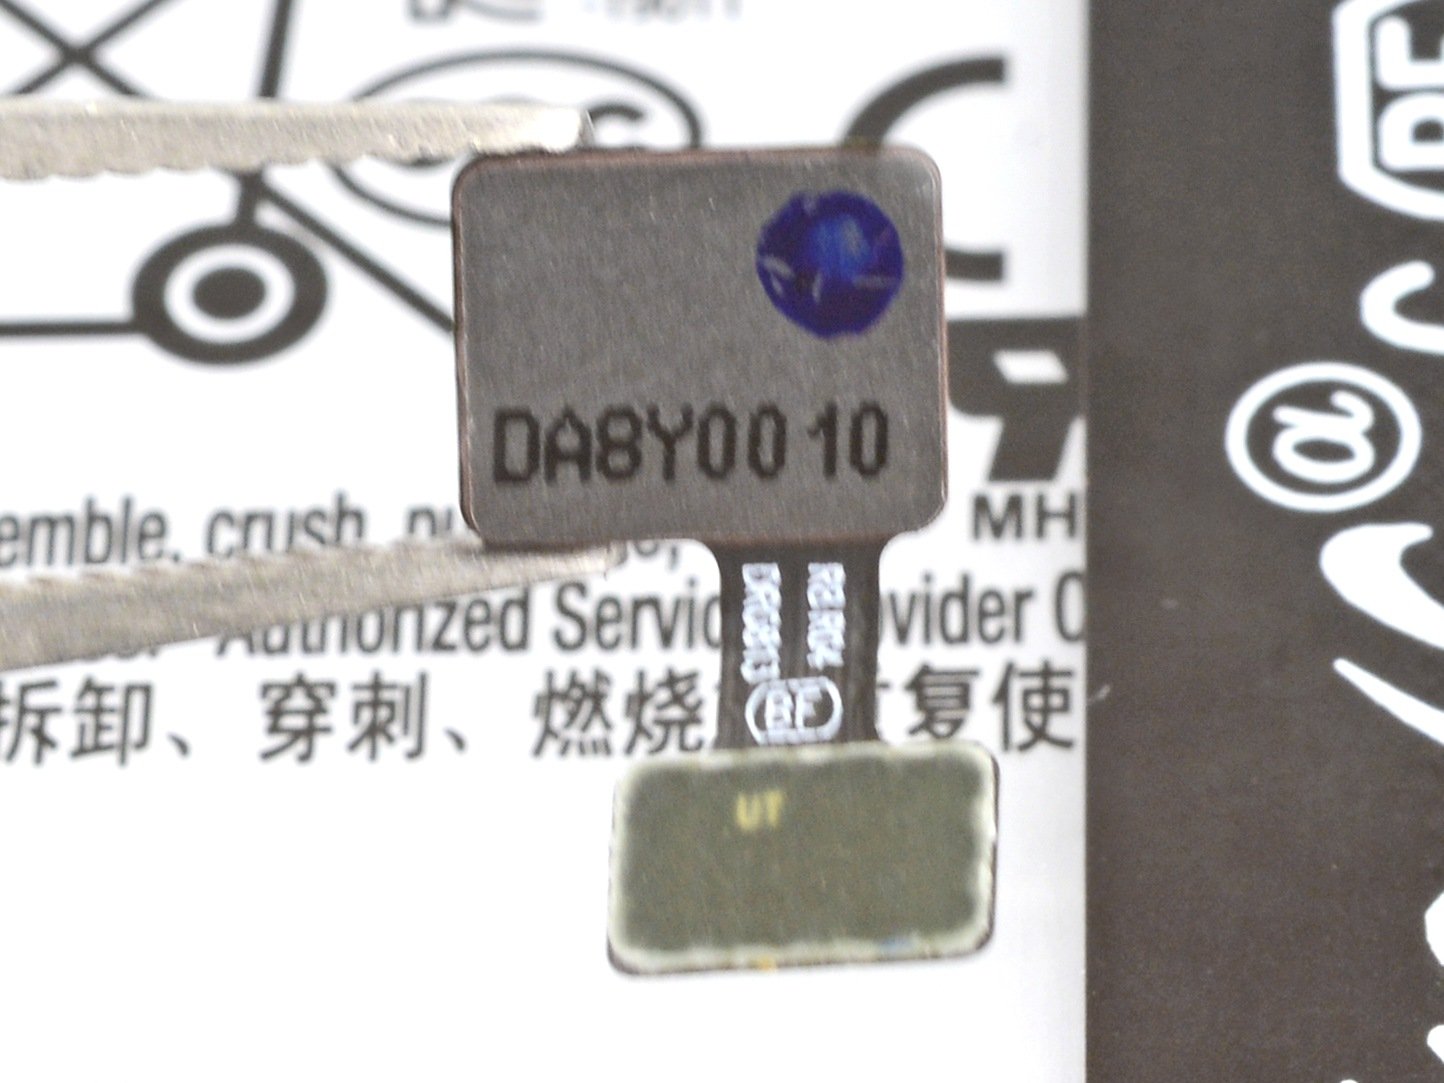
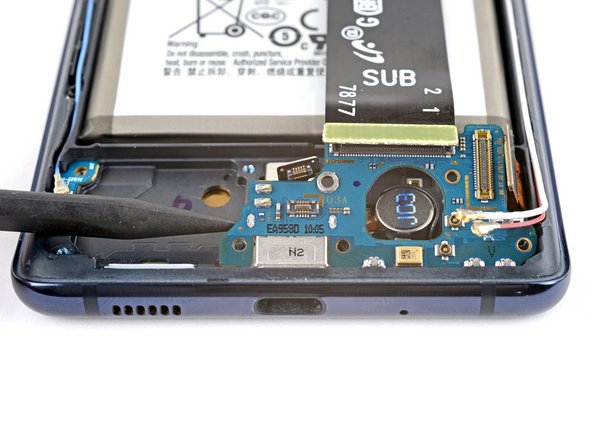
Step 23

– Grab your trusty Phillips screwdriver and let’s tackle that 3.5 mm-long screw that’s holding the charging board in place. You’ve got this!

Step 25
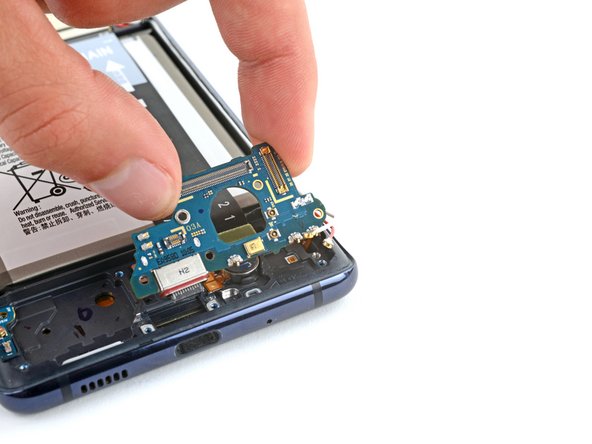
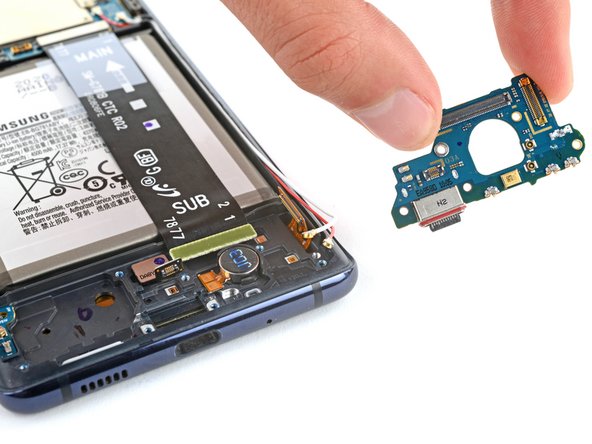

– Grab hold of that charging board by the top and gently wiggle it out of there at a comfy 45-degree angle. And remember, here’s how it goes back in when you’re all done!