Samsung Galaxy S20 FE 5G Telephoto Camera Replacement Guide
Duration: 45 minutes
Steps: 17 Steps
Ready to give your Samsung Galaxy S20 FE 5G a little TLC? This guide will walk you through replacing the telephoto camera, especially if it’s been acting up—like not focusing, refusing to snap pics, or delivering grainy shots. But hey, before diving in, double-check that the camera is the culprit and not just a stubborn rear lens cover. If that lens cover is on the outs, be sure to follow the appropriate guide. And don’t forget, you’ll need some replacement back cover adhesive to put everything back together nicely. If you need help, you can always schedule a repair.
Step 1

Before you start, let your battery run dry below 25%—lithium-ion batteries can be pretty intense if they get accidentally pricked. If you need help, you can always schedule a repair.
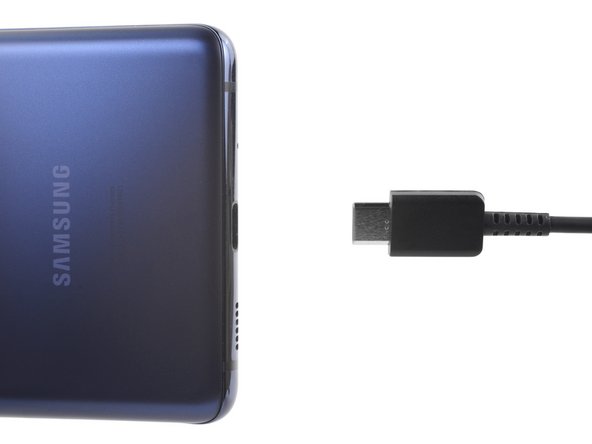
– First things first, let’s turn off your phone and unplug any cables. It’s time to get down to business!
Step 2

– Warm up your iOpener and give it a cozy hug to the bottom edge of the back cover for about two minutes.
Tools Used

Step 3


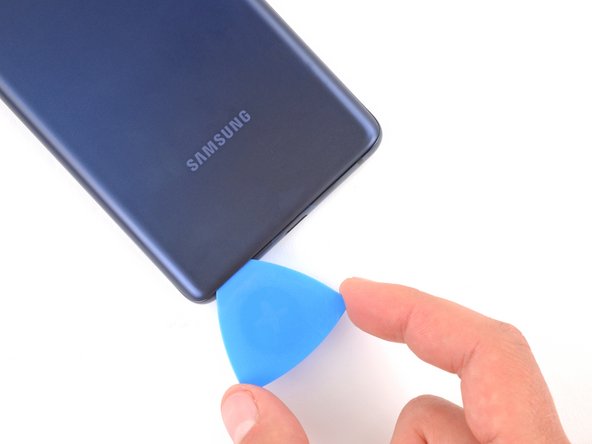
– Time to show that back cover who’s boss! Stick a handy suction cup right smack in the middle of the bottom edge. Give it a solid yank to create some space between the cover and the frame. Grab an opening pick and slide it right in that gap with a confident flick.
Tools Used

Step 4


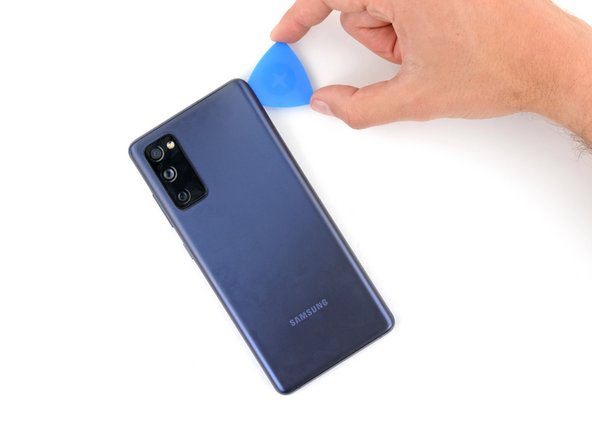
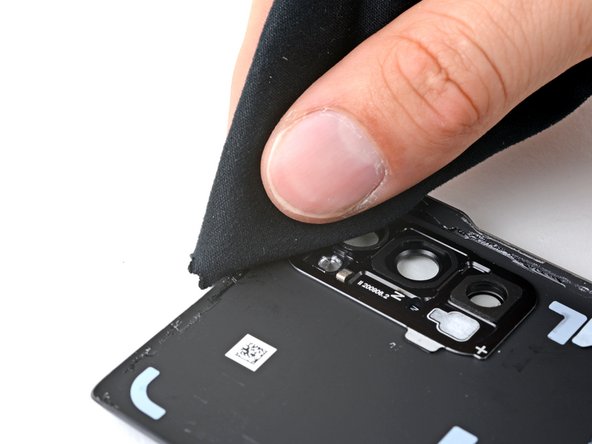
– Gently slide your trusty opening pick along the bottom edge to cut through the adhesive holding the back cover in place.
– Keep that opening pick snugly in the bottom right corner to stop the adhesive from making a comeback.
Step 5

– Warm up that iOpener and give it a cozy two-minute hug on the right edge of the back cover. You’ve got this!
Tools Used
Step 6


– Gently slide that trusty opening pick around the bottom right corner and all the way up the right edge to neatly slice through the adhesive. You’ve got this!
– Once you’re done, keep the opening pick snugly inserted in the top right corner to hold the fort.
Step 7

– Heat up an iOpener and give the top edge of the back cover a cozy two-minute hug. It’s like a warm blanket for your device!
Tools Used
Step 8


– Gently glide the cool opening pick around the top right corner and along the top edge to smoothly slice through the adhesive.
– Don’t forget to leave the pick casually hanging out in the top left corner for now.
Step 9

– Warm up the iOpener and give it a cozy two-minute hug on the left edge of the back cover.
Tools Used
Step 10


– Gently glide the opening pick around the top left corner and all the way down the left edge to carefully cut through the leftover adhesive. You’re doing great!


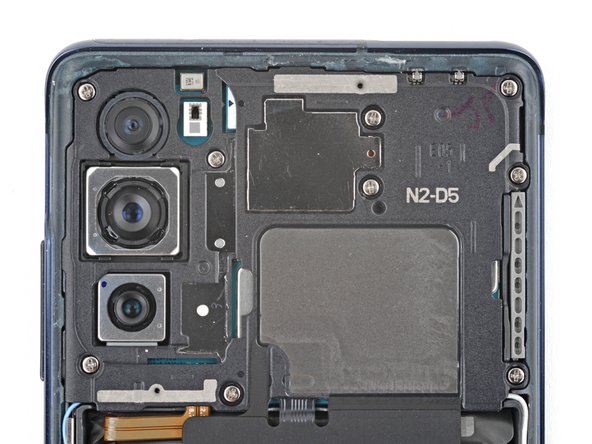
Step 12


– This is the perfect time to power up your device and make sure everything is working as it should before you seal it up. Don’t forget to turn it off completely before moving on to the next step. If you’re reinstalling your old back cover, awesome! If you’re using a new one, make sure to remove the liners and press firmly around the edges to securely attach it to the frame.
Step 13

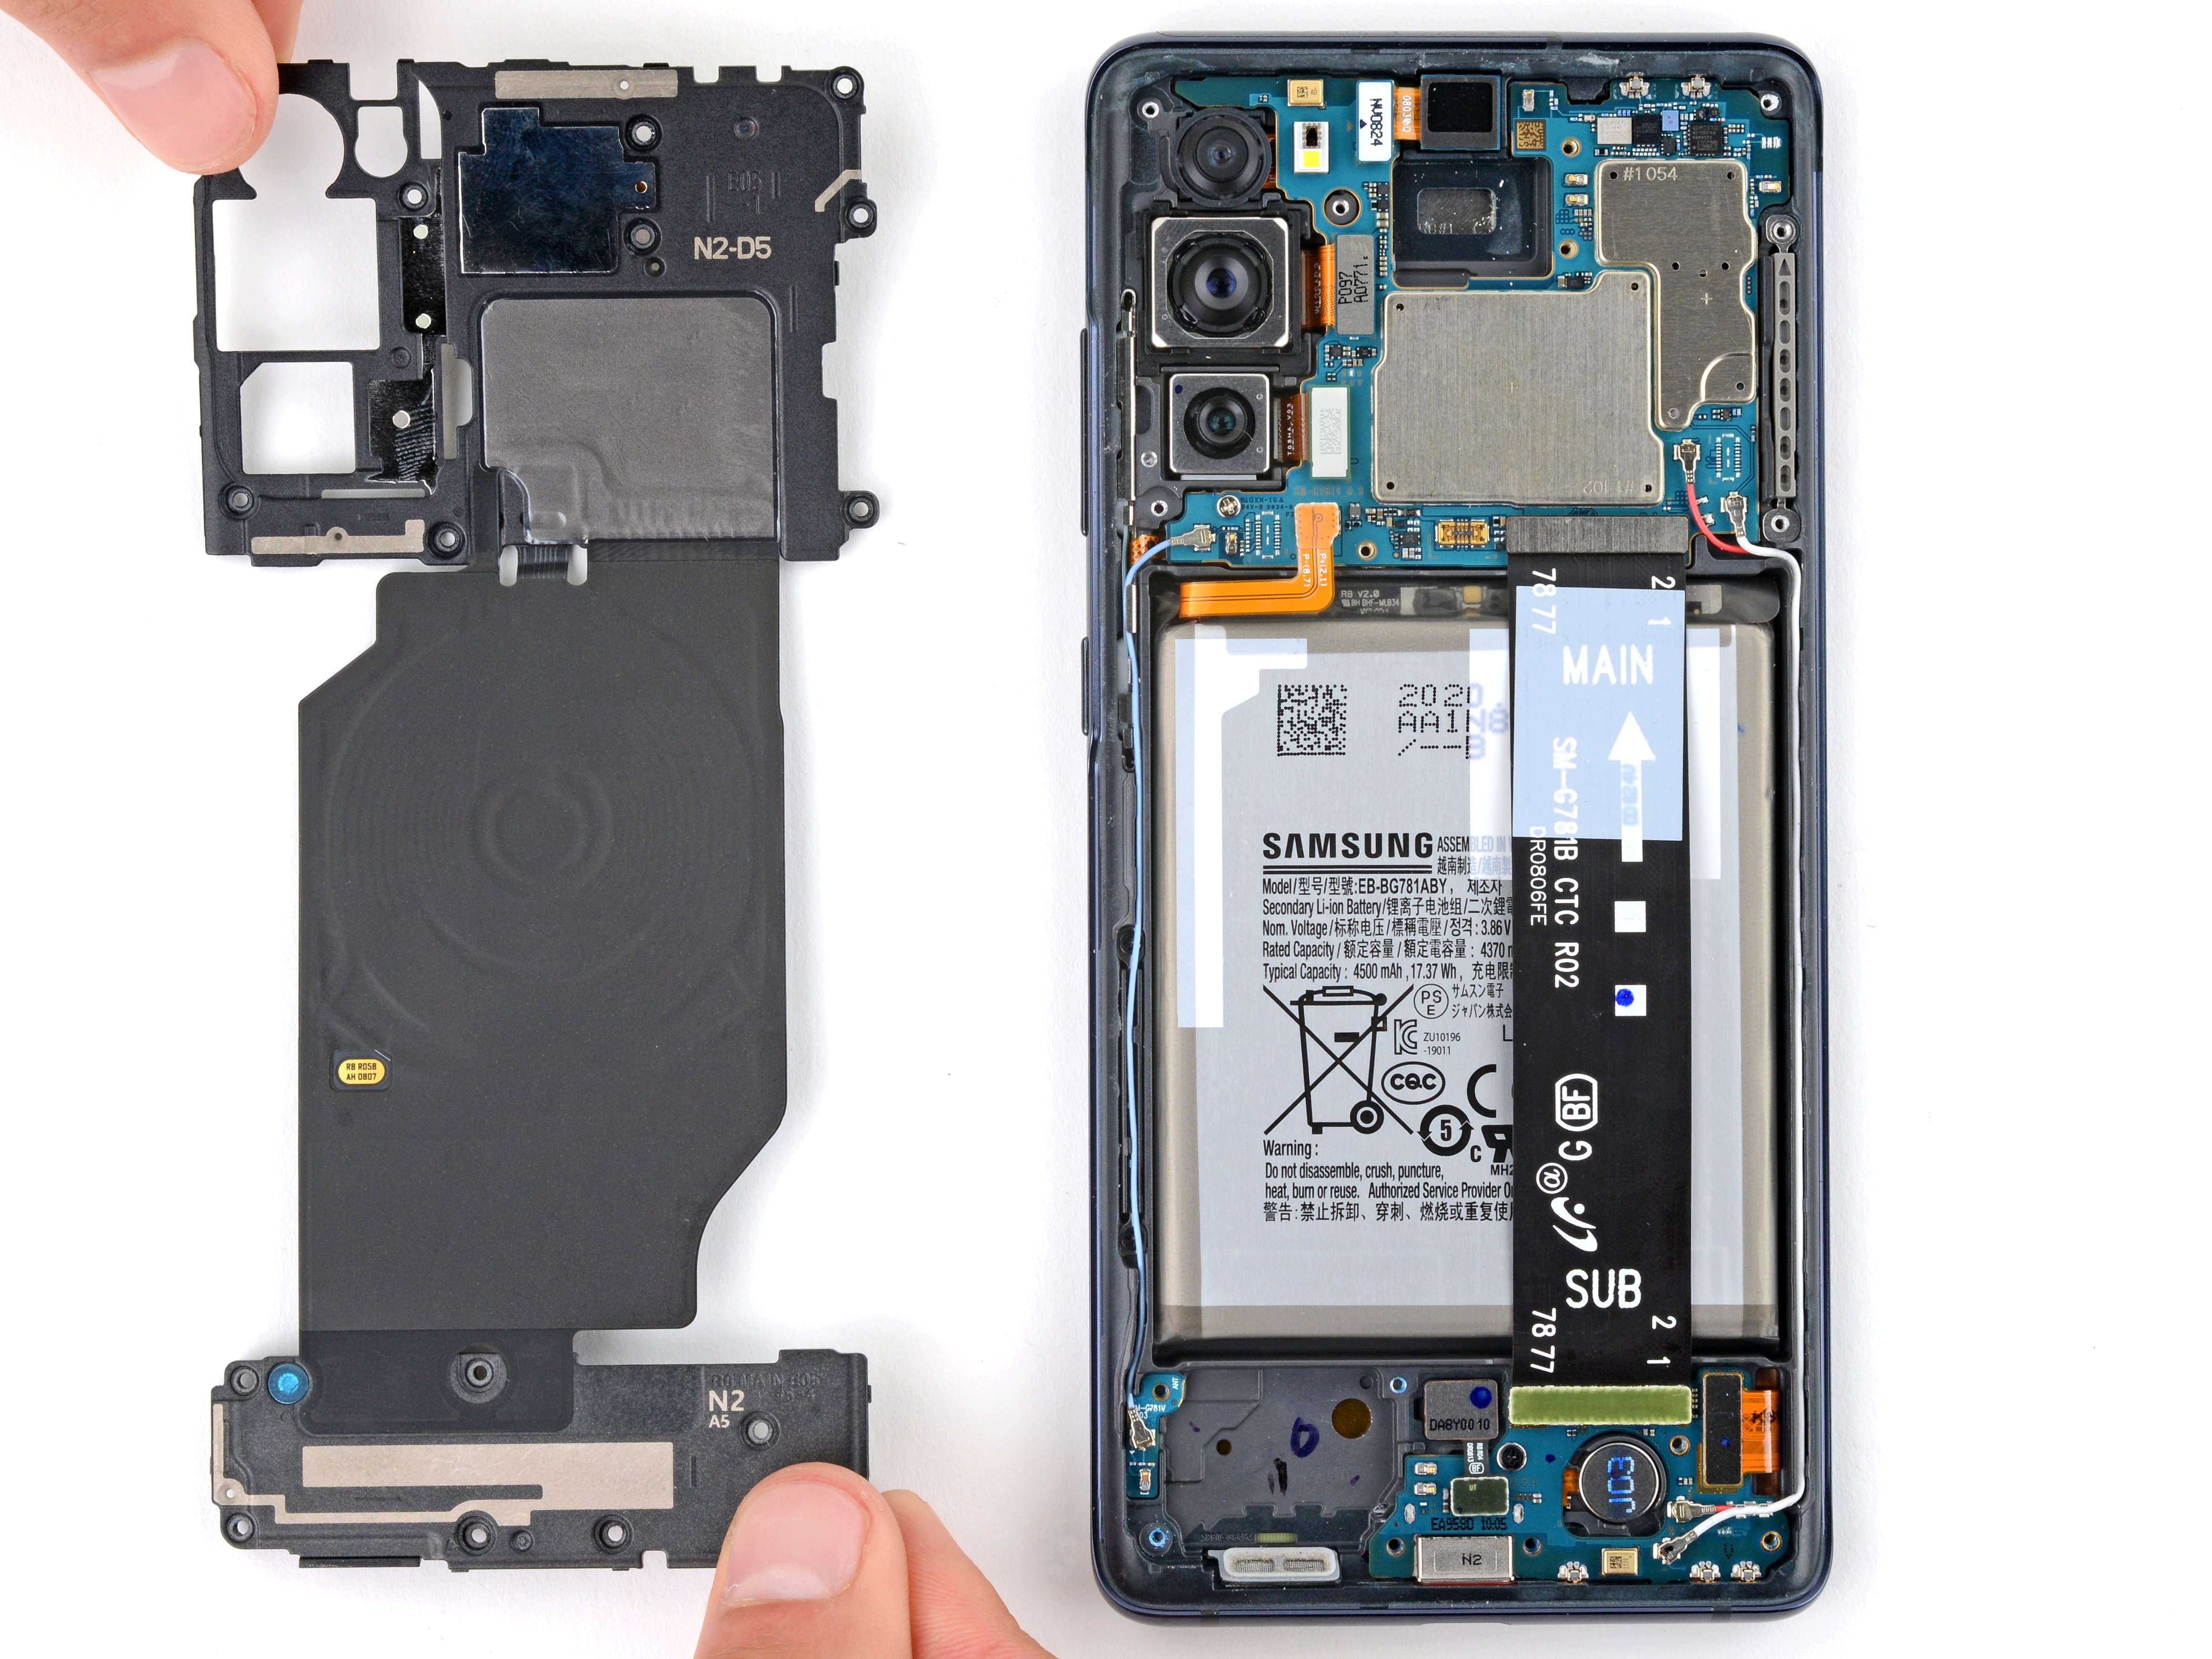
– Grab your Phillips screwdriver and get ready to dance! Remove the groovy nine 4mm-long screws holding down the motherboard cover.
Step 14

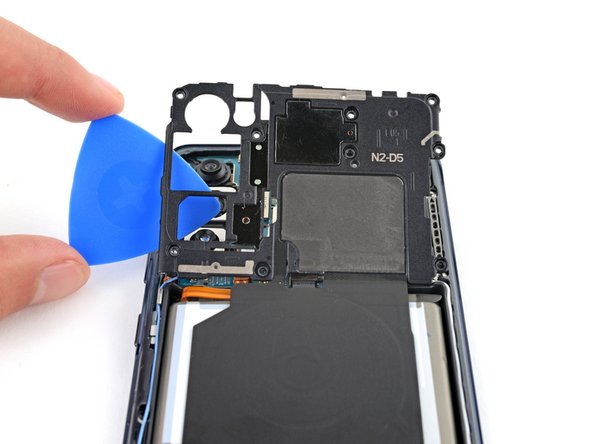
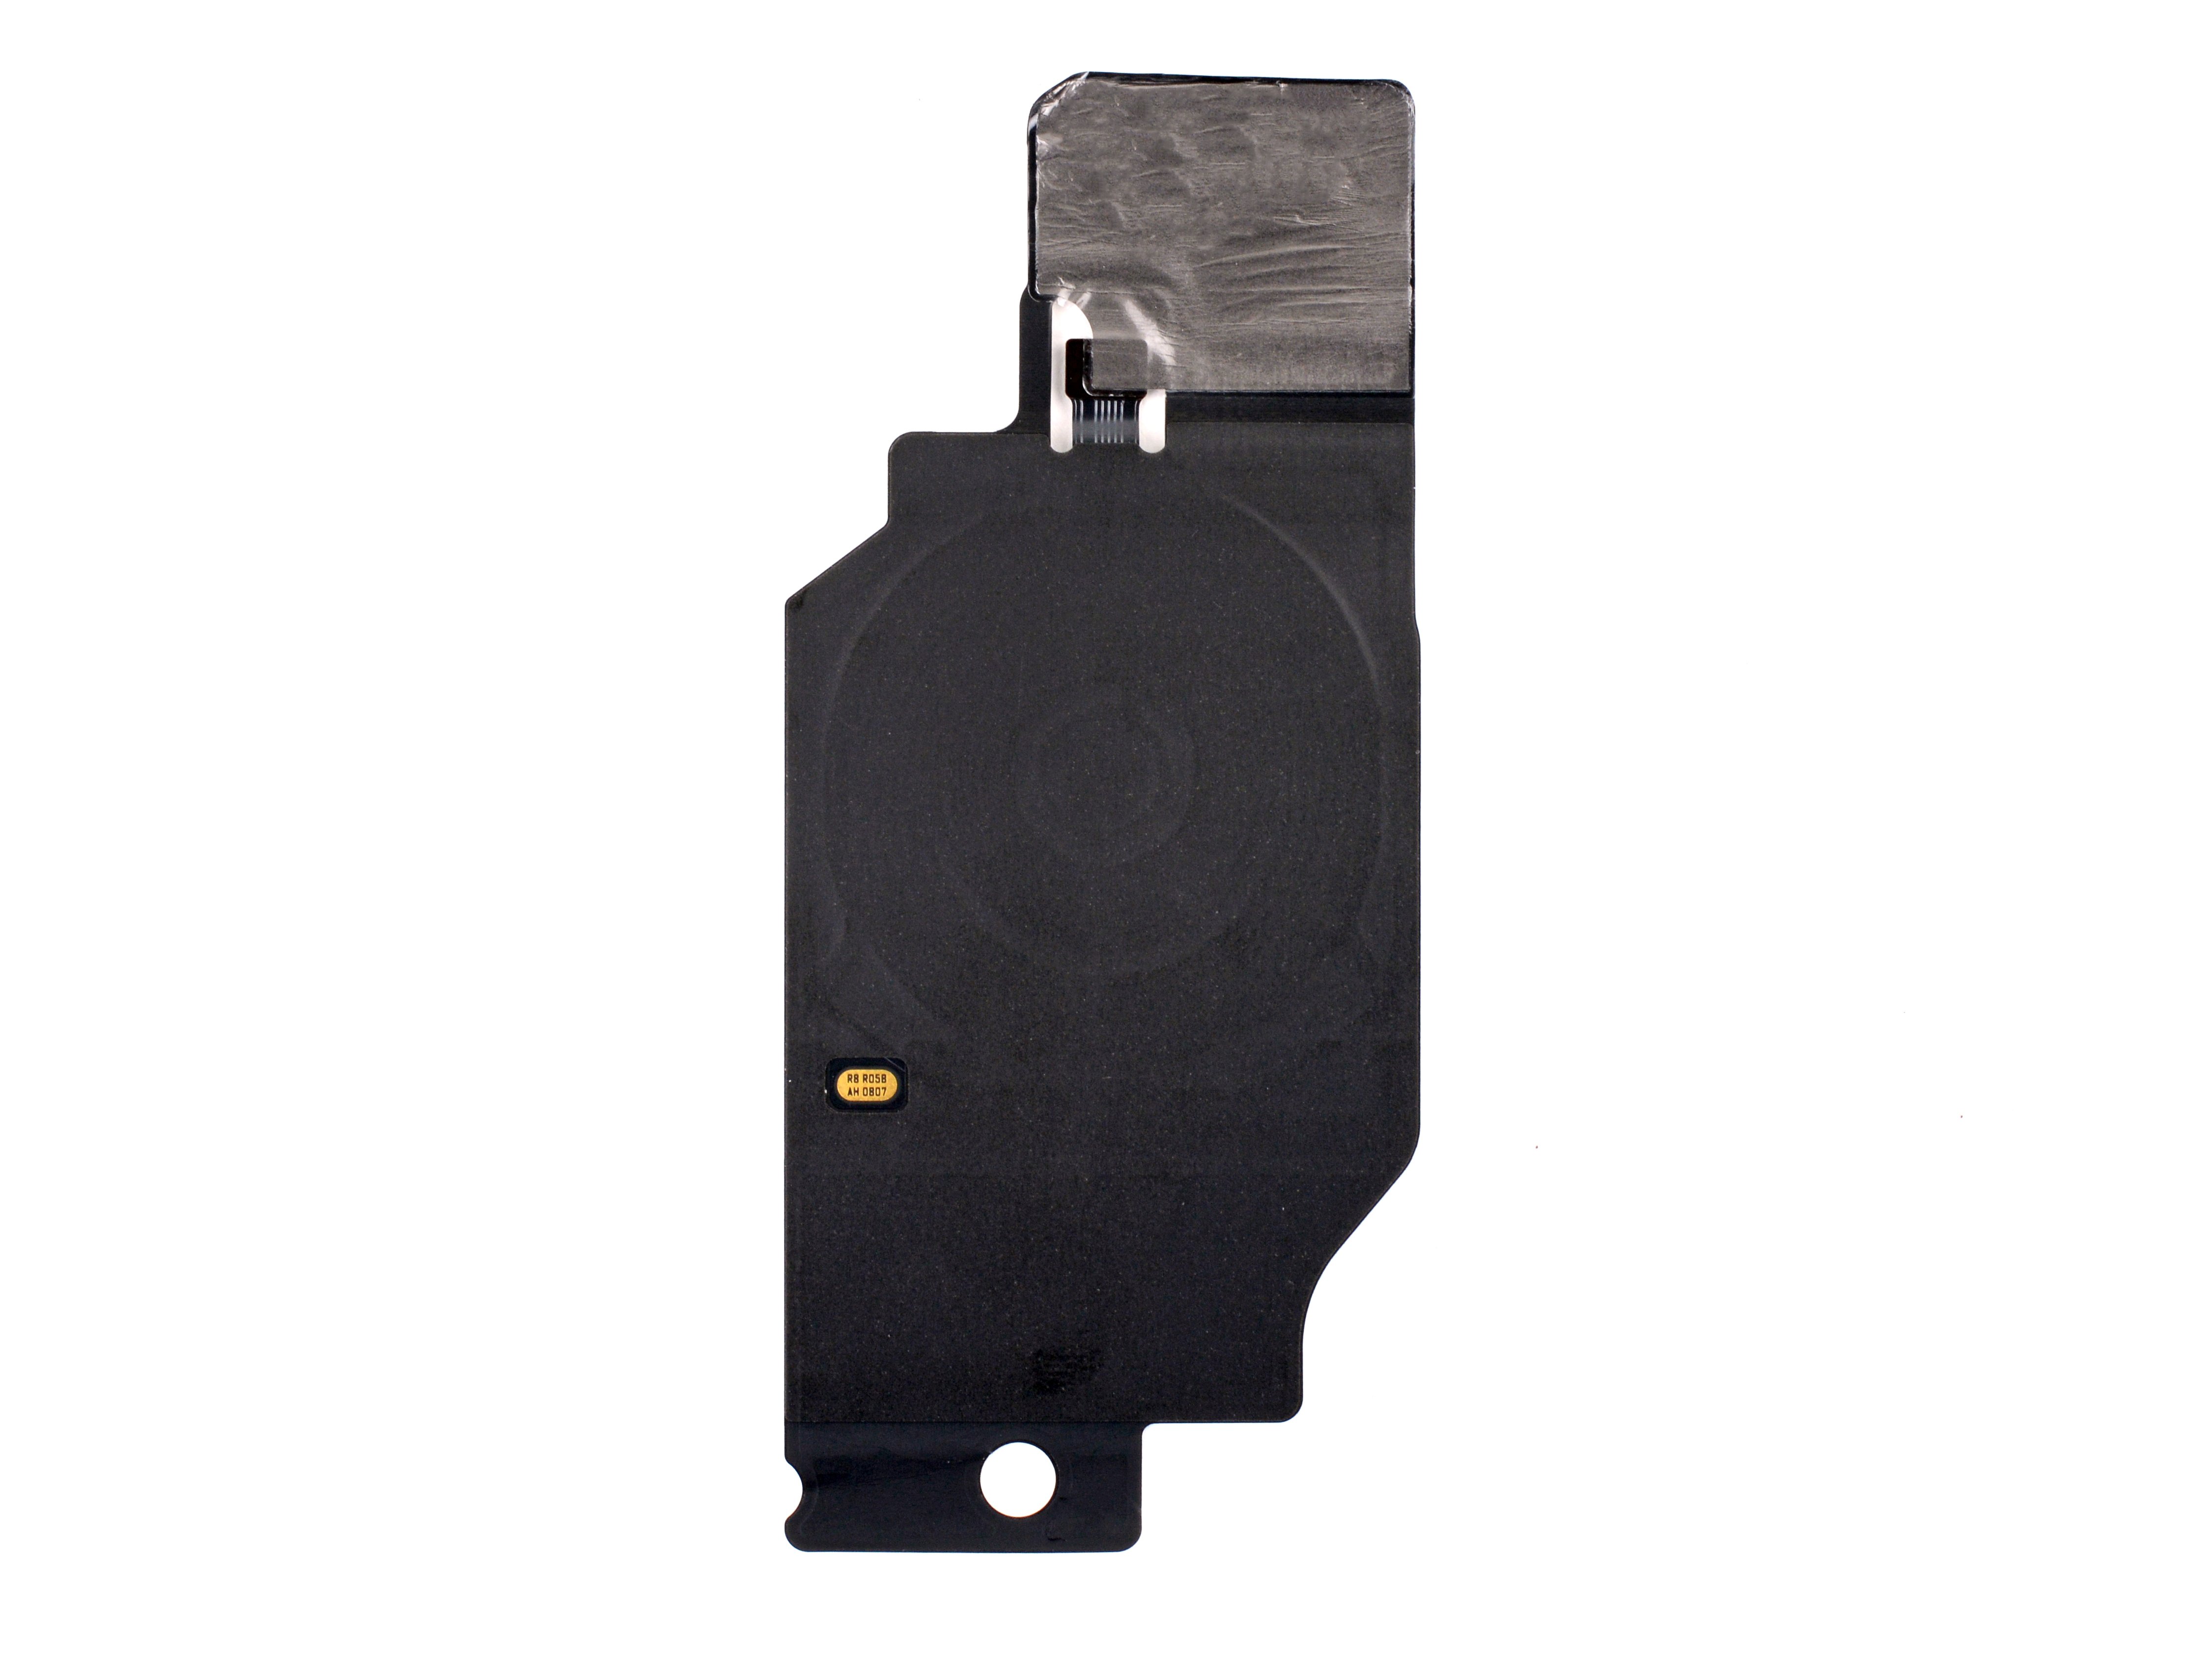
– Whoa, are you ready to tackle this motherboard cover like a pro? Let’s go! First, slide a pick under the bottom right edge, gotta release those clips, right? Now twist that pick to say ‘see ya later’ to the clips and move to the bottom left edge. Insert and twist that pick, you got this! Shamelessly praise yourself when done because you just rock those clips. And hey, don’t forget to get a little intimate with the cover during reassembly schedule a repair and make sure those clips are firmly engaged. Congrats, you did it!
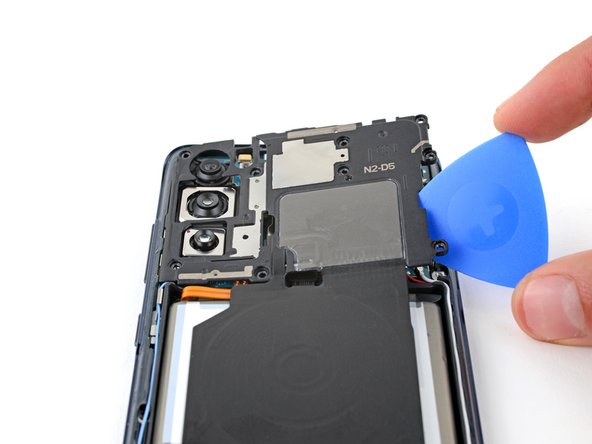
Step 15
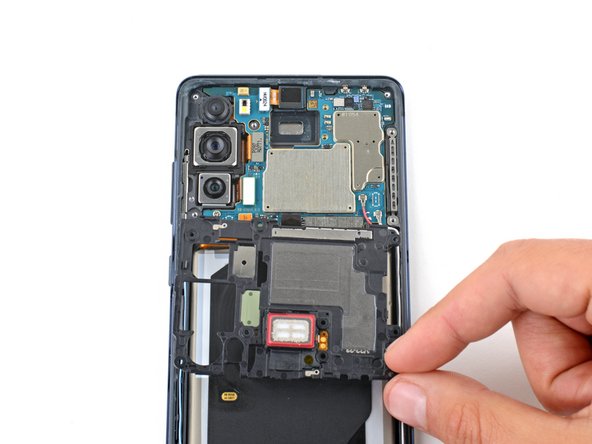

– Get that motherboard cover moved so you can easily reach the battery press connector waiting for you on the bottom edge of the motherboard.
Step 16

To get those connectors back in action, gently align and press down on one side until you hear that satisfying click, then do the same on the other side. Remember, steer clear of pressing down in the middle! If things get out of alignment, those little pins might bend and that’s a one-way ticket to permanent damage. You’ve got this! And if you need help, you can always schedule a repair.
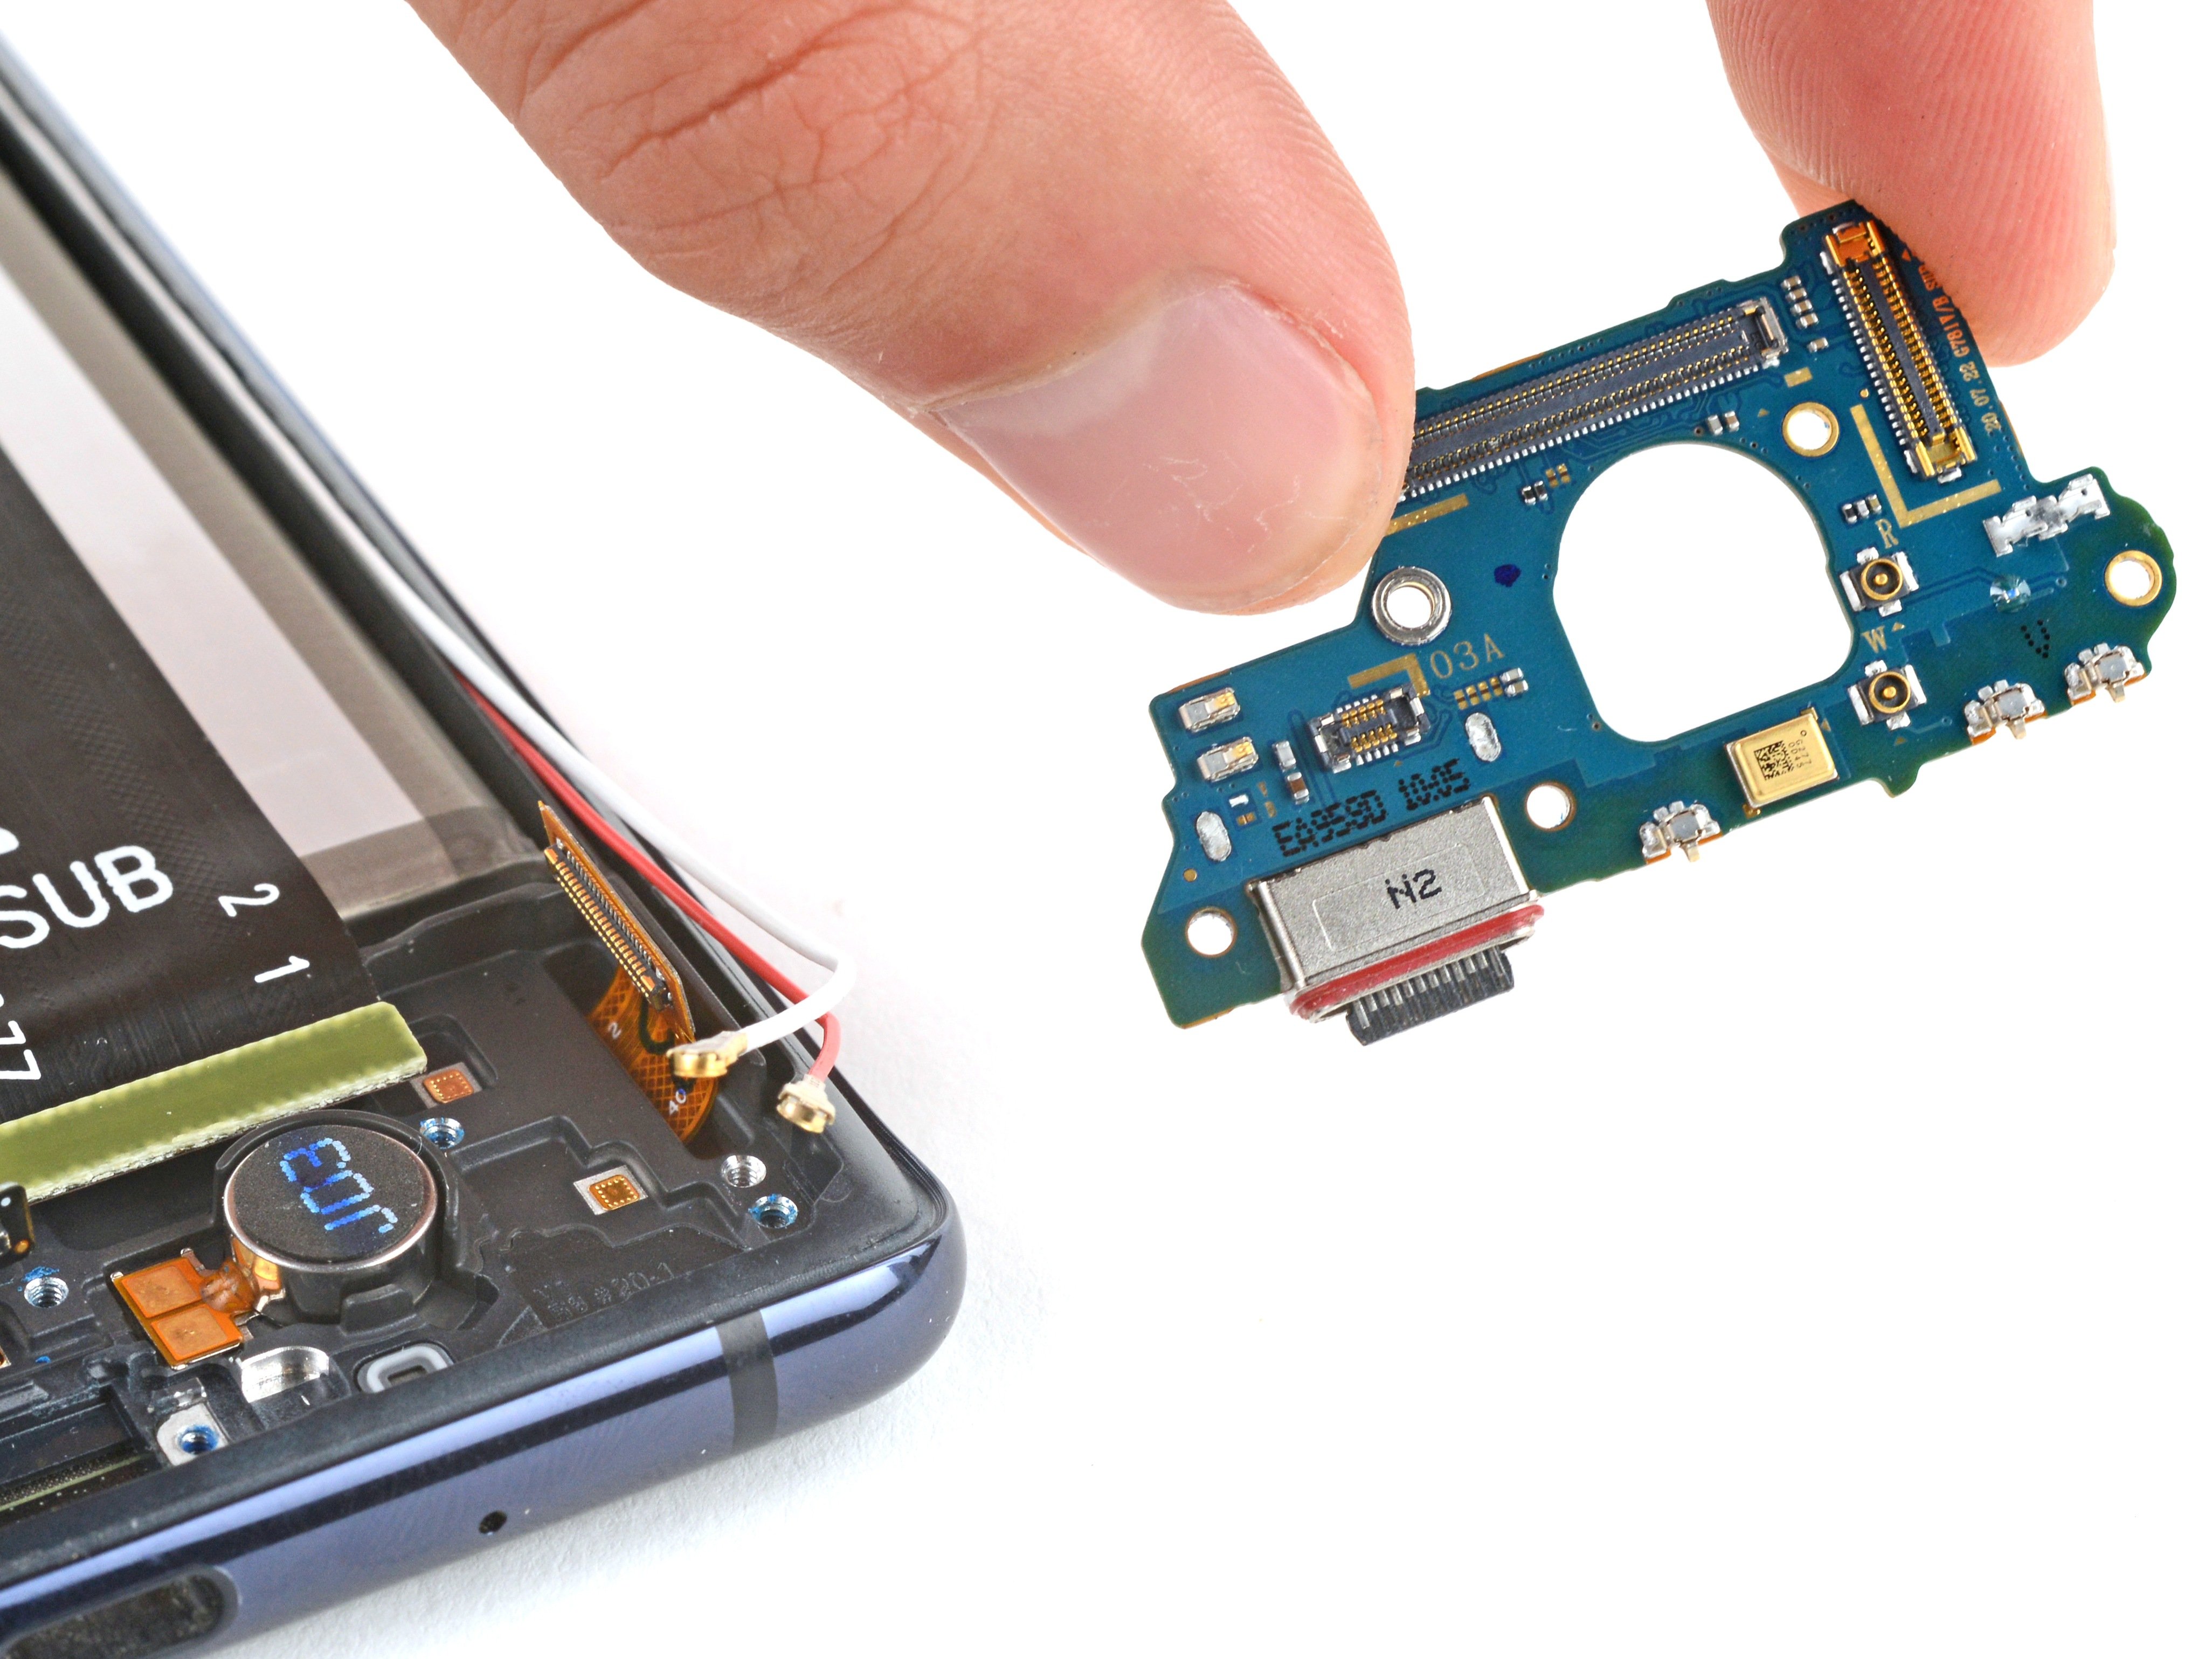
– Utilize the flat end of a spudger to gently lift and detach the battery press connector from the motherboard.
Tools Used

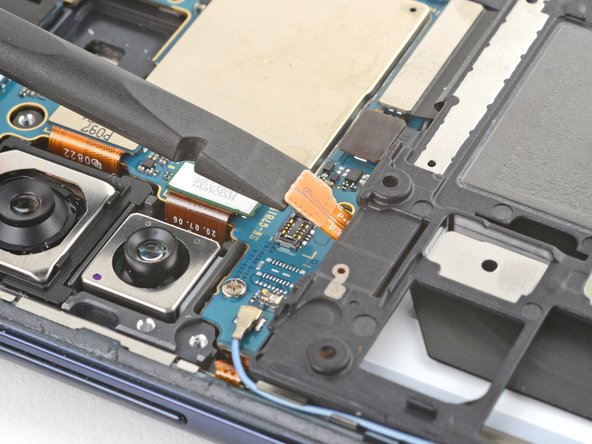
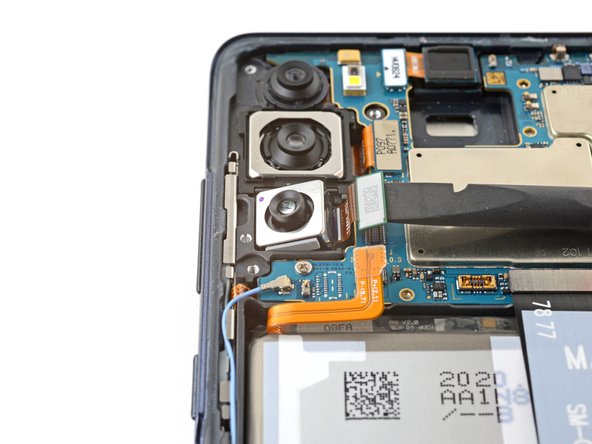
Step 17


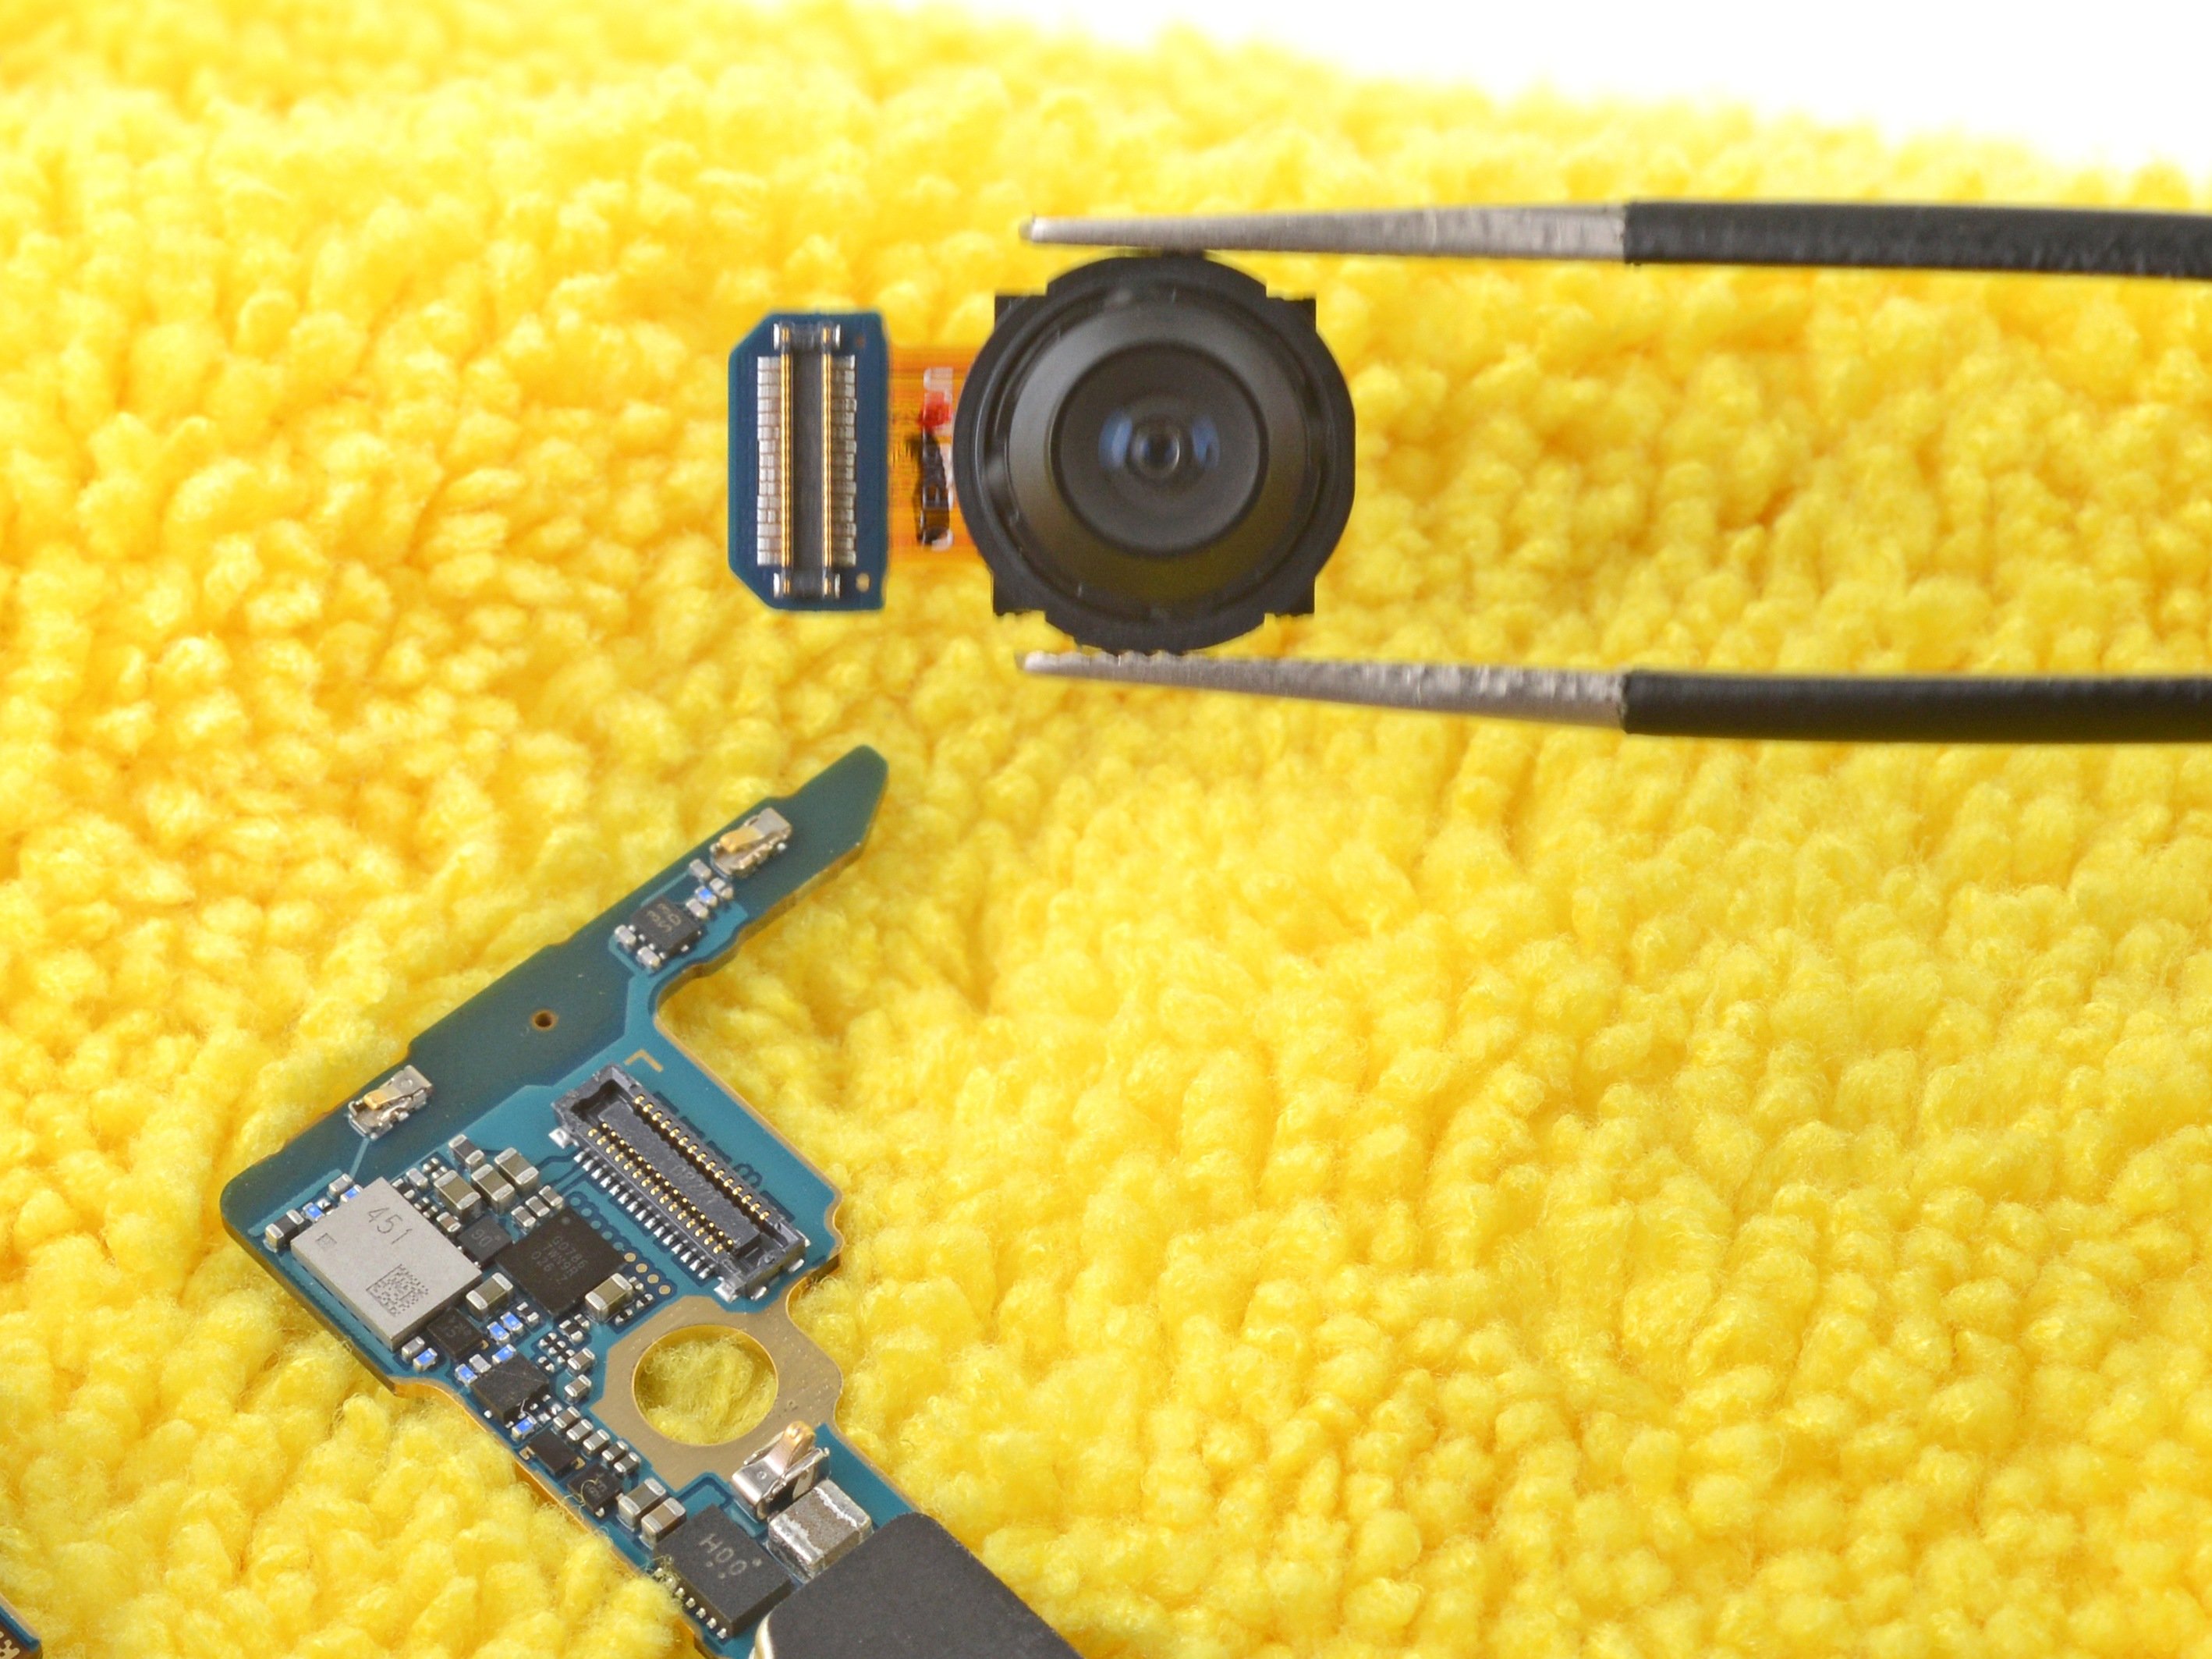
Hey there! Remember, when removing the front camera, just a heads-up that it may pop out unexpectedly. Better safe than sorry!
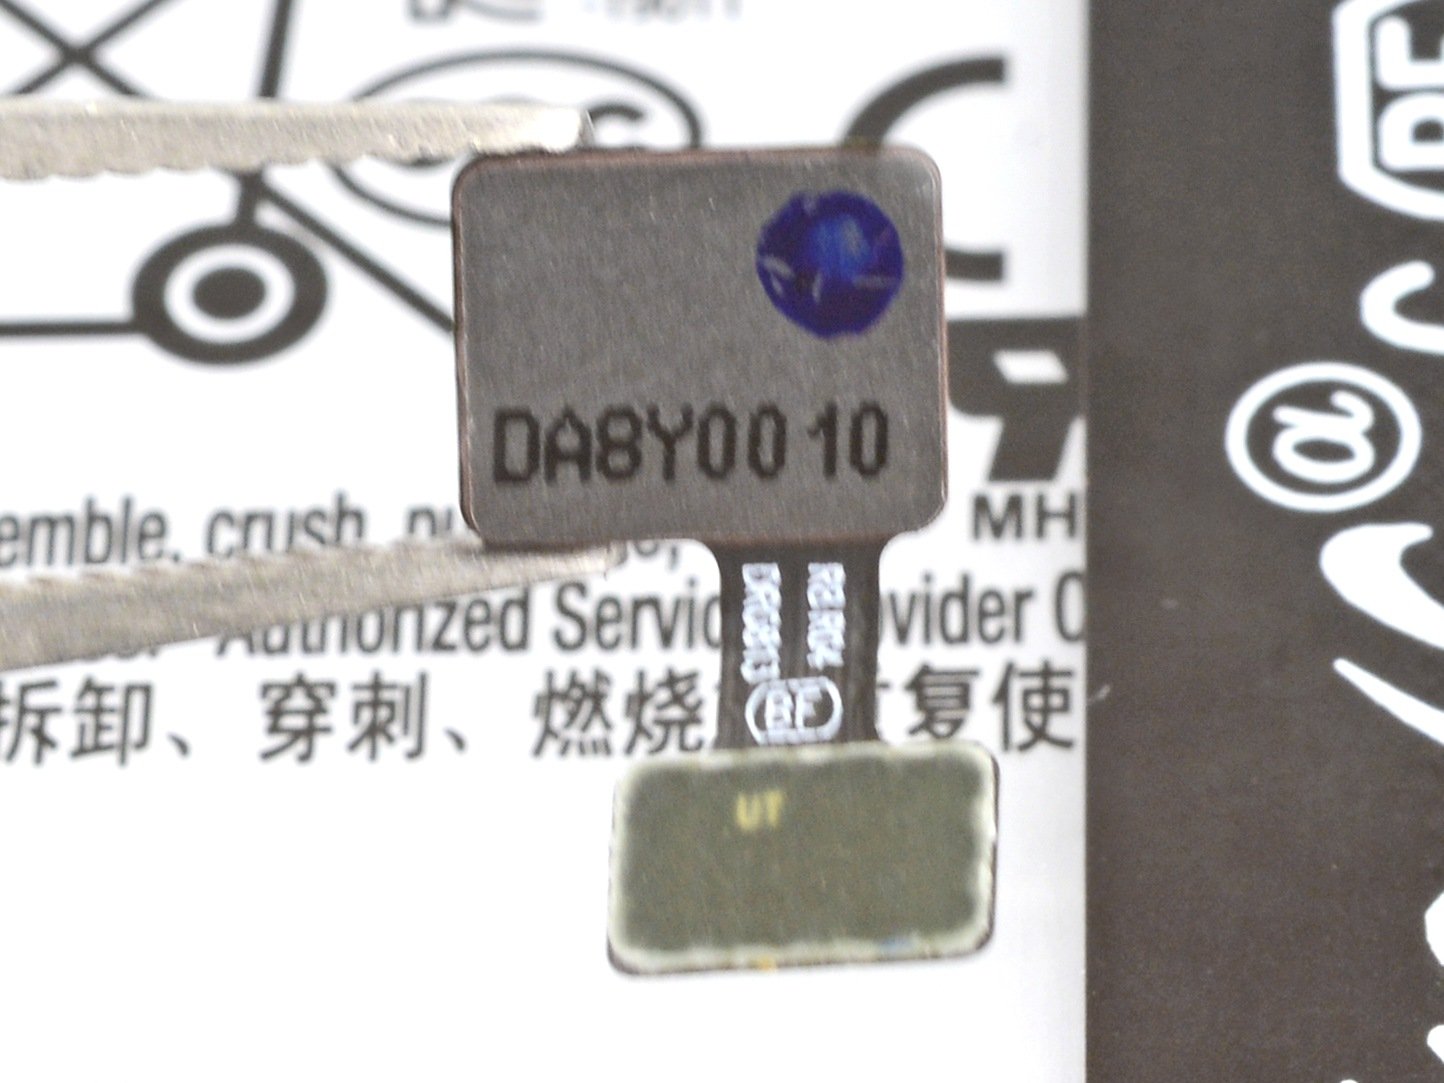
– Give that telephoto camera press connector a little nudge with the flat end of a spudger – it’s time to say goodbye!
– Time to show the telephoto camera the exit door.
Tools Used