Samsung Galaxy S20 FE 5G Rear Camera Lens Cover Replacement Tutorial
Duration: 45 minutes
Steps: 15 Steps
Heads up, handy fixer! Before diving into this, double-check that your device isn’t on the brink of collapse. If it’s feeling more like a stubborn old friend than a reliable gadget, don’t sweat it! If you need help, you can always schedule a repair. You’ve got this!
Get ready to give your Samsung Galaxy S20 FE 5G’s camera some love with this chill repair guide! A sneaky cracked rear camera lens cover might be the reason for missing the mark on those Insta-worthy shots. If you’ve ruled out any ill camera behavior, let’s dig in. You’ll need some sweet replacement adhesive for the back cover as well as the camera lens cover, so your device can snap into action like a boss again. If you need help, you can always schedule a repair!
Step 1

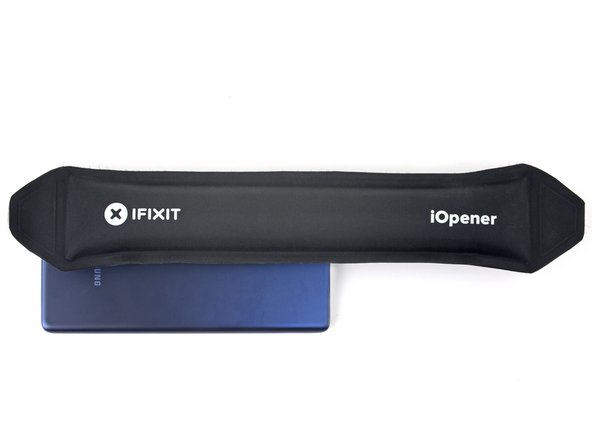
– Get the iOpener nice and toasty, then gently place it on the lower edge of the back cover for a couple of minutes.
Tools Used

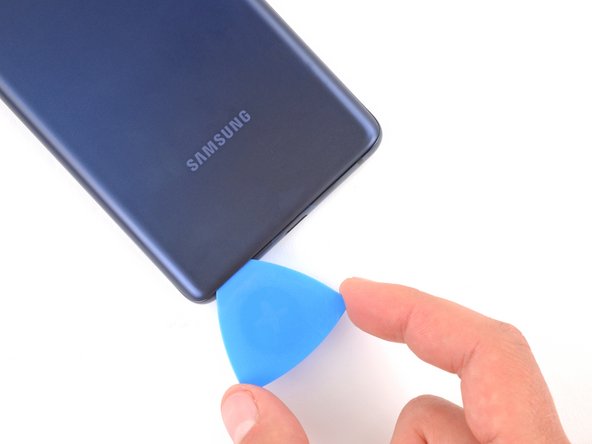
Step 2


– Get ready to show some muscles by attaching a suction cup right at the bottom edge of the back cover.
– With some oomph, pull up on the suction handle to create a nice little gap between the cover and frame.
– Slide an opening pick into the gap like a pro.
Tools Used

Step 3


– Gently glide the opening pick along the lower edge to cut through the adhesive holding the back cover in place.
– Keep the opening pick snugly in the lower right corner to prevent the adhesive from sticking back together.
Step 4

– Warm up the right edge of the back cover with a heated iOpener for a solid two minutes. You’ve got this!
Tools Used
Step 5


– Gently glide the opening pick around the bottom right corner and up the right edge to break that adhesive seal. You got this!
– Keep that opening pick in place at the top right corner—it’s doing a great job!
Step 6

– Get ready to jazz it up! Apply a cozy iOpener to the top edge of the back cover for a couple of minutes.
Tools Used
Step 7


– Gently glide the opening pick around the top right corner and along the top edge to break the adhesive seal. You’re doing great!
– Keep that pick in place at the top left corner to hold everything steady.
Step 8

– Heat up that iOpener and give it a cozy two-minute hug on the left edge of the back cover.
Tools Used
Step 9


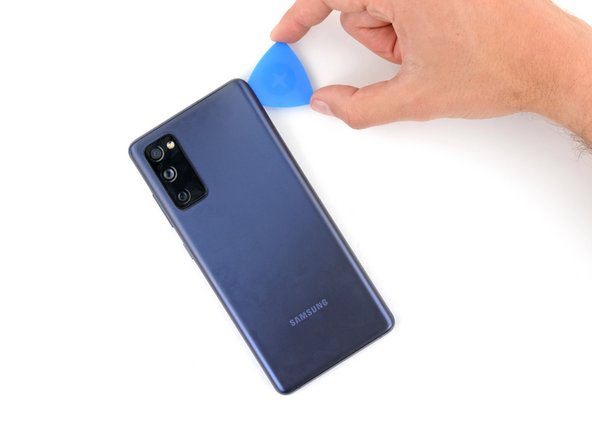
– Gently glide the opening pick around the top left corner, then smoothly slide it down along the left edge to cut through the last bit of adhesive. You’ve got this!


Step 11


– As you gear up for reassembly, why not power on your device and give everything a quick test drive before you seal it up tight? Just remember to turn it off completely before diving back in!
– If you’re putting your old back cover back in place:
– If you’re attaching a shiny new back cover, just peel off those liners and give it a good press all around the edges to lock it down snugly against the frame.
Step 12

– Alright, let’s warm things up! Place a hot cube on that back camera window for 2 minutes to get it feeling more cooperative.
Tools Used
Step 13
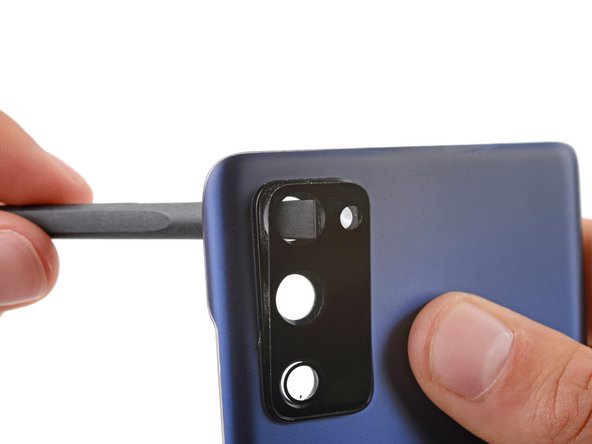

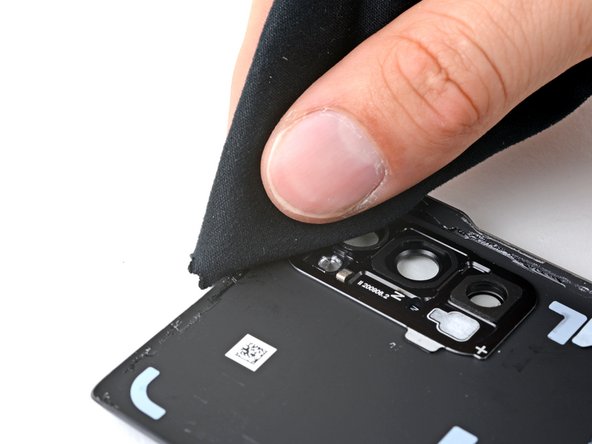
A sturdy adhesive keeps that rear camera lens cover snug as a bug.
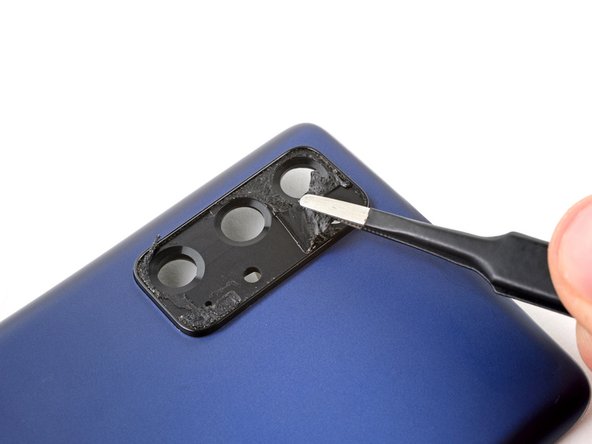
– Gently slide the flat end of a spudger into the top camera cutout from the back cover’s underside.
– Give the lens cover a little nudge until it starts to pop away from the back cover.
– Slip an opening pick between the lens cover and the back cover for some extra help.
Step 14

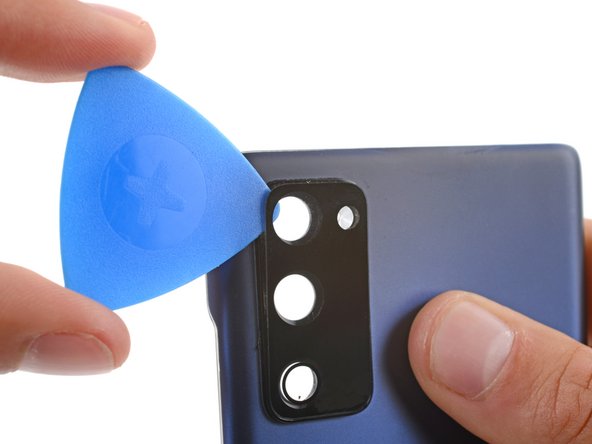
– Gently wiggle that opening pick beneath the rear camera lens cover, giving it a little back-and-forth action to break the adhesive seal. You’ve got this!
Step 15

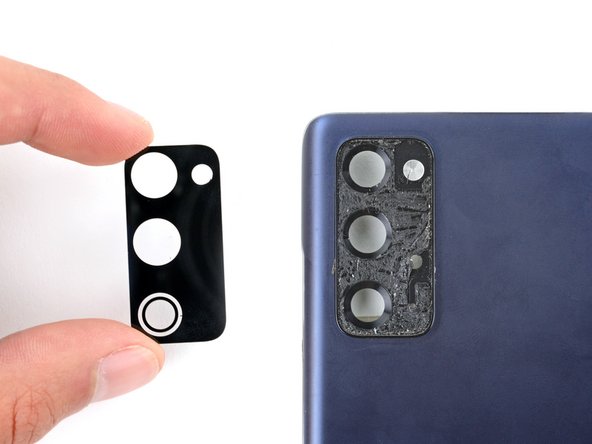
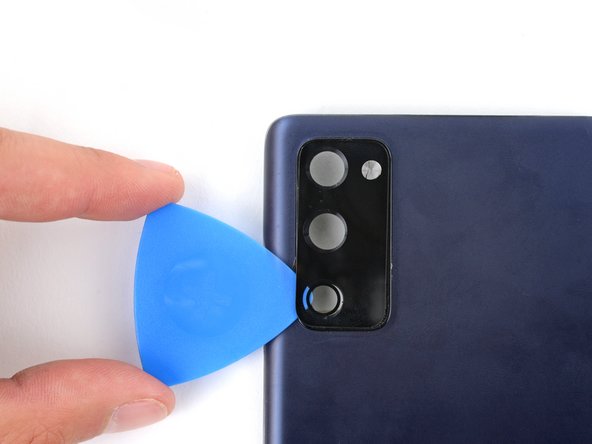
– First things first, let’s get that rear camera lens cover off. Time to say goodbye to the old one!
– Now, let’s welcome your shiny new lens cover! Just pop it into place and you’ll be all set!