Asus VivoTab Note 8 IO Board Replacement
Duration: 45 minutes
Steps: 6 Steps
First things first—pop off that back panel to get the party started. The IO Board is chilling out in the bottom right corner, mostly undercover, so you’ll need to unveil it before moving on.
Step 1

– Take out the pen and memory card if you’ve got them—they might make things tricky when you’re opening up your device.
– Start by gently prying open the edges of the cover with the plastic opening tool. The memory card slot is a handy spot to begin with.
Step 2


– Gently slide your opening tool along the edges of the tablet, giving it a little nudge wherever possible. You might need to work around all sides to get that panel off smoothly.
– Now, carefully separate the sides of the casing with your hands. Take your time—this part is a breeze!
Step 3

– Once you’ve carefully removed the panel, gently set it aside out of the way. Keep it safe—you’ll need it later! If at any point you get stuck, remember you can always schedule a repair for some extra help.
Step 4

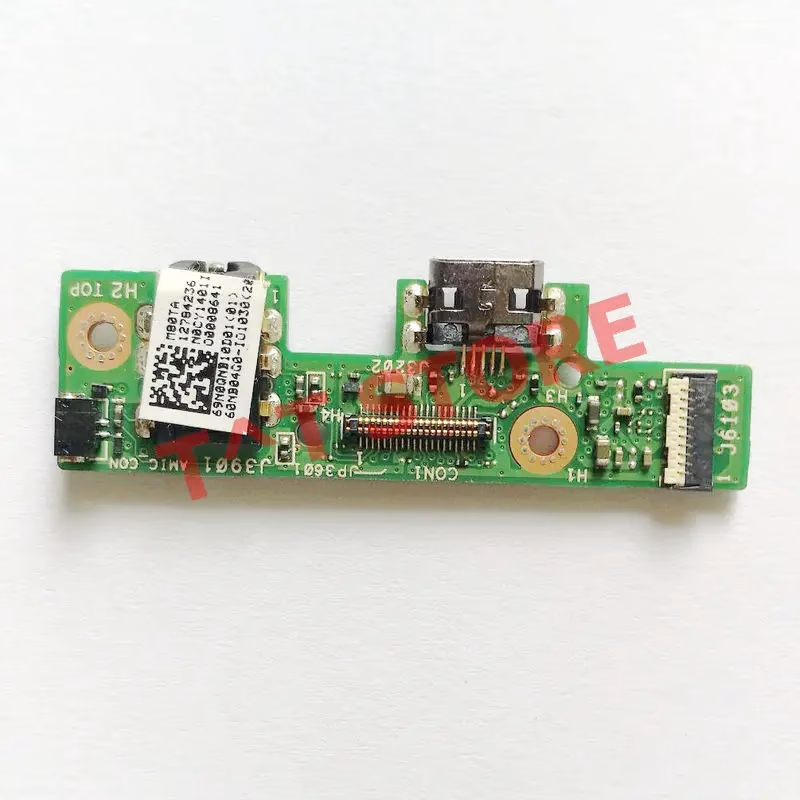
– Once you’ve taken off the back panel, you’ll find the IO Board tucked under another removable plastic piece. Time to keep going!
Step 5


– Remove the two screws holding the plastic piece in place, then gently lift it off like a pro!
Step 6


– Let’s get started by removing the screw that’s holding the IO Board in place – simply unscrew it and set it aside.
– Now it’s time to carefully pull out the ribbon – hold the ribbon with one hand and the board with the other, then gently pull them apart to remove the IO Board.
Success!