DIY Samsung Galaxy S20 FE 5G Loudspeaker Replacement Guide
Duration: 45 minutes
Steps: 21 Steps
This guide focuses specifically on the loudspeaker itself
Ready to bring the boom back to your Samsung Galaxy S20 FE 5G? Follow this cool guide to switch out that tired old speaker! If your new speaker is cozy with the charging setup, just stick with us. And hey, don’t forget to grab some replacement back cover adhesive to put it all back together.
Step 1

Before starting, let your battery drain below 25% – a fully charged lithium-ion battery can be a bit dangerous if it gets punctured accidentally. If you need help, you can always schedule a repair.
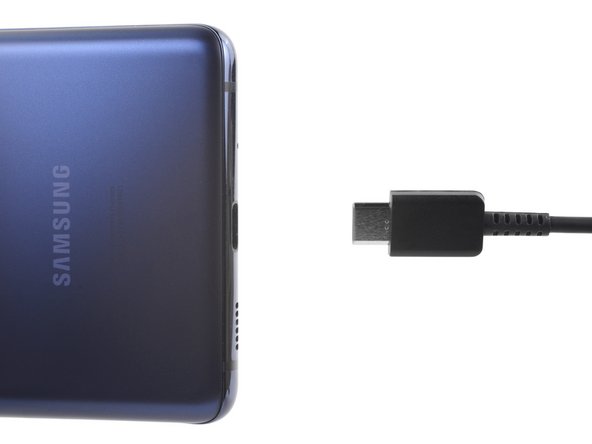
– First things first, let’s give your phone a little break! Power it down and unplug any cables to get started.
Step 2

– Warm up your iOpener and let it cozy up to the bottom edge of the back cover for a solid two minutes.
Tools Used

Step 3


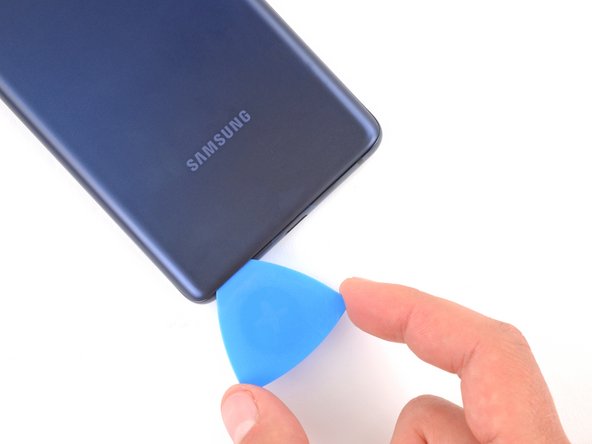
– Start by placing a suction cup right in the center of the back cover’s bottom edge, getting as close to the edge as you can.
– Now, gently pull up on the suction handle with a firm, steady motion to create a nice little gap between the cover and the frame.
– Once you have that gap, slide in an opening pick to keep things open.
Tools Used

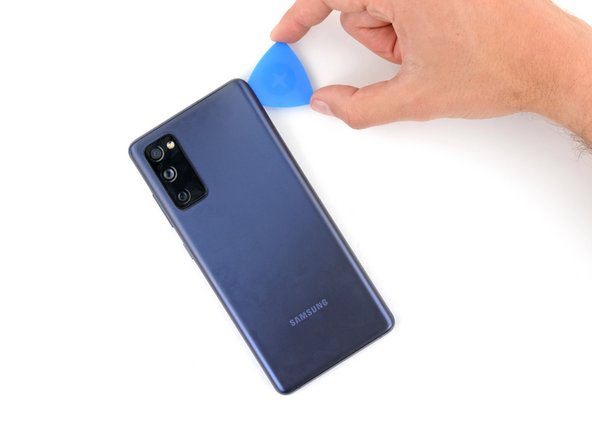
Step 4


– Gently glide the opening pick along the bottom edge to cut through the adhesive holding the back cover in place.
– Keep that opening pick nestled in the bottom right corner to stop the adhesive from making a comeback.
Step 5

– Heat things up a bit by applying a cozy iOpener to the right edge of the back cover for two minutes. You’re almost there!
Tools Used
Step 6


– Gently glide the opening pick around the bottom right corner and up the right edge to effortlessly slice through the adhesive.
– Don’t forget to leave the opening pick snug in the top right corner for now.
Step 7

– Gently warm up the top side of the back cover using a heated iOpener for a couple of minutes.
Tools Used
Step 8


– Gently glide the opening pick around the top right corner and along the top edge to break through that adhesive.
– Keep that pick snuggly inserted in the top left corner.
Step 9

– Get cozy with a heated iOpener and warm up the left edge of the back cover for two minutes.
Tools Used
Step 10


– Gently run that trusty opening pick around the top left corner and glide it down the left edge to cut through the last bit of adhesive. You’ve got this!
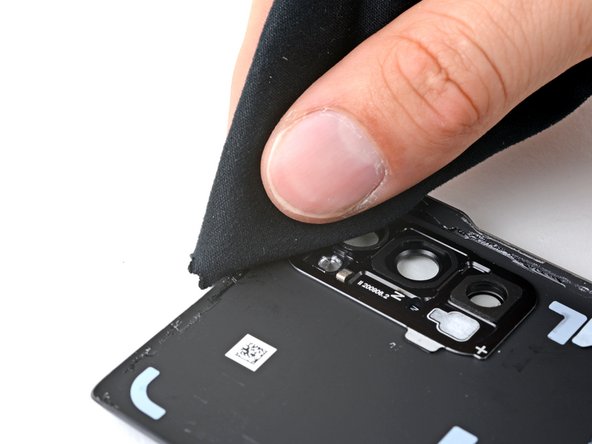
Step 11


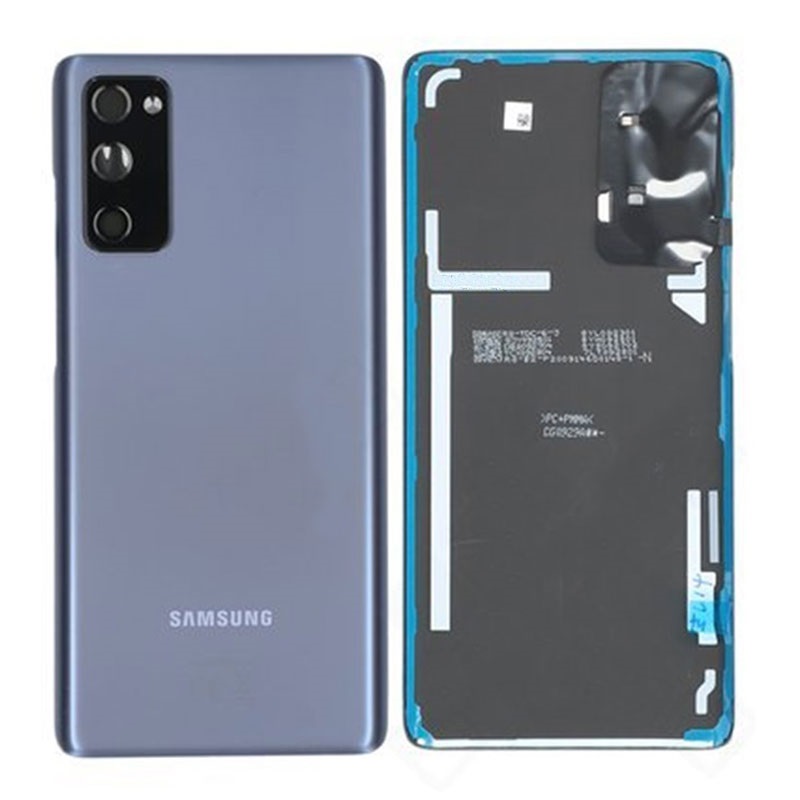
– Pop off that back cover and let’s see what’s inside!
Step 12


– As you’re putting everything back together, here’s a perfect moment to power on your device and give it a quick test run before sealing it up tight. Just remember to power it down completely before diving back into the work!
– If you’re putting your old back cover back on:
– If you’ve got a shiny new back cover to install, peel off those liners and press down firmly around the edges to make sure it sticks to the frame like a pro.
Step 13

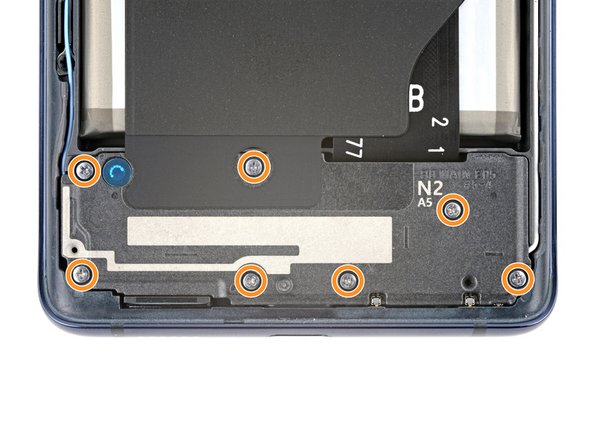
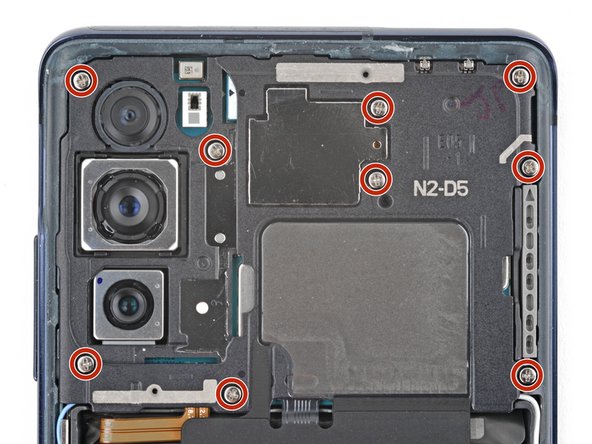
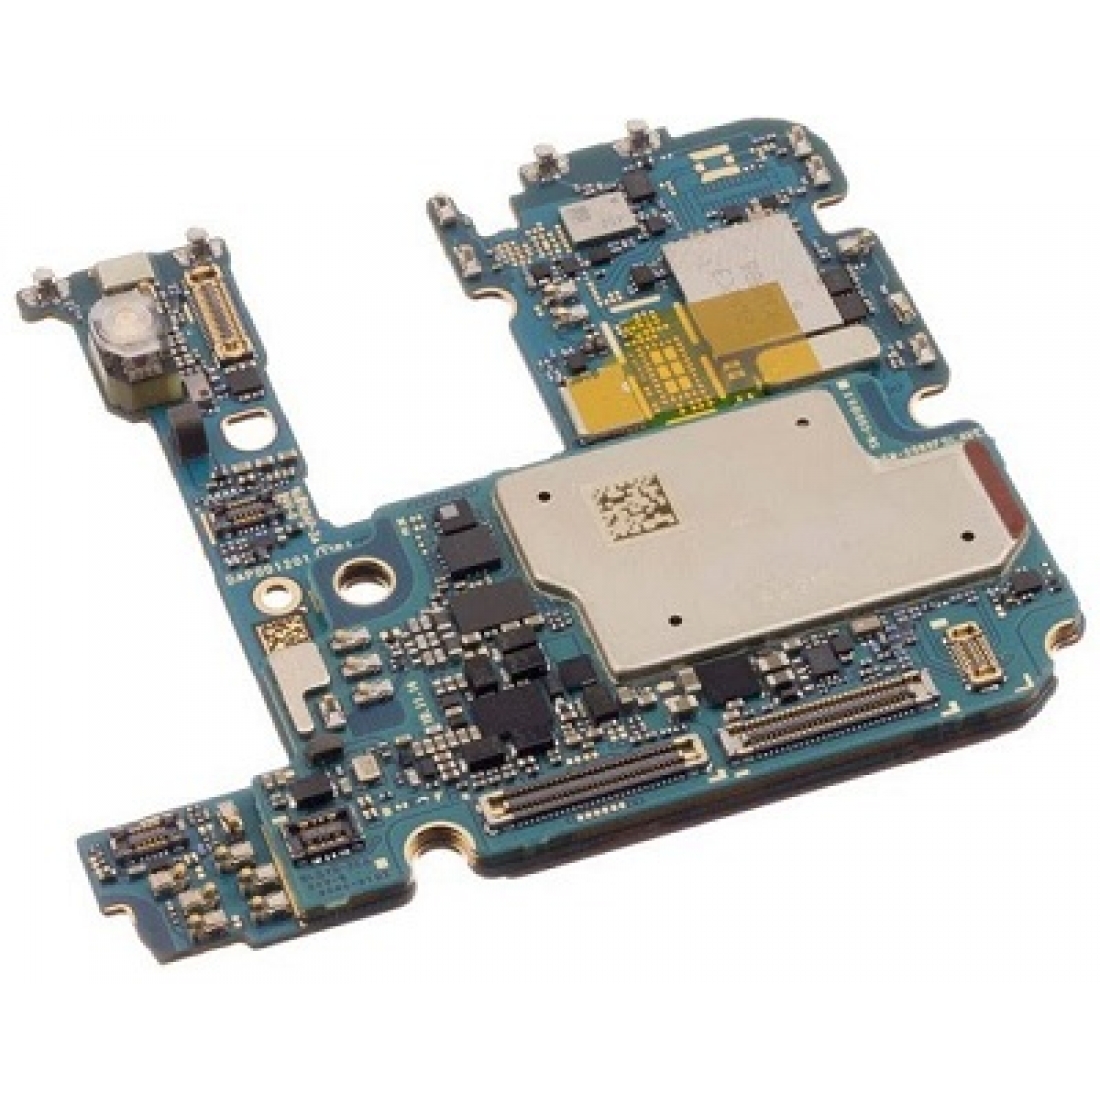
Alrighty, here’s the scoop on the wireless charging assembly – it’s like putting together a puzzle! You’ve got the motherboard cover, the wireless charging coil, and the loudspeaker all cozying up together with graphite tape. Remember, they’re a team, so remove them as one happy trio!
– Grab a trusty Phillips screwdriver and get ready to bid farewell to the 16 screws that are holding down the wireless charging assembly:
Step 14

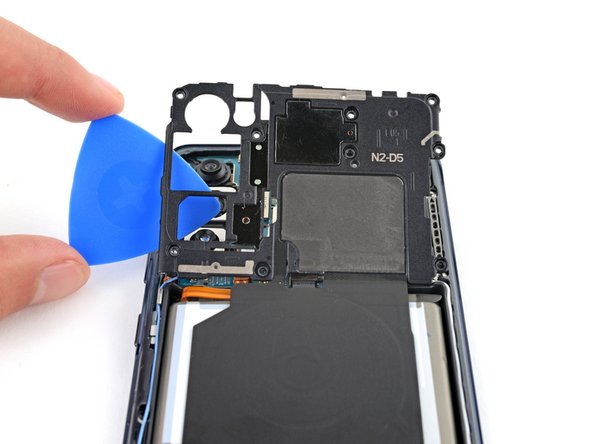
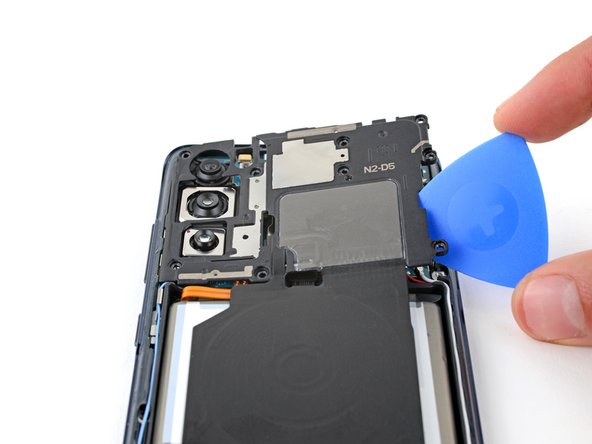
– Slide a pick under the bottom right edge of the motherboard cover and get ready to work your magic.
– Give that pick a twist to pop open the clips holding the cover in place.
– Now, it’s time to tackle the bottom left edge! Insert and twist the opening pick to free the last of those pesky clips.
– When you’re putting everything back together, make sure to press down firmly around the edges of the motherboard cover to lock those clips in.
Step 15
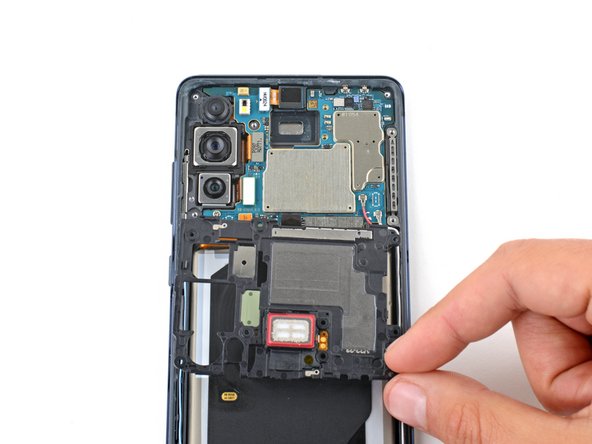

– Gently shift the motherboard cover to clear the way for your access to the battery and wireless charging press connectors nestled on the bottom edge of the motherboard. You’re getting closer to the fix!
Step 16
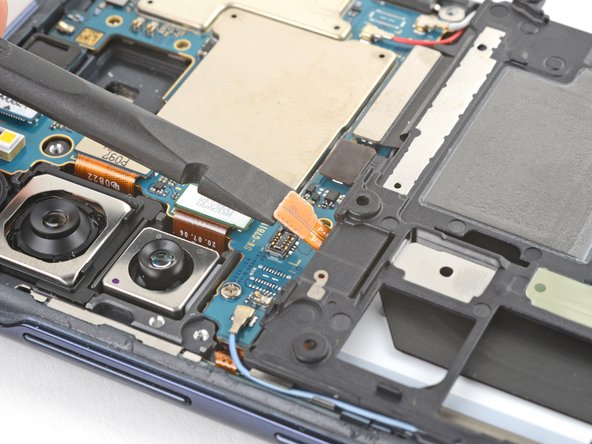
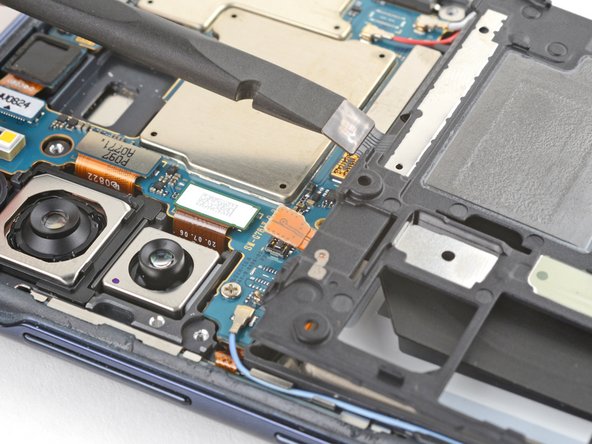

To reconnect those connectors, just align them carefully and give a gentle press on one side until you hear that satisfying click. Then, do the same on the other side—easy peasy! Remember, don’t press down in the middle. If the connector isn’t lined up just right, those little pins can bend and create some serious trouble.
– Grab your trusty spudger and gently slide the flat end underneath the battery and wireless charging press connectors. Give it a little lift to disconnect them from the motherboard. You’ve got this!
Tools Used

Step 17

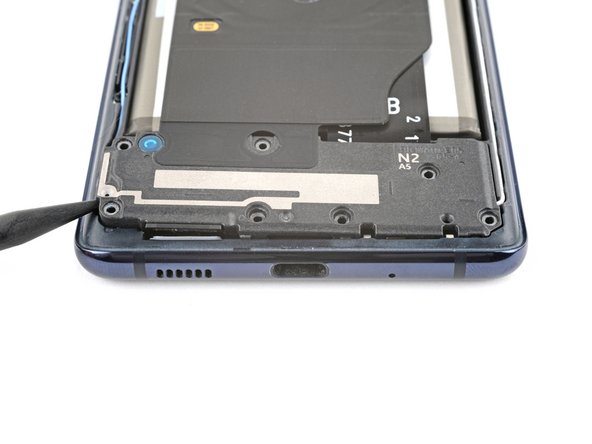
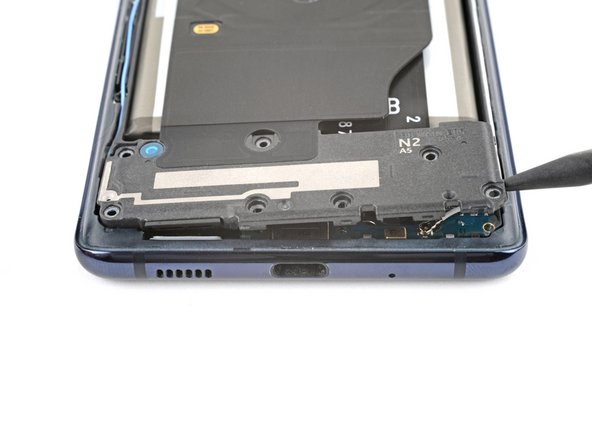
– Slide the tip of your spudger into the bottom left corner where the loudspeaker meets the frame. It’s like a gentle nudge to get things started!
– Give it a little pry to pop those clips free along the left edge of the loudspeaker. You’re doing great!
– Now, let’s tackle the bottom right corner of the loudspeaker. Pry it up to release those last stubborn clips. Almost there!
– When putting everything back together, remember to press down firmly around the loudspeaker’s edge to snap those clips into place. You’ve got this!
Tools Used
Step 18
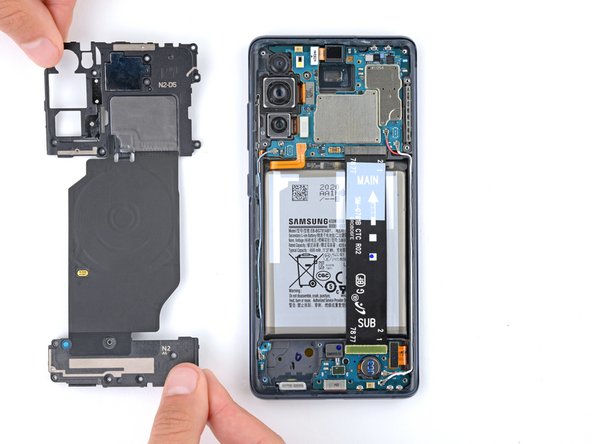
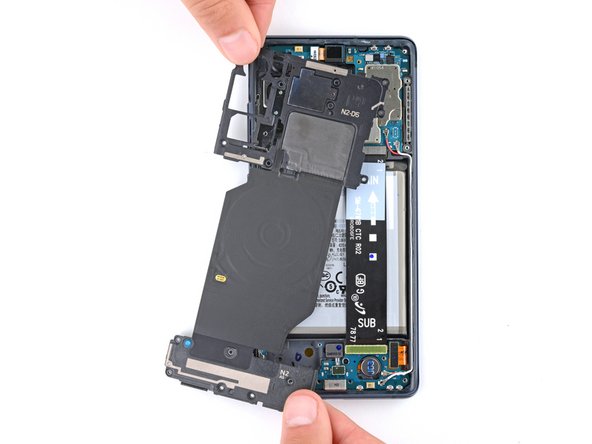

– Gently detach the wireless charging assembly and give it a little farewell wave as you remove it!
Step 19

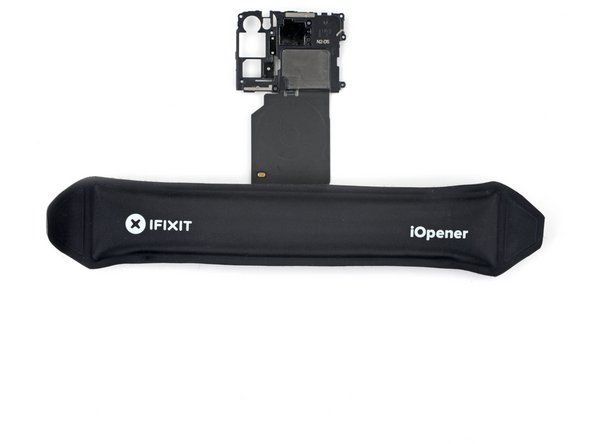
A super strong adhesive holds the wireless charging assembly snugly in place with the loudspeaker. Keep that in mind as you work your magic!
– Give the loudspeaker a warm hug with a heated iOpener to help it loosen up from its cozy spot next to the wireless charging assembly.
Tools Used
Step 20

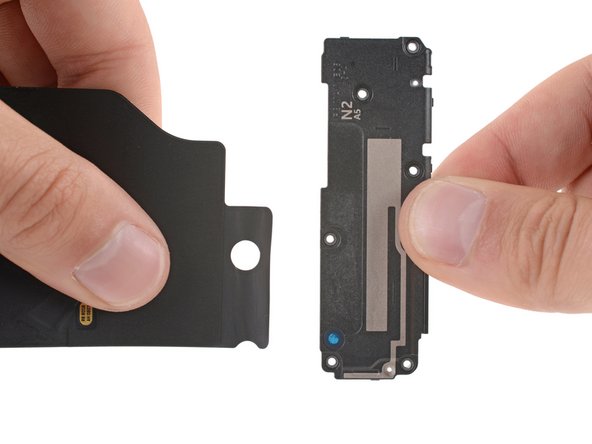
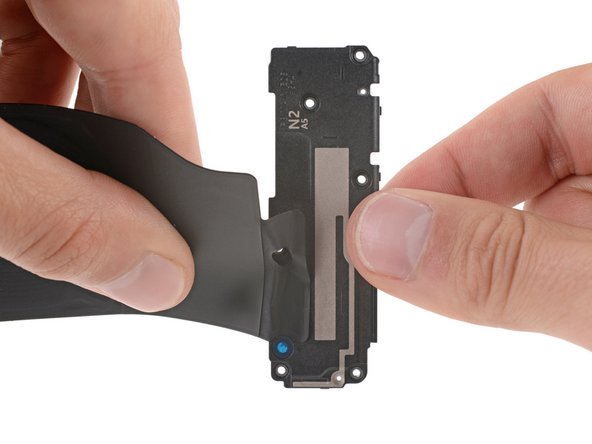
– Gently lift the graphite sheet away from the top edge of the loudspeaker like you’re unwrapping a surprise gift.
Step 21

– Now you’ve got the loudspeaker in your hands! Don’t forget to have a little fun comparing your shiny new replacement part with the old one. If the new piece has any pesky adhesive backings, make sure to peel those off before you dive into the installation!