Samsung Galaxy S20 FE 5G Front Camera Replacement Guide – Step-by-Step Tutorial
Duration: 45 minutes
Steps: 17 Steps
Hey there future tech whiz! Don’t sweat it – just a small bump in the road here. Check out the next step and you’ll be back on track in no time. Need a hand? Feel free to schedule a repair with the pros!
Get ready for a fun-filled adventure in replacing your Samsung Galaxy S20 FE 5G front camera with our step-by-step guide! If your camera’s acting up, like not focusing, not taking pics, or posting blurry, grainy shots, it might be time for a little upgrade. Don’t worry, we’ve got your back! Grab that replacement back cover adhesive, and you’ll be snapping clear, crisp photos in no time. If you need help, you can always schedule a repair.

Step 2

– Warm up your iOpener and give it a nice cozy spot on the bottom edge of the back cover for two minutes.
Tools Used

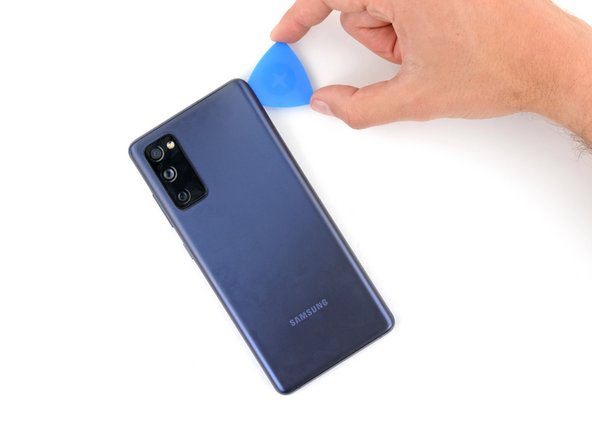
Step 3


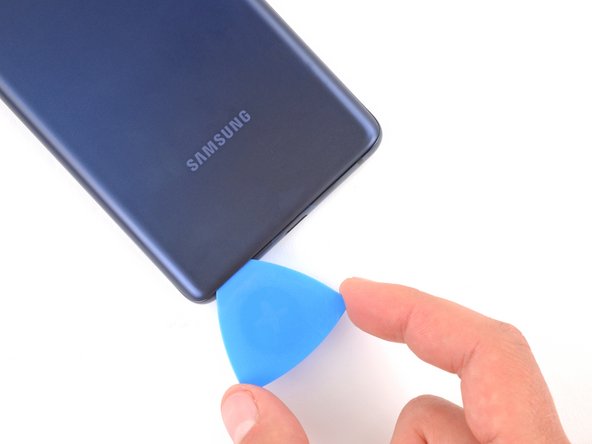
– First things first, grab a suction cup and stick it right in the center of the bottom edge of the back cover. Get it as close to the edge as you can!
– Now, channel your inner strength and pull up on that suction handle with a nice, steady force. We’re aiming to create a little gap between the cover and the frame.
– Once you’ve got that gap, slide an opening pick in there. You’re doing great!
Tools Used

Step 4


– Gently glide the opening pick along the bottom edge to carefully cut through the adhesive holding the back cover in place. You’ve got this!
– Keep that opening pick snugly in the bottom right corner to stop the adhesive from getting all clingy again. No turning back now!
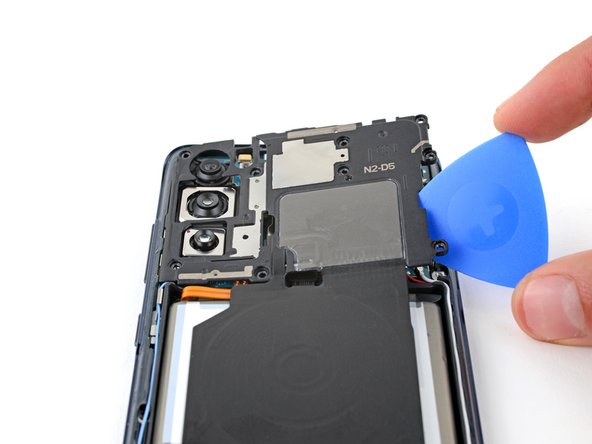
Step 5

– Gently warm up the right edge of the back cover with a heated iOpener for a cozy two minutes.
Tools Used
Step 6


– Gently slide the opening pick around the bottom right corner and up the right edge to cut through the adhesive like a pro.
– Keep that opening pick in place at the top right corner for the next step.
Step 7

– Get ready to show some love to your device! Warm up a funky iOpener by placing it on the cool top edge of the back cover for two groovy minutes.
Tools Used
Step 8


– Alright, amazing repair ninja! 🕷️ Slide that opening pick around the top right corner, and glide it along the top edge to work on slicing that adhesive. You’re making great progress! 🎉 Once you’ve got that done, leave the pick inserted all snug-like at the top left corner, and show off your Repair Expertise! 💪 If you need help, you can always schedule a repair
Step 9

– Warm up that iOpener and press it against the left edge of the back cover for a cozy two minutes.
Tools Used
Step 10


– Gently glide the opening pick around the top left corner, then smoothly down the left edge to sever that pesky adhesive holding everything in place.
Step 11


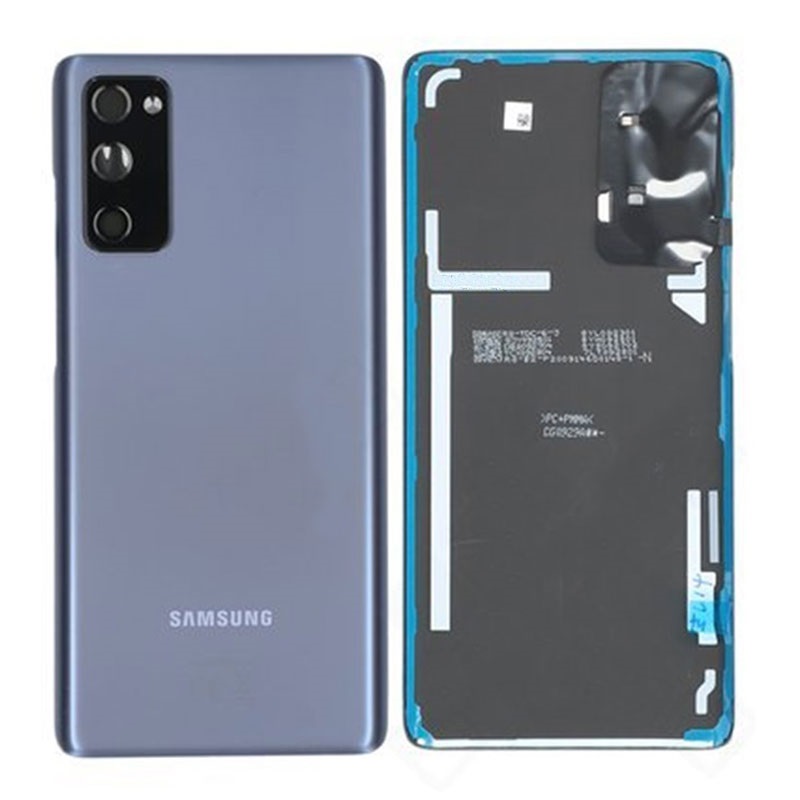
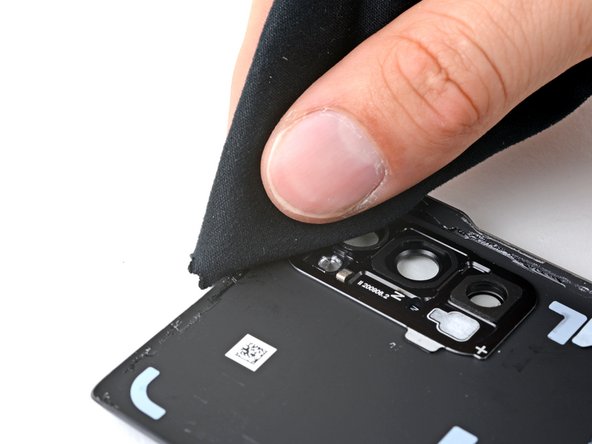
– Peel off that back cover like a pro!
Step 12


– Now’s a great time to power up your device and give all the features a little test run before you seal things up tight. Just remember to power it down completely before diving back into your work!
– If you’re putting your old back cover back on:
– If you’re adding a shiny new back cover, peel off those liners and press firmly around the edges to make sure it’s snug as a bug on the frame.
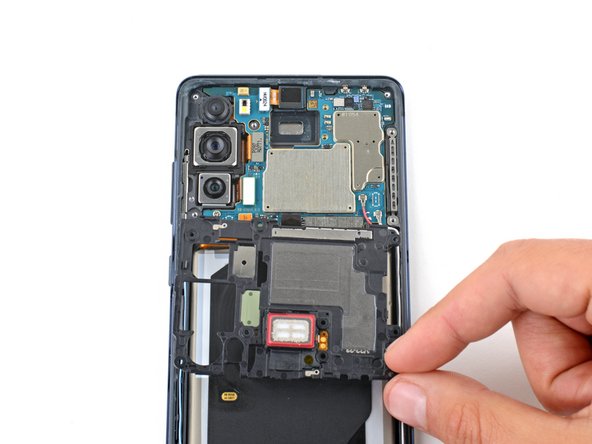
Step 13
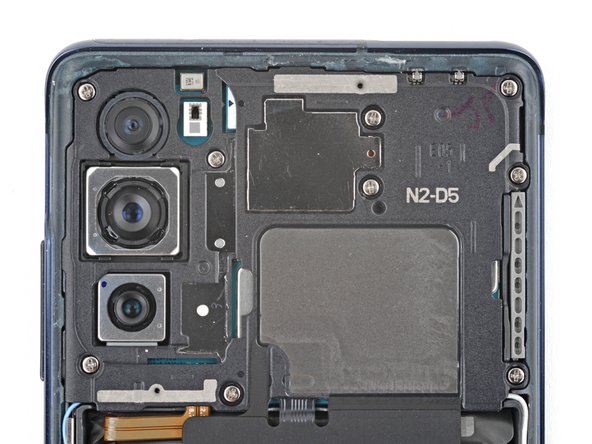

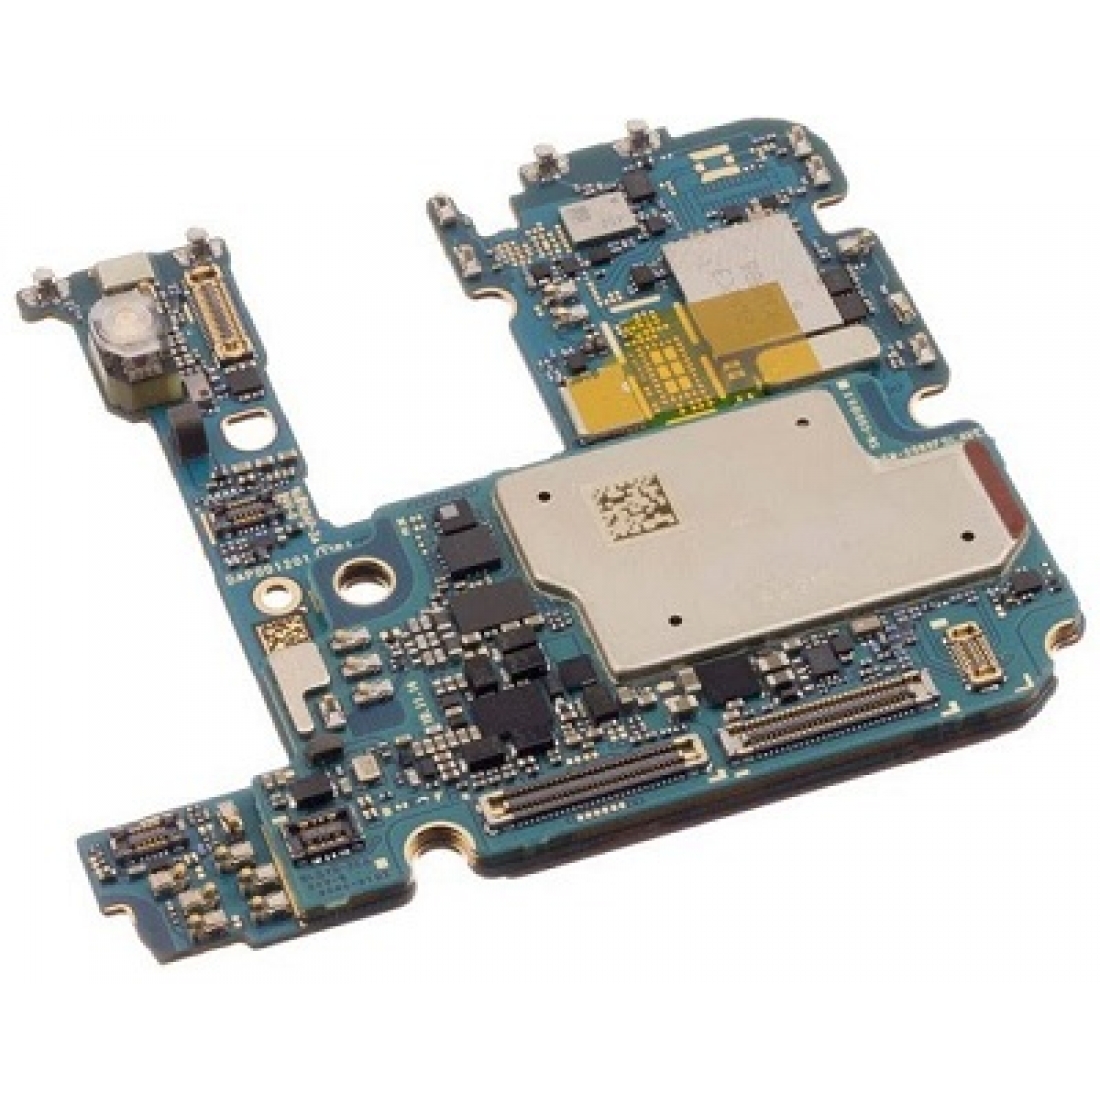
– Grab your trusty Phillips screwdriver and go to town on those nine 4 mm-long screws holding the motherboard cover in place! You’ve got this!
Step 14

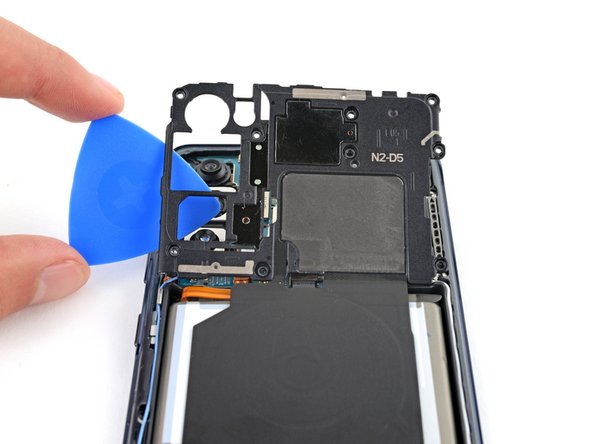
– Slide a pick under the bottom right corner of the motherboard cover.
– Give that pick a little twist to pop open the clips holding the cover in place.
– Now, slide and twist your opening pick into the bottom left side of the cover to free up those last stubborn clips.
– When it’s time to put everything back together, press down firmly around the edges of the motherboard cover to snap those clips into place.
Step 15

– Shift the motherboard cover into position so you can easily reach the battery press connector located on the bottom edge of the motherboard.
Step 16

To reconnect those little connectors, first, gently line things up. Press down on one side until you hear that satisfying click, then do the same on the other side—easy does it! Just a heads up: avoid pressing in the middle, as that could lead to misalignment, and we definitely don’t want those pins bending and causing any drama. Remember, if you need help, you can always schedule a repair.
– Grab your trusty spudger and gently nudge up that battery press connector from the motherboard. You’ve got this!
Tools Used

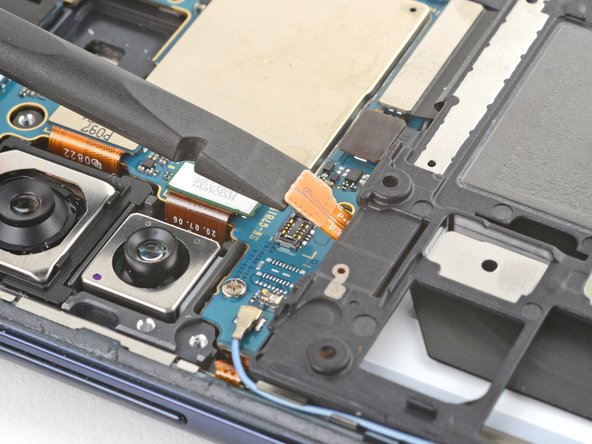
Step 17
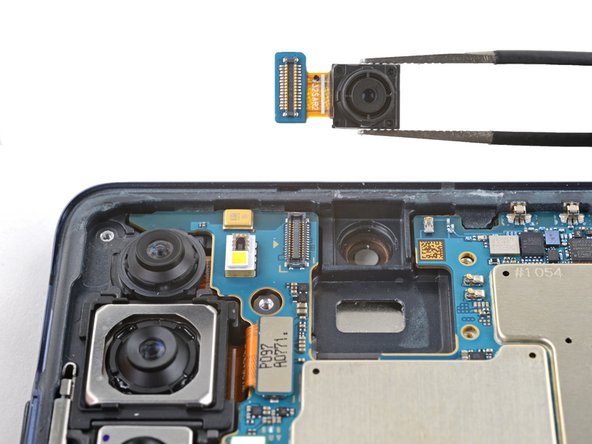
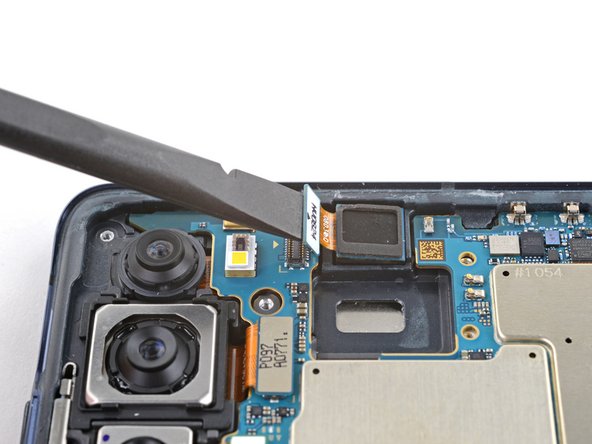

Watch out when you’re disconnecting the front camera; it might just pop out to say hello when you least expect it!
– Grab your trusty spudger and gently slide the flat end underneath the front camera press connector to pop it up and disconnect it.
– Carefully take out the front camera and set it aside.