DIY Samsung Galaxy S20 FE 5G Battery Replacement Guide
Duration: 45 minutes
Steps: 28 Steps
Hold your horses! You’re diving into some tech magic, so make sure you’re in a comfy space and ready to roll. If you happen to hit a snag or need a hand, don’t hesitate to schedule a repair. You’ve got this!
Ready to replace that Samsung Galaxy S20 FE 5G battery? This guide’s got your back! Maybe your battery’s not holding a charge, charging slowly, or just showing its age. If it’s looking a bit puffy, be sure to take precautions. Need to stick your phone back together? We’ve got replacement adhesive for the back cover and battery right here. Check out the steps, follow ’em closely, and you’ll be up and running in no time! If you need help, you can always schedule a repair.
Step 1

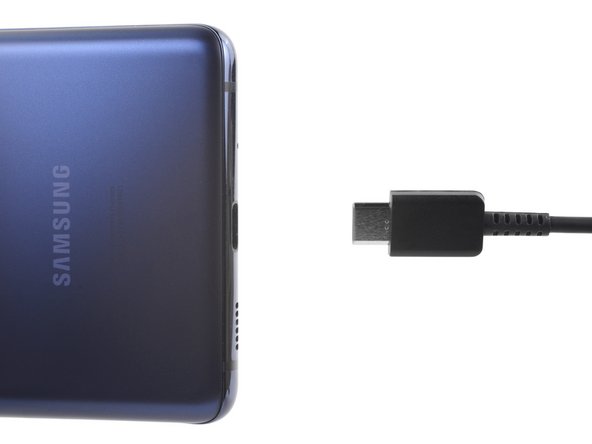
Hey there, before diving into the repair fun, make sure your battery is below 25%—those charged lithium-ion batteries can be quite the sparks if punctured accidentally!
– Shut down your phone and disconnect any cords. Let’s get this party started!
Step 2

– Preheat your iOpener, Doc, and apply it to the bottom edge of the back cover for two minutes. If you’re feeling stuck, don’t worry! Just check out our step-by-step guide and if you need help, you can always schedule a repair with our friendly technicians. Remember, ’tis a small step for tech, but a giant leap for your device!
Tools Used

Step 3


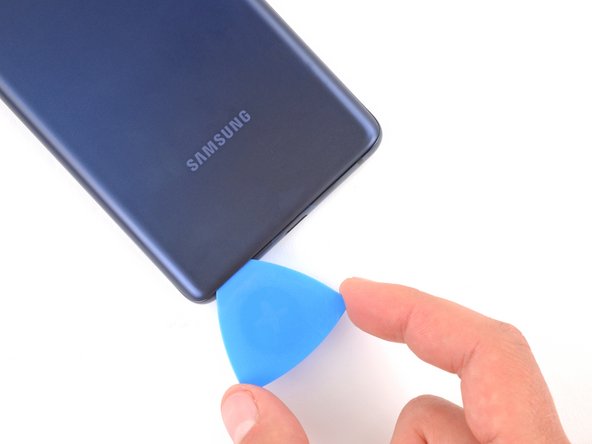
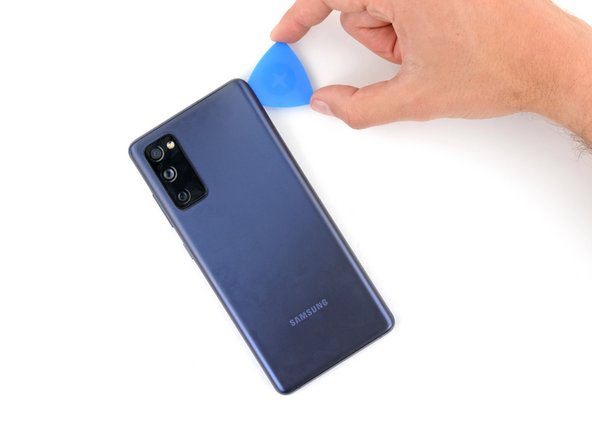
– Stick a suction cup right in the middle of the bottom edge on the back cover, as close to the edge as you can.
– Now, give that suction handle a good, strong pull upwards to create a nice gap between the cover and frame.
– Slide in an opening pick into that gap.
Tools Used

Step 4


– Gently guide the opening pick along the lower edge to gracefully cut through the adhesive holding the back cover in place.
– Keep the opening pick snug in the lower right corner to ensure a firm seal and prevent the adhesive from reattaching itself.
Step 5

– Alrighty, friends! Pick up that iOpener, let’s heat it up, andapply it to the right edge of your device’s back cover for two minutes. Timefor some magic to happen! 😉 If you’re not feeling the vibe, you know what todo – schedule a repair! 💡
Tools Used
Step 6


– Gently glide the opening pick around the bottom right corner and all the way up the right edge to effortlessly slice through the adhesive.
– Keep the opening pick snug in the top right corner for now.
Step 7

– Warm up a heated iOpener and give the top edge of the back cover a cozy two-minute hug.
Tools Used
Step 8


– Gently glide the trusty opening pick around the top right corner and along the top edge to effortlessly cut through the adhesive.
– Securely park the pick in the cozy top left corner.
Step 9

– Get your heated iOpener ready and gently apply it to the cool left edge of the back cover. Let it work its magic for a chill two minutes.
Tools Used
Step 10


– Gently glide that opening pick around the top left corner and all the way down the left edge to neatly cut through the leftover adhesive. You’ve got this!
Step 11


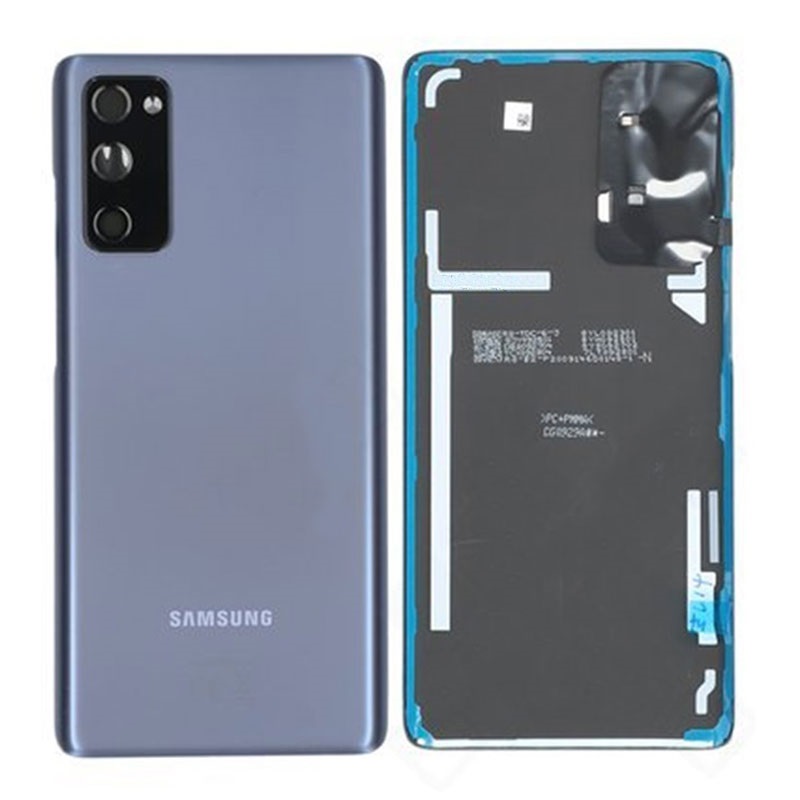
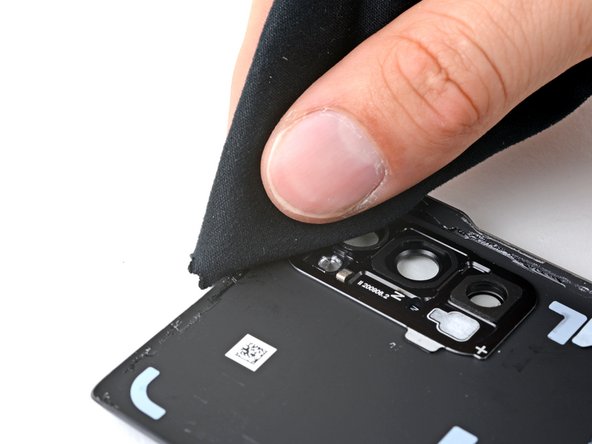
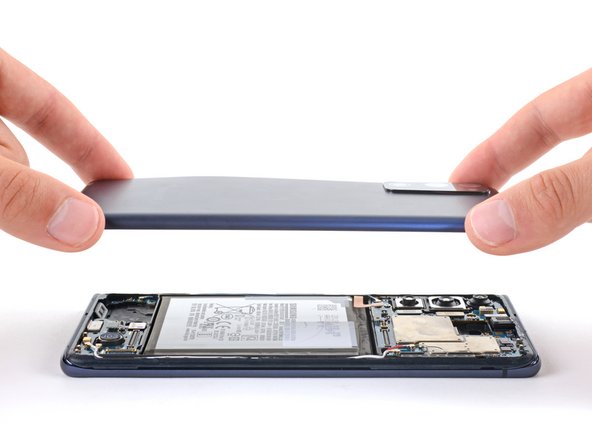
– Time to give your device a little breathing room. Remove the back cover with a gentle touch.
Step 12


– As you put everything back together, this is a perfect time to fire up your device and check all the features before sealing it up tight. Just remember to turn it off completely before diving back in!
– If you’re putting your old back cover back on:
– If you’re slapping on a shiny new back cover, peel off those liners and press down firmly around the edges to make sure it sticks to the frame like a pro.
Step 13

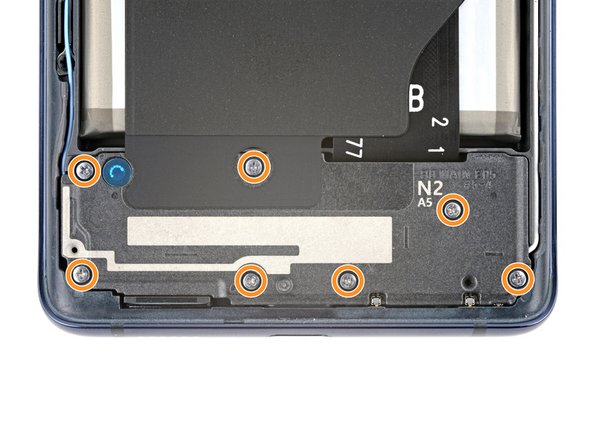
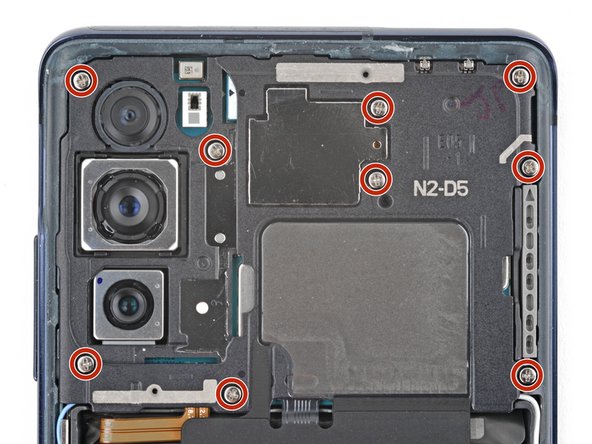
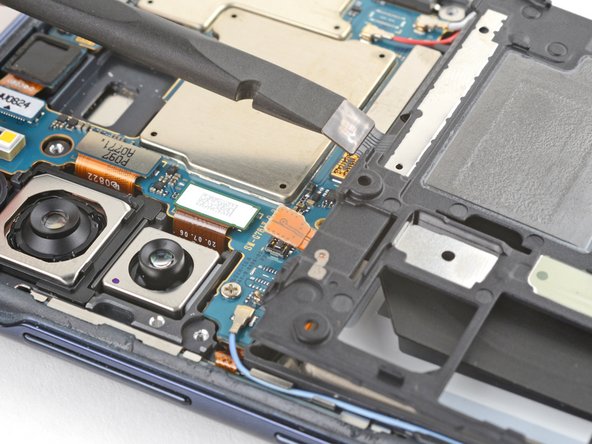
Let’s dive into the magical world of the wireless charging assembly! Imagine a superhero team with the motherboard cover as the leader, the wireless charging coil as the sidekick, and the loudspeaker as the comic relief. They stick together like peanut butter and jelly, held in place by trusty graphite tape. Remember, they work best as a trio, so remove them as one dynamic unit!
– Get ready to rock and roll with your trusty Phillips screwdriver. Your mission, should you choose to accept it, is to bid farewell to 16 pesky screws that are holding back the wireless charging assembly. Time to show those screws who’s boss!
Step 14

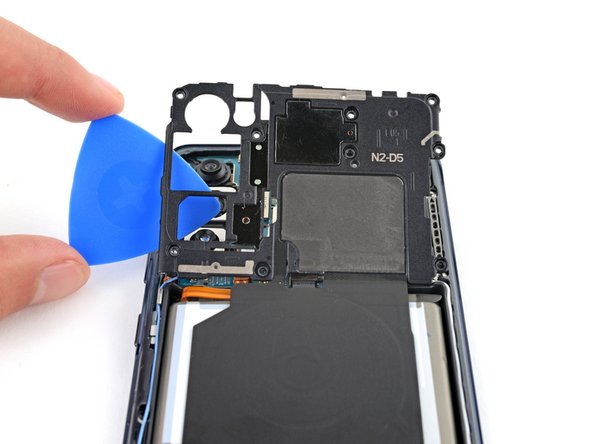
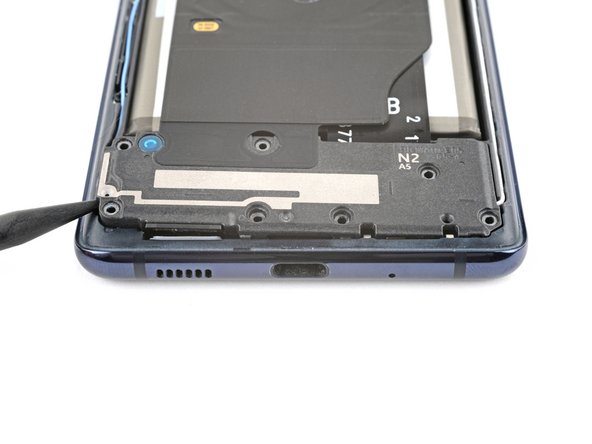
– Slide a trusty pick under the bottom right corner of that motherboard cover.
– Give the pick a little twist to pop those clips free and let the cover breathe.
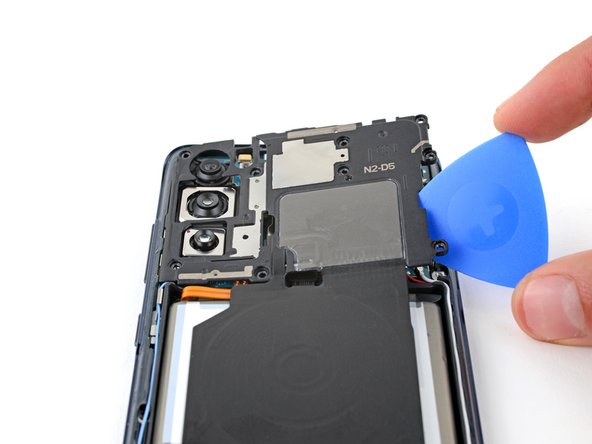
– Next, slide and twist your opening pick on the bottom left side to free the last clips holding on tight.
– When it’s time to put everything back together, give a firm press around the edges of the motherboard cover to lock those clips in place.
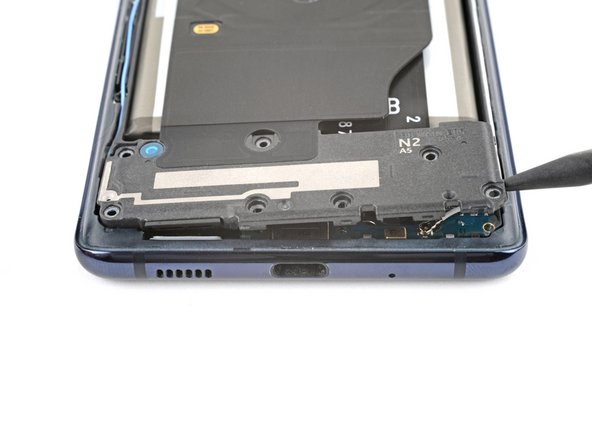
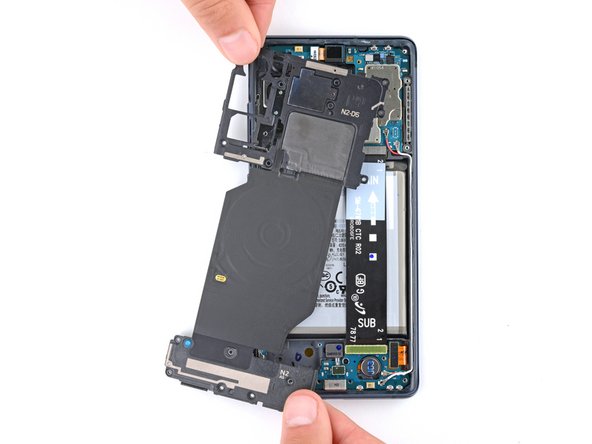
Step 15
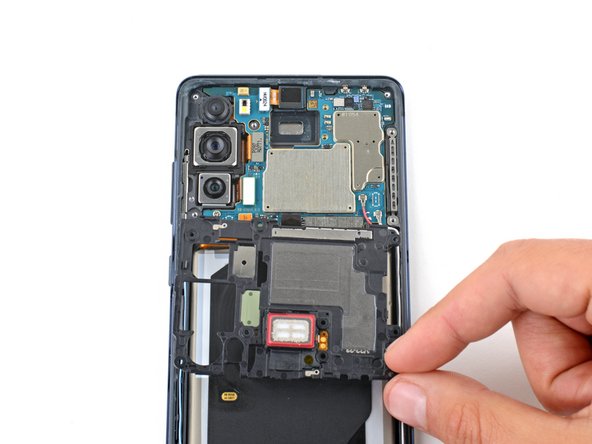

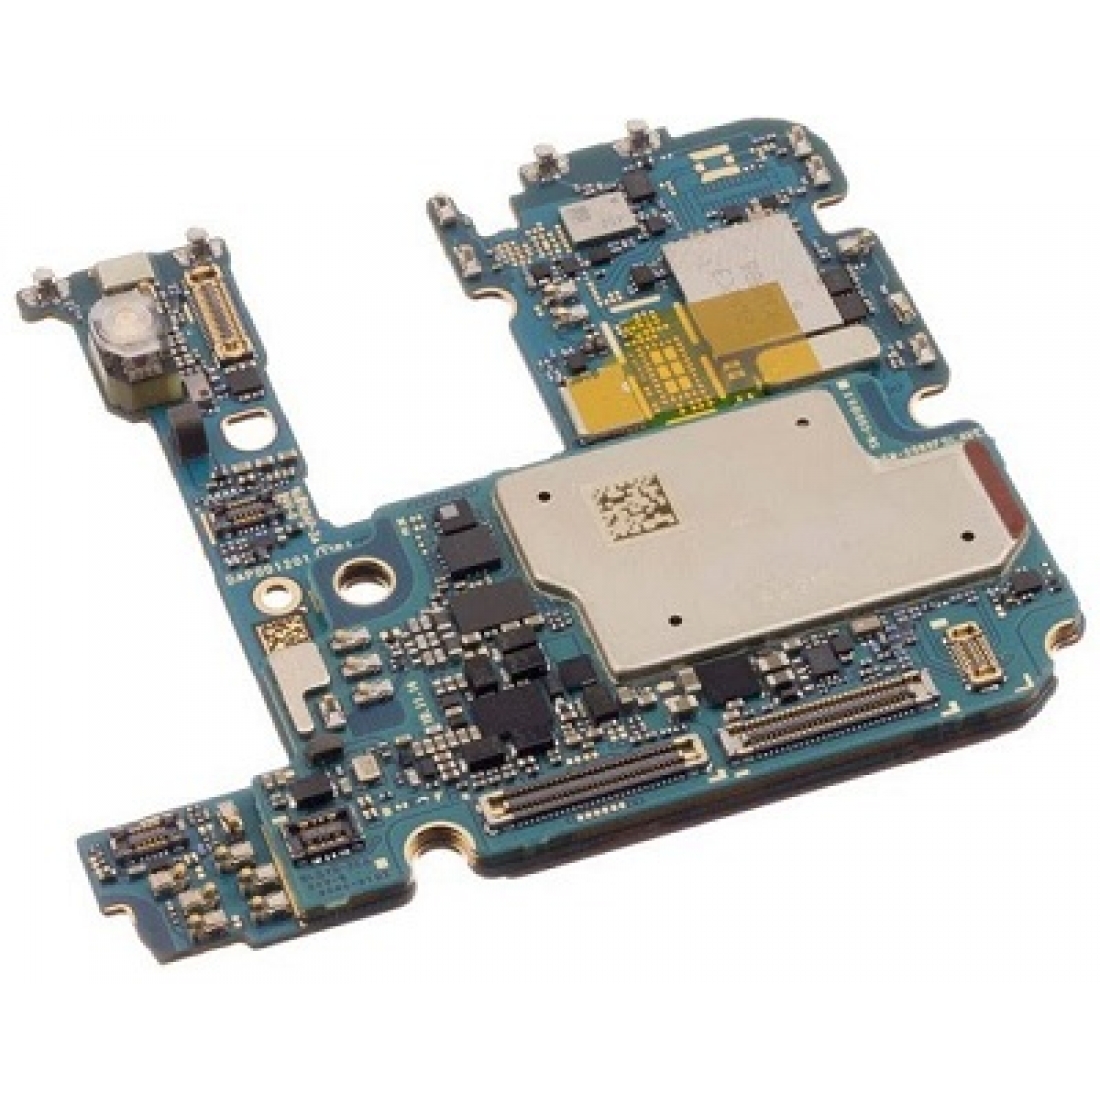
– Alright, let’s get super chill and reposition the motherboard cover to access the battery and wireless charging press connectors on the bottom edge of the motherboard. You got this! If you need help, you can always schedule a repair
Step 16

To re-attach those connectors, just take a moment to align them carefully. Press down gently on one side until you hear that satisfying click, then do the same on the other side. Remember, avoid pressing down in the middle! If things get a bit out of line, those pins can bend, leading to some serious trouble down the road. Keep it steady, and you’re golden! If you need help, you can always schedule a repair.
– Now, let’s gently use the flat end of a spudger to lift up and disconnect both the battery and wireless charging press connectors from the motherboard.
Tools Used

Step 17

– Get that spudger ready and gently insert it between the bottom left corner of the loudspeaker and the frame.
– Start prying up carefully to free the clips holding down the left edge of the loudspeaker.
– Now, move to the bottom right corner of the loudspeaker and give it a good pry to release the rest of those clips.
– When putting it all back together, remember to press firmly all around the edges of the loudspeaker to lock those clips back in place.
Tools Used
Step 18
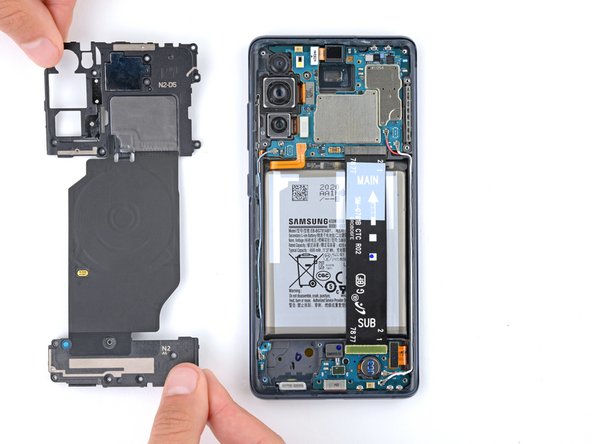

– Let’s get that wireless charging assembly out of there!
Step 19
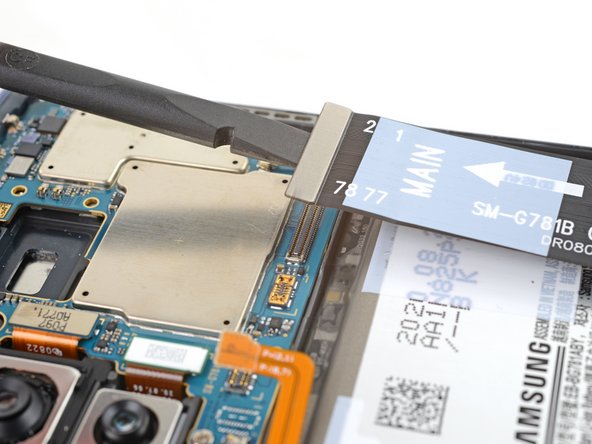

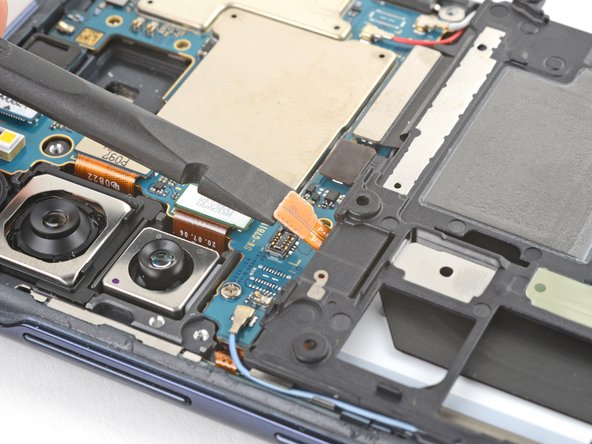
– Gently use the flat end of a spudger to lift and disconnect that interconnect cable press connector from the motherboard. You’ve got this!
Tools Used
Step 20


– Unhook the fancy-schmancy cable press thingamajig from the charging board.
Step 21
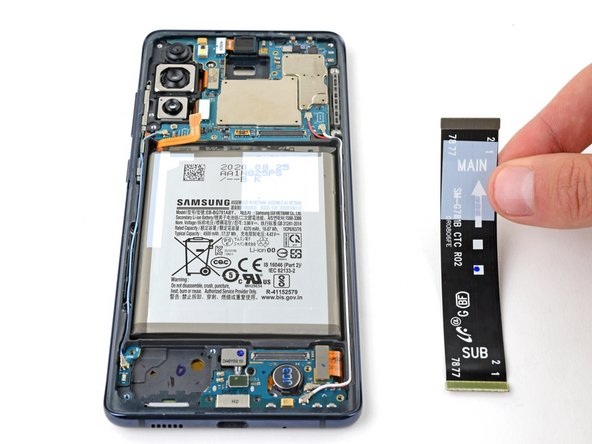

– Go ahead and detach the interconnect cable.
Step 22
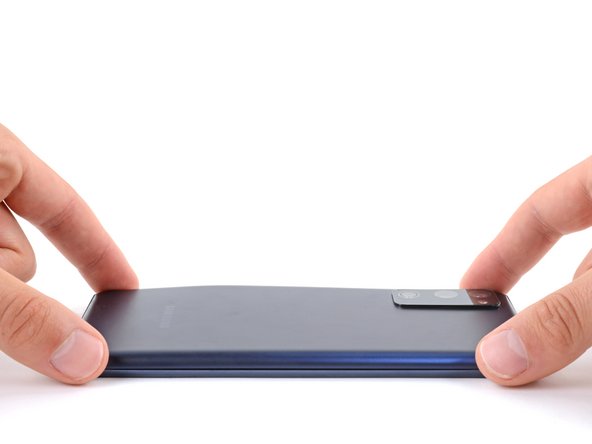

– Pop that back cover onto the frame to keep your phone’s delicate insides safe and sound for the next step!

Step 24

– Turn your phone upside down and take off the back cover.
Step 25


Handle that battery with care—no poking or bending! It’s got some serious stuff inside that could spill out or even catch fire. Stay safe and keep things cool!
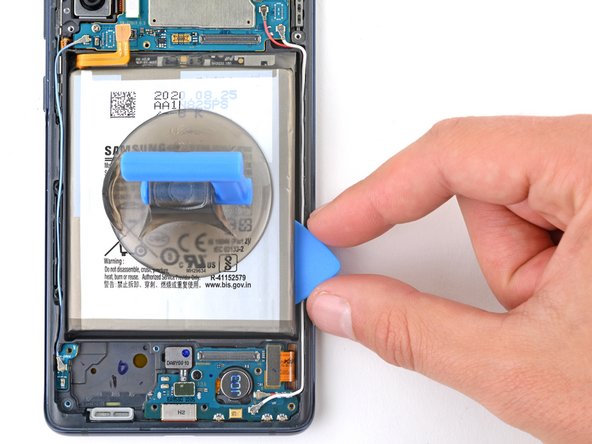
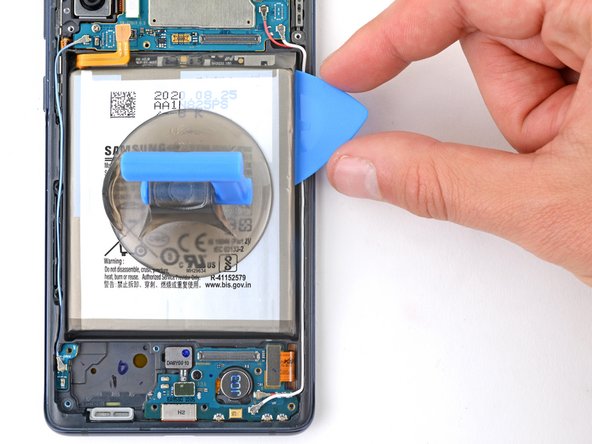
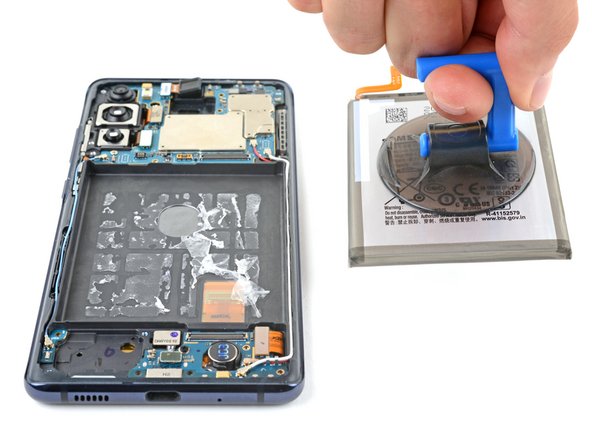
– Start off by placing a suction cup right in the middle of the battery. You’ve got this!
– Next, slide the flat edge of an opening pick between the battery’s right edge and the frame. Easy peasy!
– Now, give that suction cup a firm tug while gently prying up with the pick. Keep it steady until the right edge of the battery pops free from the frame. You’re making great progress!
Step 26

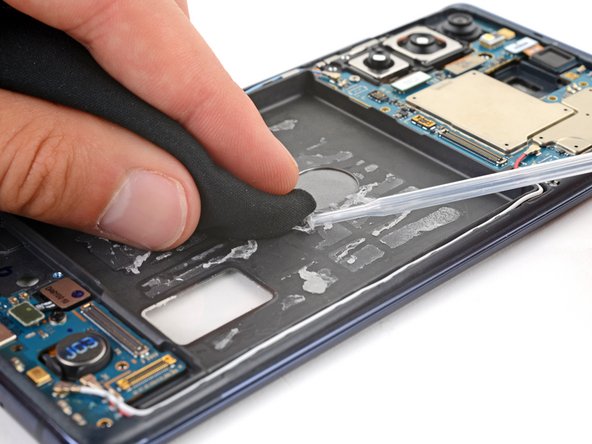
– Gently glide the opening pick underneath the battery and shimmy it side to side to free up that stubborn adhesive.
Step 27
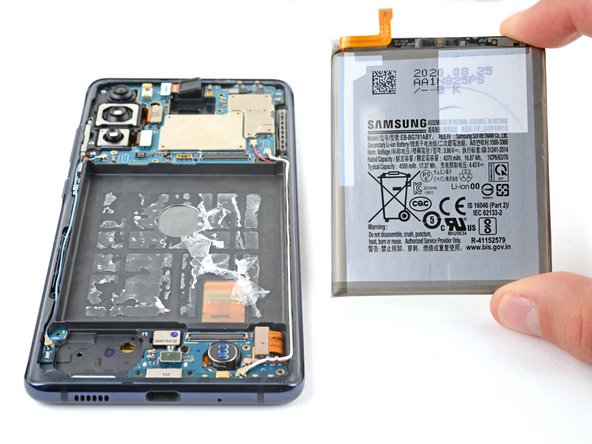

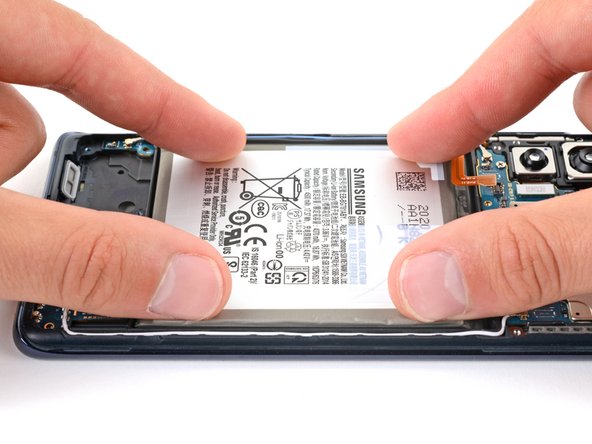
– First things first, let’s get that battery out of there! It’s time for a little breather.
– If you’ve been using isopropyl alcohol, hang tight for about ten minutes before popping in the new battery. This will give the alcohol enough time to vanish, leaving everything nice and dry for the new addition.
Step 28

– Ready to give your device a little boost with a brand new battery? Let’s get this swap party started!