Samsung Galaxy S20 FE 5G Back Cover Replacement DIY Guide
Duration: 45 minutes
Steps: 11 Steps
Hey there, tech warrior! Just a friendly heads-up: make sure you’re grounded before diving in. We wouldn’t want any static electricity to zap your device. If things get a little tricky or you need an extra hand, remember, you can always schedule a repair. Happy fixing!
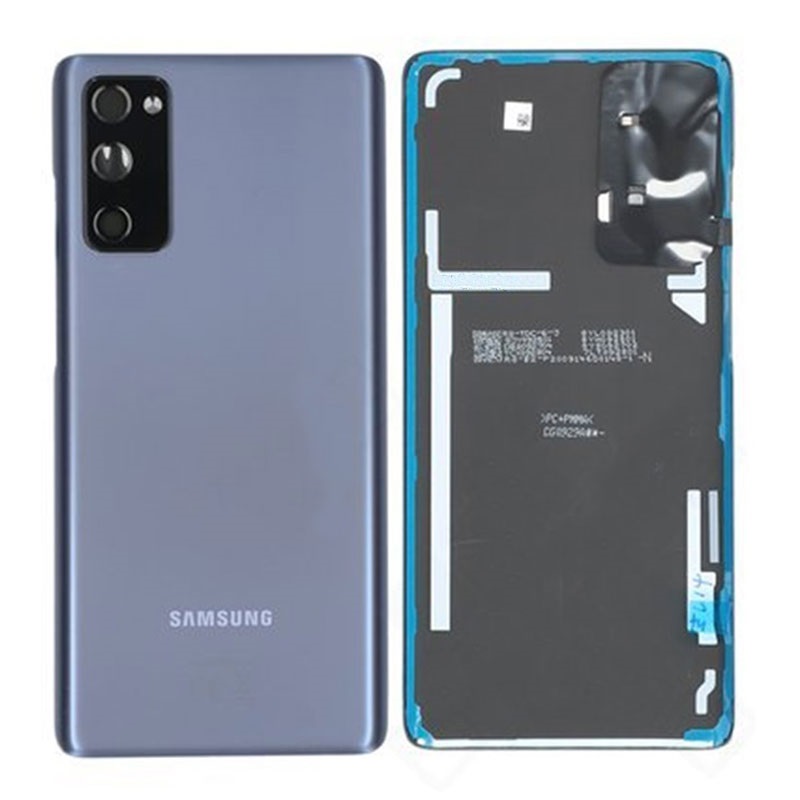
Ready to give your Samsung Galaxy S20 FE 5G a stylish makeover? This quick guide will show you how to effortlessly swap out or jazz up that back cover. Just make sure you have some replacement back cover adhesive handy to put the finishing touches on your device. Don’t sweat it – you’ve got this!
Step 1

– Warming up an iOpener is the way to go! Gently place it on the bottom edge of the back cover for a cozy two minutes. You’ll have it all nice and toasty in no time!
Tools Used

Step 2


– Start by placing a suction cup right in the middle of the bottom edge of the back cover—aim for that sweet spot close to the edge.
– Give the suction handle a good, firm pull to create a nifty little gap between the cover and the frame.
– Now, it’s time to slide an opening pick into that gap you’ve just made!
Tools Used

Step 3
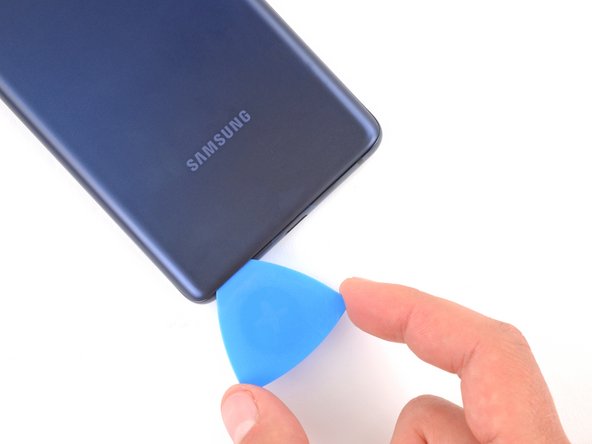


– Gently glide the opening pick along the bottom edge to effortlessly slice through the adhesive holding the back cover in place.
– Keep the opening pick snug in the bottom right corner to prevent the adhesive from sneaky resealing.
Step 4

– Warm up your trusty iOpener and give the right edge of the back cover a cozy two-minute hug.
Tools Used
Step 5


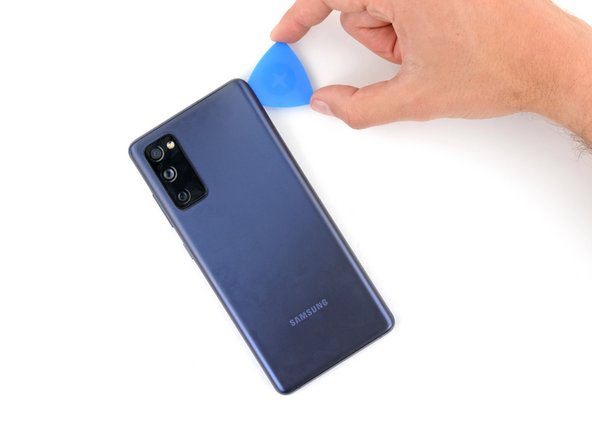
– Gently glide the opening pick around the bottom right corner and up the right edge to slice through that sticky adhesive.
– Keep the opening pick wedged in the top right corner to maintain your progress.
Step 6

– Heat things up a bit by applying an iOpener to the top edge of the back cover for two minutes. You’ve got this!
Tools Used
Step 7


– Gently slide the trusty opening pick around the top right corner and along the nifty top edge to effortlessly slice through the adhesive.
– Don’t forget to leave the awesome pick inserted in the top left corner for safekeeping.
Step 8

– Get cozy with a heated iOpener and apply it lovingly to the left edge of the back cover for two minutes.
Tools Used
Step 9


– Gently glide the opening pick around that top left corner and slide it all the way down the left edge to cut through the last bit of adhesive. You’re almost there!
Step 10


– Pop off that back cover like you’re peeling a banana!
Step 11

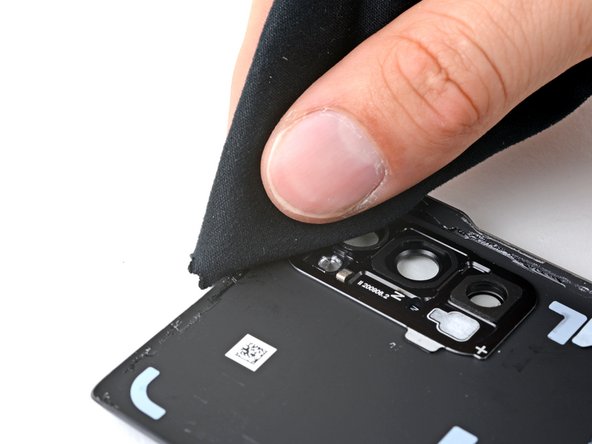

– Now’s a great time to fire up your device and give it a whirl! Test all the features and make sure everything’s running smoothly before you seal it up. Just remember to power it down completely before diving back into the work.
– If you’re putting your old back cover back on:
– If you’re slapping on a new back cover, go ahead and peel off those liners. Then, press firmly around the edges to make sure the back cover sticks to the frame like it was meant to!